Ever wondered how you can take a flat, 2D picture and give it real depth and form? It’s a fascinating process that involves using specialized software to interpret pixel data and construct a full-fledged three-dimensional object. This can be surprisingly automated with AI-powered tools that spit out a model from just one picture, or it can be a much more involved, hands-on process like photogrammetry, where you stitch together multiple photos to build incredibly detailed digital replicas.
Bringing Your 2D Images to Life in 3D
The whole idea of giving a simple photograph tangible depth is a brilliant blend of technology and artistry. At its heart, it’s all about teaching a computer to perceive depth from the same visual cues our brains use instinctively. The software looks at things like shading, perspective, and the contours of an object to build out a geometric mesh—the basic skeleton of any 3D model.
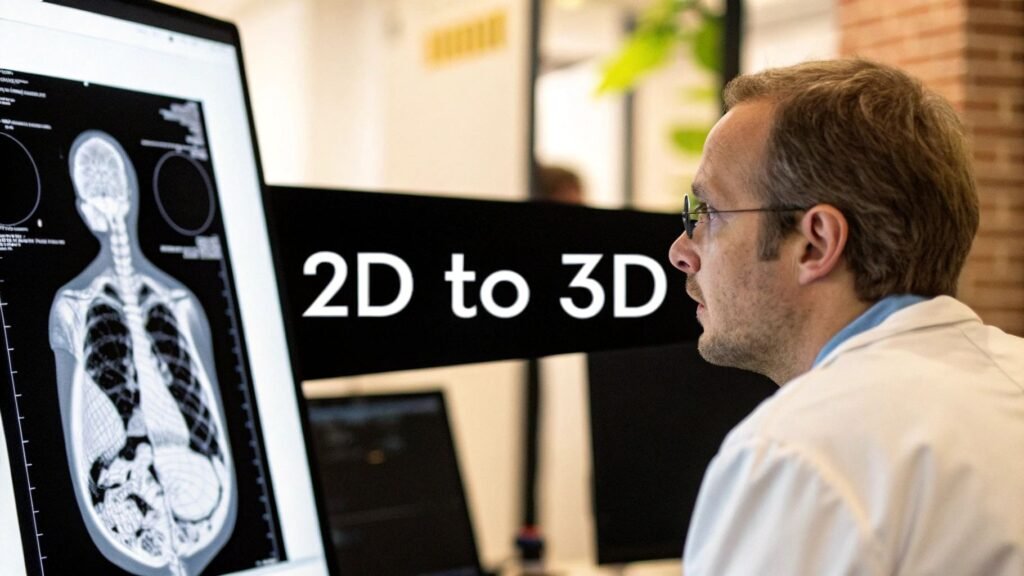
This isn’t just for video games or movies, either. Think about e-commerce, where you can create interactive product mockups that let shoppers spin an item around and see it from every angle. Or in medicine, where surgeons transform 2D CT or MRI scans into detailed 3D anatomical models. This allows them to map out complex surgeries with a level of precision that just wasn’t possible before.
The Foundation of 3D Vision
Believe it or not, this concept has been around for a while. The core principles trace all the way back to the 19th century and the discovery of stereoscopy. This early work was all about understanding how our brains merge two slightly different images—one from each eye—to create a single, 3D view of the world. The global 3D visualization market, which is built on these very ideas, had already ballooned into a multi-billion dollar industry by the mid-2010s. If you’re curious, you can learn more about the early days of 3D technology and its evolution.
Understanding the Different Paths
As you get started, it helps to know the main routes you can take to turn a 2D image into a 3D model. Each approach offers its own unique mix of speed, hands-on control, and final quality.
- AI Generators: These are by far the fastest option. You just upload a single image, and an AI does the heavy lifting, generating a 3D model in seconds. They’re fantastic for quick mockups and just playing around with creative ideas.
- Photogrammetry: This method is all about capturing an object from every possible angle by taking tons of photos. Software then intelligently pieces them together to build a photorealistic and dimensionally accurate 3D model. It’s really the gold standard for digitizing real-world objects.
- Manual Modeling: If you want absolute creative freedom, you can use a 2D image as a reference or blueprint to build a 3D model from scratch in software like Blender. This definitely requires the most skill, but the possibilities are truly endless.
The path you choose—whether it’s a quick AI generator, detailed photogrammetry, or manual modeling—is going to shape your entire workflow, the time you’ll spend, and the quality of your final 3D asset. There’s no single “best” way; it all comes down to your specific project goals and limitations.
Once you have a handle on these different approaches, you can pick the one that fits your creative vision and technical comfort level, which is the perfect first step toward a successful conversion.
Choosing the Right 2D to 3D Conversion Method
Figuring out how to turn a 2D image into a 3D model isn’t about finding one “best” tool. It’s about picking the right tool for the job you have in front of you. The best path forward depends on your project’s goals, how fast you need it done, and the level of detail you’re aiming for.
You’ve really got three main routes to choose from: AI-powered platforms, traditional photogrammetry, and old-school manual modeling.
Think of AI generators as the sprinters. They are built for pure speed. You can feed them a single image and get a basic 3D model back in minutes with almost no effort. This makes them fantastic for quick mockups, brainstorming new ideas, or just getting a foundational shape you can refine later.
Photogrammetry, on the other hand, is the marathon runner. It’s a meticulous process that involves taking dozens, sometimes even hundreds, of photos of an object from every conceivable angle. The payoff is a stunningly accurate, photorealistic model—a true digital twin of its real-world counterpart.
Finally, there’s manual modeling. This is the artist’s studio, where you have total creative freedom. It also requires the most skill and time. Here, you’re using a 2D image as a reference or a blueprint to build a model from scratch in software like Blender.
Comparing the Core Approaches
To make a good call, it helps to see how these methods stack up side-by-side. Each has its own sweet spot, and choosing the right one is a balancing act between speed, accuracy, and creative control.
No matter which path you take, a little prep work goes a long way. Having a clear plan from the start is key.
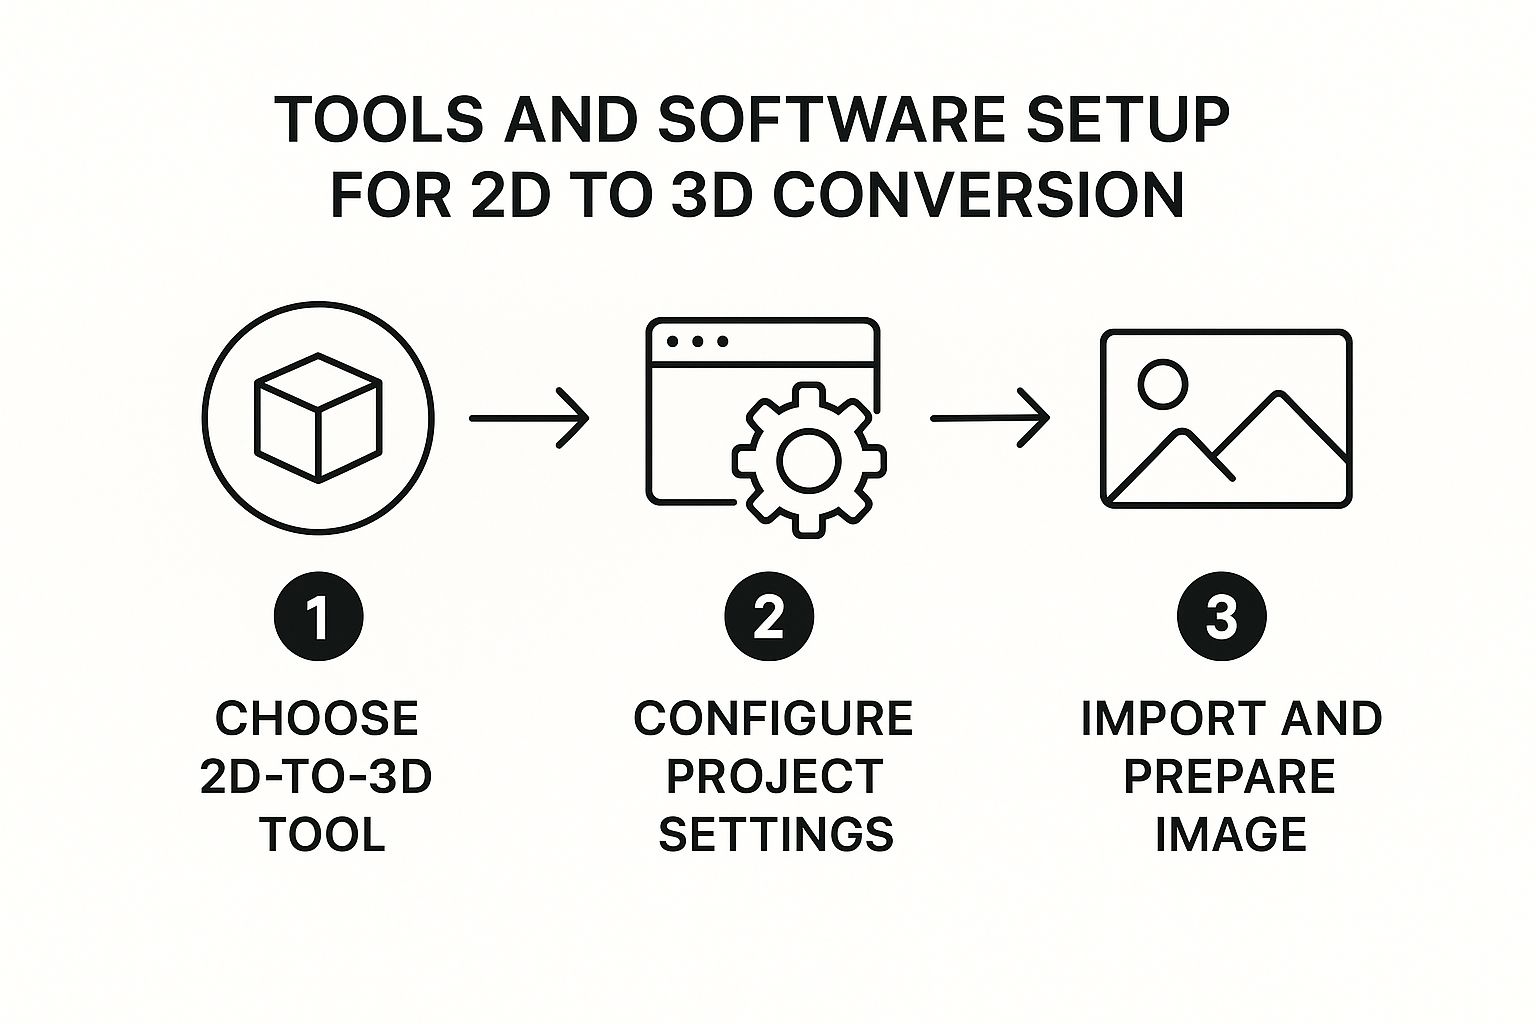
As you can see, a successful conversion starts with smart choices before you even click “generate.”
To help you decide, here’s a straightforward comparison that breaks down the key differences between the main conversion methods.
Comparing 2D to 3D Conversion Methods
| Method | Best For | Input Required | Skill Level | Speed |
|---|---|---|---|---|
| AI-Powered Platforms | Quick mockups, concept art, and creating base meshes for further editing. | A single, clear 2D image. | Beginner-friendly. No real technical skill is needed. | Extremely fast, often producing a model in under a minute. |
| Photogrammetry | Creating hyper-realistic, accurate digital twins of real-world objects. | Many high-res photos (20-200+) covering all angles. | Intermediate. Requires careful photography and software know-how. | Slow. Processing can take hours, sometimes even days. |
| Manual Modeling | Total artistic control, stylized models, or building from concept sketches. | One or more reference images (like blueprints). | Advanced. Demands strong 3D modeling skills. | Very slow. Depends entirely on the artist and model complexity. |
Seeing them laid out like this makes it clear that there’s no single winner—just the right tool for a specific task.
When to Use Each Method
So, how do you choose? Let your project’s needs be your guide.
- An e-commerce store that needs a 3D view of a new product for its website fast would probably love an AI generator.
- A museum trying to create a perfect digital archive of a priceless artifact will need the precision that only photogrammetry can offer.
- A game developer creating a unique, stylized character from a concept sketch will have to turn to manual modeling.
For example, photogrammetry is what powers the immersive virtual tours you see in real estate. Systems like Matterport are a specialized form of this, capturing entire spaces with incredible detail. If you’re curious about how that works on a large scale, a resource like the Ultimate 3D Matterport Virtual Tour Guide provides some great insights into the technology.
The most important thing to remember is this: there is no one-size-fits-all solution. Your choice should always come back to your end goal. Are you after a quick visualization, a perfect replica, or a custom artistic creation?
Once you know the strengths and weaknesses of each method, you can pick the most effective workflow for your needs. Getting this first step right is the most critical part of turning any 2D image into a 3D model you’ll be happy with.
How to Use an AI 3D Model Generator
Jumping into AI 3D model generation can feel a bit like performing a magic trick. With platforms like Kaedim, Luma AI, and Meshy, the process of turning a flat 2D image into a tangible 3D model has become surprisingly straightforward, opening the door for creators who aren’t seasoned 3D artists. The real power here is speed—you can get a solid base model in minutes, not hours.
But here’s the catch: the success of this “magic” almost entirely depends on the quality of your starting image. The AI isn’t a mind reader; it’s an interpreter of pixel data. The single most important thing you can do is give it a clean, unambiguous image to work with.
Preparing Your Image for AI Success
Before you even think about uploading, you need to vet your source image. Think of it as prepping your ingredients before you start cooking. An “AI-friendly” image is one that gives the algorithm the best possible chance to understand the object’s shape, volume, and depth.
It’s just like giving an artist a clear reference photo instead of a blurry, badly lit snapshot. The better the input, the better the final output.
To get the best results, make sure your image checks these boxes:
- A Single, Clear Subject: The AI needs to know exactly what you want it to build. Avoid busy images with multiple objects or a cluttered background.
- Neutral Background: A simple white, gray, or even transparent background is perfect. This helps the AI easily isolate your subject without getting confused by background noise.
- Good, Even Lighting: Harsh shadows and blown-out highlights are your enemy. They hide details and confuse the AI about the object’s true form. Soft, diffused lighting is what you’re after.
A product photo of a shoe against a white studio background? That’s a fantastic candidate. A picture of that same shoe on someone’s foot at a concert? Not so much. Taking a few minutes to prepare your image can boost your success rate by over 50%.
Crafting Effective Prompts and Navigating the Interface
Once your image is ready, it’s time to upload. Most AI generators keep their user interface clean and simple—you’ll usually just see an upload button and a text box for your prompt. While the image does most of the heavy lifting, your text prompt is what steers the AI in the right direction.
There’s no need to write a novel. Simple and descriptive is the way to go. If you’ve uploaded a picture of a stylized dragon, a prompt like “stylized low-poly dragon, game asset” provides critical context. It tells the AI about the intended style and how the model will be used.
Pro Tip: Keep your prompts direct. Use keywords that describe the object’s material (“metallic,” “wooden”), style (“photorealistic,” “cartoon”), and form (“symmetrical,” “organic”). This extra information helps the AI fill in the blanks where the 2D image is ambiguous.
After you hit “Generate,” the AI will process everything and give you an initial 3D model. Sometimes you’ll even get a few variations to choose from. This is your first look at how the AI interpreted your input.
Refining and Exporting Your New 3D Model
The first model the AI spits out is almost never the final product. It’s much better to think of it as a high-quality draft or a base mesh to build upon. Most of these platforms have built-in tools that let you make basic refinements right in your browser.
Here are a few common refinement steps you’ll likely encounter:
- Remeshing: The initial geometry can be messy or have a crazy high polygon count. Remeshing cleans this up, and you can often set a target polycount to make the model more efficient for your specific needs.
- Texturing: Some tools can generate textures based on your image or prompt. You might find options to apply a realistic PBR (Physically Based Rendering) material or something more stylized.
- Adjusting Details: You may have some basic sculpting-like features to tweak the model’s overall shape or smooth out imperfections.
Once you’re happy with your tweaks, the final step is to export the model. This is the moment your creation becomes a real, usable file for game development, medical visualization, 3D printing, or whatever you have planned.
The two most common and versatile export formats you’ll see are .OBJ and .GLB.
- .OBJ: This is a universal format that’s compatible with pretty much all 3D software. It’s a rock-solid, reliable choice.
- .GLB: This is the go-to format for anything web or AR-related. It’s a neat, self-contained file that packages the geometry, materials, and textures all in one, making it incredibly efficient.
The ability to generate models this quickly is becoming a key part of modern creative workflows. To see how this technology fits into the bigger picture of immersive experiences, you can explore this article on AI-driven Augmented Reality and how AI revolutionized XR, VR, and AR technologies. Choosing the right format from the start ensures your model is ready for the next stage of its journey.
A Practical Guide to Photogrammetry
When you need a true digital twin of a real-world object with photorealistic detail, you turn to photogrammetry. This isn’t like AI generators that cook up a model from a single picture. Instead, photogrammetry meticulously calculates an object’s shape and texture from a whole series of photographs, giving you incredible precision.
It’s the gold standard for creating assets where accuracy is everything—from archiving priceless cultural artifacts to 3D-printing an anatomical model for complex surgical planning.
But here’s the unvarnished truth: the quality of your final 3D model is almost entirely dictated by the quality of your initial photoshoot. It’s a classic case of “garbage in, garbage out.” A successful scan demands more than just snapping a few pictures; it requires a methodical, almost ritualistic approach to capturing the object from every conceivable angle.
Mastering the Photoshoot
The foundation of any great photogrammetry project is a rock-solid set of source images. Your job is to feed the software enough visual data so it can accurately triangulate points in 3D space. That process starts with how you light your subject and handle your camera.
Soft, diffuse lighting is your best friend. Why? Because harsh, direct light creates hard shadows and specular highlights—those bright, shiny spots—that will absolutely confuse the software. An overcast day is perfect for shooting outdoors. If you’re inside, you can replicate this effect with a lightbox or by using multiple lights bounced off walls or through softboxes to kill any harsh shadows.
Your primary goal during the photoshoot is consistency. Consistent lighting, consistent focus, and a consistent distance from the object will prevent the software from struggling to align the images later on. It’s all about making the software’s job as easy as possible.
With your lighting dialed in, the next critical piece is photo overlap. Each picture you take needs to overlap with the previous one by a good 60-80%. This redundancy is what allows the software to find common points between images and stitch together a coherent model.
Honestly, taking too few photos or having skimpy overlap are the most common reasons a photogrammetry project falls flat. For a simple object, you might get away with 30-50 photos. For something more complex, you could easily be looking at 200 or more.
Key Considerations for a Clean Capture
From my experience, certain types of objects are just plain difficult for photogrammetry software. Knowing what these are ahead of time lets you plan your attack.
- Shiny or Reflective Surfaces: Anything like polished metal or glass will wreak havoc on the process because its appearance shifts with every tiny change in your viewing angle. A common trick is to temporarily coat the object with a matte, removable spray. Something like scanning spray is ideal, but in a pinch, even dry shampoo can work wonders.
- Transparent Objects: Just like reflective surfaces, clear objects are a nightmare to capture directly. The software simply can’t find consistent points to track through the transparency. Again, a light dusting from a scanning spray is pretty much essential here.
- Featureless Surfaces: A plain, single-color wall or a perfectly smooth, uniform object gives the software nothing to grab onto. If you can’t avoid these subjects, you need to add features yourself. Placing small, random pieces of masking tape on the surface can create the trackable points the software desperately needs.
From Photos to a 3D Model
Once you’ve got your folder full of high-quality photos, it’s time to head to the digital workbench. Software like Meshroom (a fantastic open-source choice) or the more powerful RealityCapture will be your tools of choice. While the user interfaces vary, the core workflow is remarkably consistent.
You can expect the process to unfold in these stages:
- Photo Alignment: First, the software chews through all your images, detecting matching keypoints between them. From there, it calculates the exact position and orientation of your camera for every single shot. This generates a sparse point cloud—a kind of rough, skeletal outline of your object in 3D.
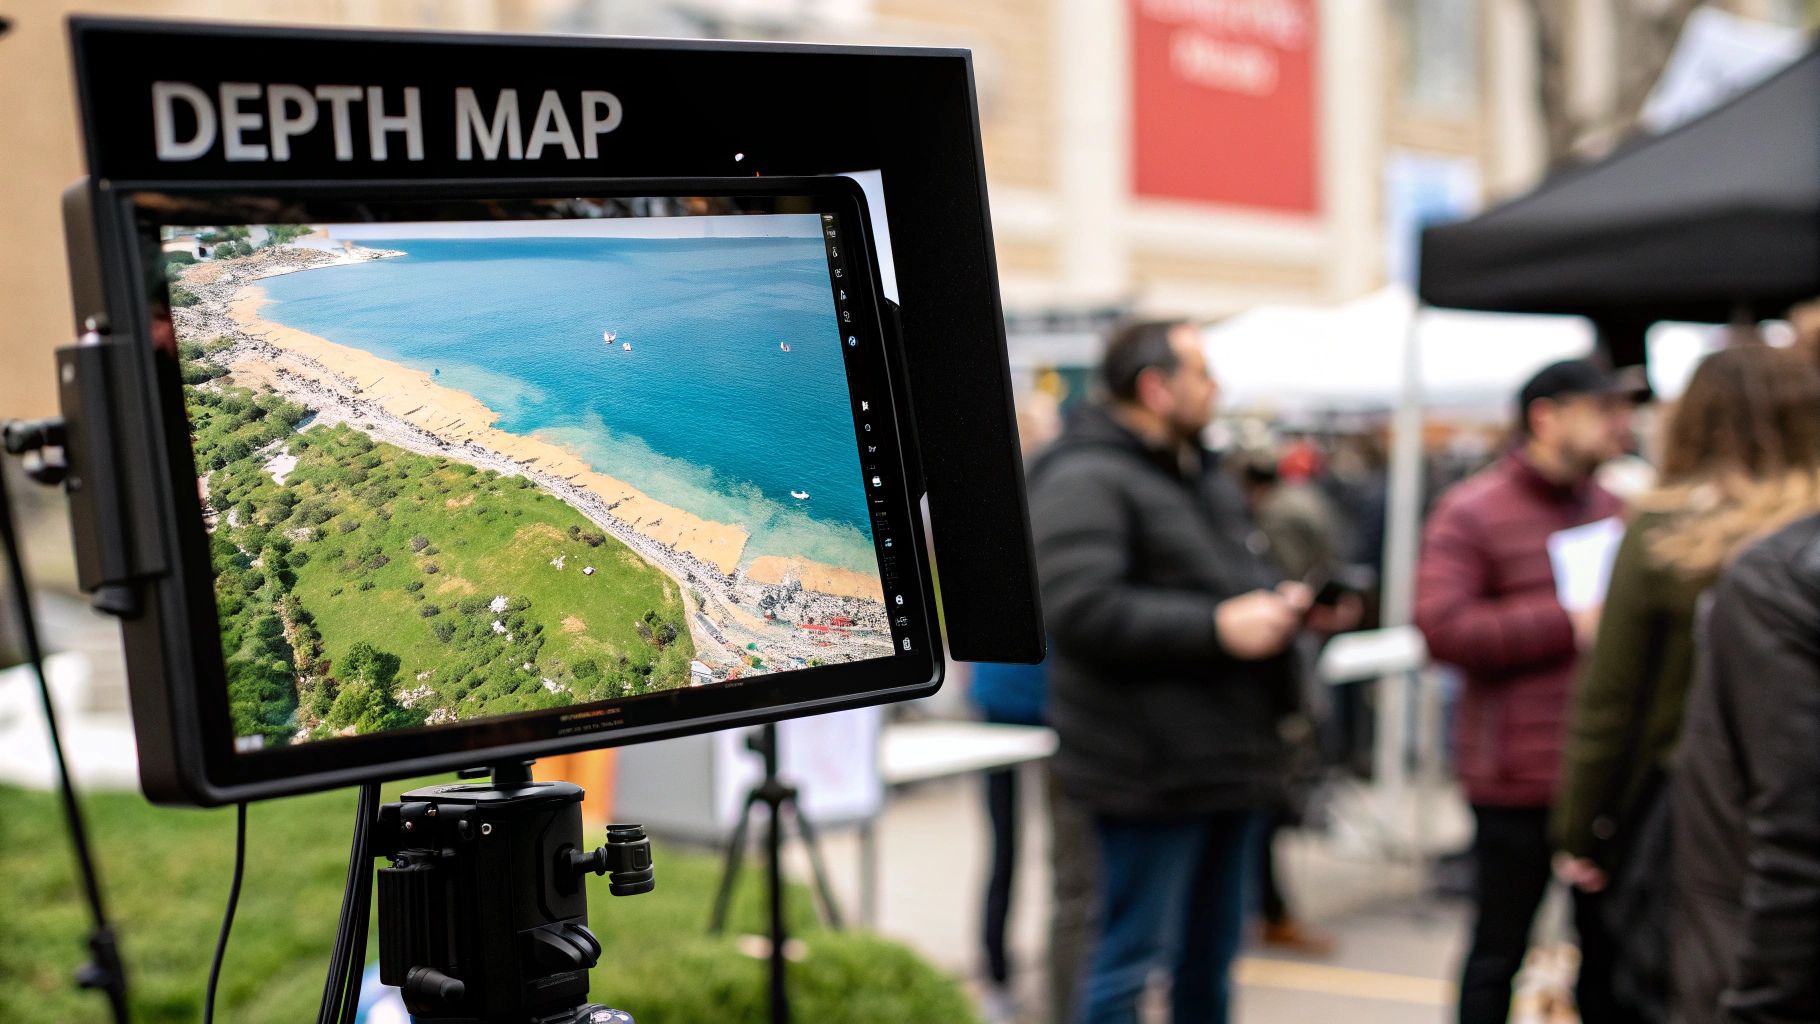
- Dense Cloud Generation: Using those initial camera positions as a guide, the software goes back to the photos for a much more detailed pass. It calculates depth information for countless pixels, resulting in a dense point cloud containing millions of points that tightly define the object’s form.
- Mesh Creation: This is where it all comes together. The software essentially connects the dots of that dense cloud, generating a solid polygonal mesh. This is the moment your object’s surface is truly born in 3D.
- Texturing: Finally, the software intelligently projects the color information from your original photographs back onto that brand-new mesh. This process wraps your model in a high-resolution, photorealistic texture map, completing your digital twin.
This whole idea of turning 2D images into a 3D space isn’t new; it has a rich history, especially in entertainment. The film industry really made this commercially viable back in the 2000s. Disney’s Chicken Little in 2005 was a milestone, and by 2009, major blockbusters were routinely using advanced 2D-to-3D conversion techniques. This push drove the global 3D movie market to over $10 billion by 2010.
If you’re curious about the history, you can read more about the art of stereo conversion in filmmaking to see how the pros tackled these challenges. While your project might not be a Hollywood movie, the fundamental principles of creating depth from flat images are exactly the same.
How to Refine and Optimize Your 3D Model
Whether your model came from a lightning-fast AI generator or a patient photogrammetry session, what you have at first is rarely the final product. It’s better to think of that initial output as a high-quality piece of digital clay. The general shape is there, but it’s going to need some serious hands-on work to become a polished, professional asset.
This is the post-processing stage, where you’ll hunt down imperfections and optimize the model’s geometry. The good news? You don’t need to break the bank on software. A powerful, free tool like Blender is more than capable of handling everything we’re about to cover. This is a non-negotiable step when you turn a 2D image into a 3D model, as it’s what makes the final asset truly usable.
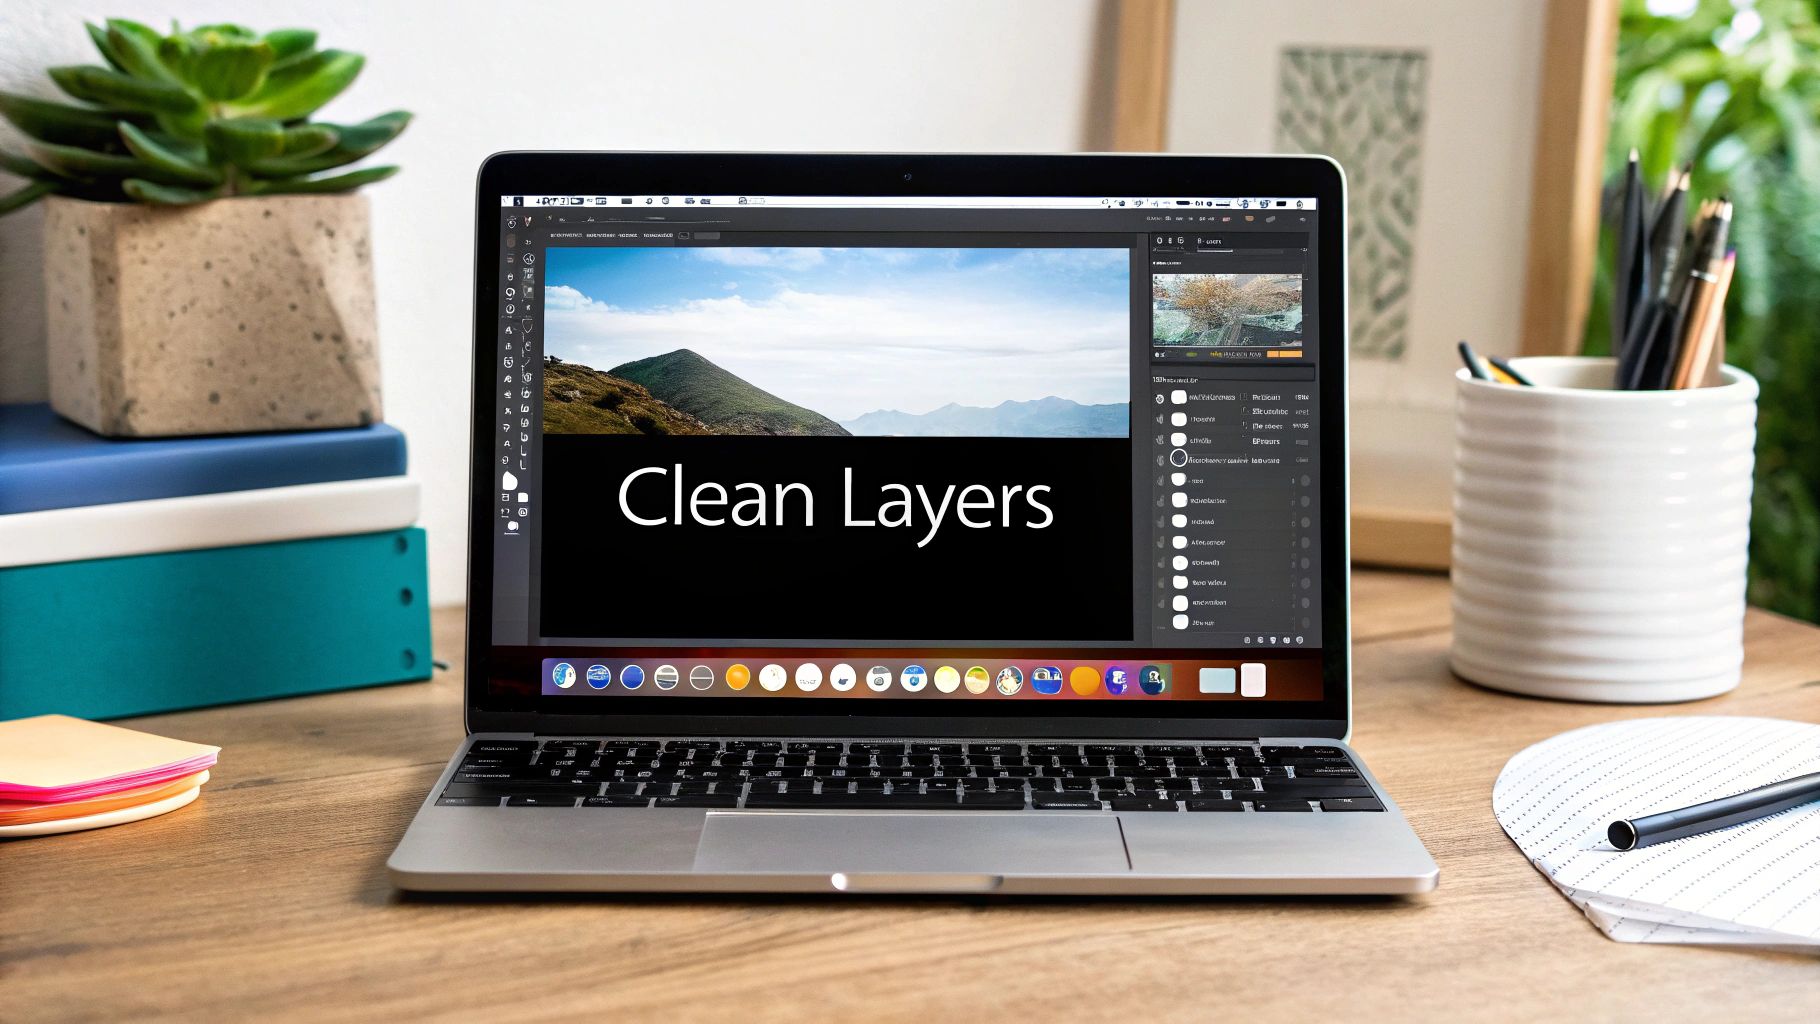
Cleaning Up the Raw Mesh
Your raw model is almost guaranteed to have some baggage. AI and photogrammetry are notorious for leaving behind stray vertices, holes in the mesh, and something called non-manifold geometry (think of edges connected to more than two faces). These aren’t just cosmetic issues; they can cause major headaches with texturing, animation, and especially 3D printing.
So, your first job is to play digital janitor. Pop into Blender’s Edit Mode and use the “Select All by Trait” menu to quickly find and zap these common errors. The “Merge by Distance” tool is also a lifesaver for welding together duplicate vertices that are just bloating your file size. Patching holes is a bit more manual, but it’s usually as simple as selecting the edges around a gap and creating a new face to seal it.
This initial cleanup isn’t just about making things look nice. It’s about building a stable, predictable foundation. A clean mesh is far less likely to produce weird rendering artifacts or fail a 3D print, saving you hours of frustration down the road.
The Art of Retopology
Once you’ve squashed the obvious bugs, it’s time to look at the model’s topology—the actual flow and structure of its polygons. Automated processes often spit out a dense, chaotic mesh of poorly formed triangles. This is where the crucial skill of retopology comes into play.
Retopology is essentially building a brand-new, clean mesh right on top of your high-detail original. Imagine tracing a complex sketch to create a simplified, clean line-art version. The goal is a model with a much lower polygon count and a clean, orderly grid of quads (four-sided polygons), which behave much better during animation and deformation.
- Why bother? A low-poly, retopologized model is incredibly efficient. It performs way better in real-time applications like game engines and AR/VR experiences.
- How it works: In Blender, tools like the Shrinkwrap modifier let you “snap” new geometry directly onto the surface of the original high-poly scan, which makes the whole tracing process a lot more intuitive.
Preparing for Textures with UV Unwrapping
With a clean, optimized mesh ready to go, the next hurdle is texturing. Before you can apply a 2D texture image—like a photograph or a detailed material—to a 3D surface, that model needs a UV map. This process, known as UV unwrapping, is like creating a custom sewing pattern for your object.
Think about carefully cutting the seams of a t-shirt and laying it perfectly flat on a table. That’s exactly what UV unwrapping does. It flattens the 3D model’s surfaces into a 2D layout so you can paint on it or apply an image texture accurately. A good UV unwrap minimizes stretching and makes smart use of the texture space. Without one, your textures will look warped, compressed, or just plain wrong.
Optimizing for the Final Destination
Finally, always think about where your model is going to end up. The optimization needs for a game-ready asset are worlds apart from a model intended for a scientific visualization or a 3D printer.
For a game engine or other real-time app, you’ll want to “bake” the fine details from your original high-poly model onto the new low-poly version using normal maps. This is a fantastic trick that creates the illusion of incredible detail on a very lightweight model. For 3D printing, on the other hand, you need to be certain the model is watertight (completely sealed with no holes) and exported in a format like .STL. This last step in the process to turn a 2D image into a 3D model is what makes your creation fit for its final purpose.
Answering Your Questions About 2D to 3D Conversion
When you first dive into turning 2D images into 3D models, it’s natural to have a lot of questions. Getting your head around the different techniques and software can feel a bit overwhelming, so let’s walk through some of the most common sticking points.
Can I Really Turn Any 2D Image Into a 3D Model?
Technically, you can try, but the reality is that the quality of your 3D model is completely dependent on the source image. AI tools are powerful, but they can’t work miracles.
For the best results, you need a clear, well-lit photo of a single subject. A simple, uncluttered background is your best friend here. On the other hand, images with busy backgrounds, multiple overlapping objects, or poor lighting are going to give any automated system a serious headache. Low-resolution pictures or abstract art? You’ll likely spend more time cleaning up the messy output than you would have just modeling it from scratch.
What’s the Best Free Software to Get Started?
There isn’t one single “best” tool; it really boils down to what you’re trying to do. Most people find themselves using a couple of different programs together to get the job done.
Here’s a look at the go-to options for a free workflow:
- For Photogrammetry: Hands down, Meshroom is the top open-source choice. It gives you a full pipeline to take a set of photos and turn them into a fully textured 3D mesh.
- For Cleaning and Refining: You can’t beat Blender. It’s a completely free, industry-standard powerhouse perfect for cleaning up messy geometry, retopologizing, and UV unwrapping. It works with models from any source.
- For AI Generation: The most powerful AI generators usually come with a price tag, but many services like Luma AI or Meshy offer free credits to get you started. It’s a great way to experiment with the workflow without any financial risk.
A lot of the best work comes from a hybrid approach. You could use an AI tool to generate a rough base model quickly, then pull that model into Blender for the detailed sculpting and optimization. This gives you the best of both worlds: speed and fine-tuned control.
How Many Pictures Do I Need for Photogrammetry?
This is a classic question, and the honest answer is: more is almost always better. But it’s not just about the sheer number of photos. The most important thing is the overlap between them.
For a very simple object, you might get away with 20-30 photos. For something with more intricate details, it’s common to use 100-200 images, or even more.
The golden rule is to aim for at least 60-80% overlap between each shot and the next. You need to capture your subject from every conceivable angle—high, low, and all the way around—to give the software enough visual data to stitch together an accurate 3D model.
What File Format Should I Use to Export My Model?
The right file format depends entirely on where your model is headed next. Each one is built for a specific job, so choosing correctly is key to making sure it works with your other tools.
- .OBJ: This is the universal soldier of 3D formats. It’s compatible with almost every piece of 3D software out there, making it a super safe bet for sharing or archiving.
- .FBX: If your model is going into a game engine or an animation project, FBX is the standard. It can package not just the 3D geometry but also animations, materials, and camera data.
- .STL: This is the language of 3D printers. It’s a simple format that only describes the surface geometry of an object, without any color or texture information.
- .GLB / .gITF: These are the modern formats for web and AR applications. They are incredibly efficient because they bundle everything—the model, textures, and materials—into a single, compact file.
At PYCAD, we specialize in using advanced AI to tackle complex problems in medical imaging, turning critical 2D data into actionable 3D insights. Find out how our expertise can advance your medical device projects.