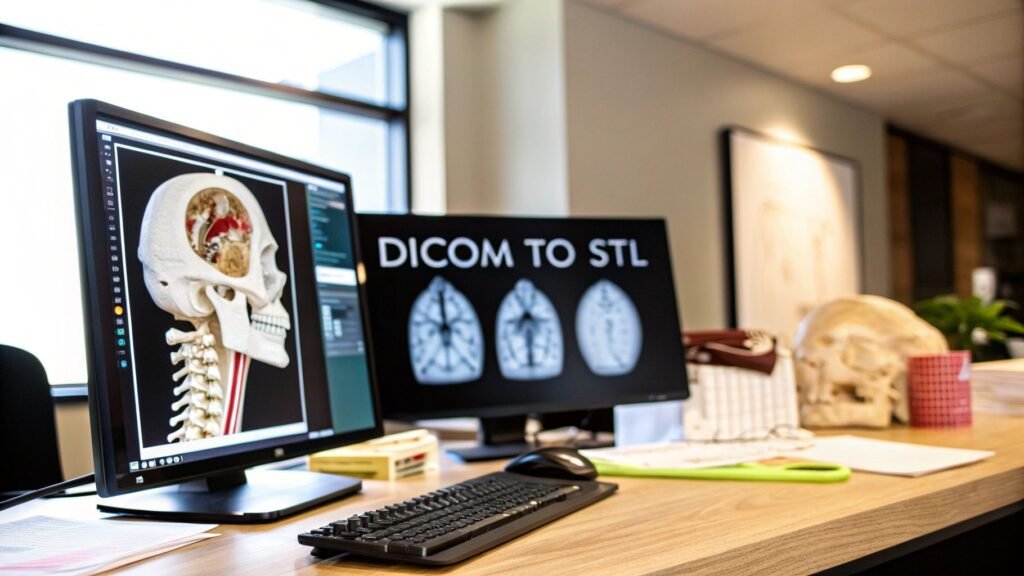
Turning a flat medical scan into a physical model you can hold in your hand is a genuinely transformative process in modern medicine. We're essentially bridging the gap between diagnostic imaging and tangible, real-world objects, allowing surgeons, researchers, and students to interact with patient anatomy in a way that was once science fiction.
Why Converting DICOM to STL Is A Medical Game Changer
The journey from a digital scan to a physical object is far more than just a technical file conversion. It’s a fundamental shift in how medical professionals can prepare for and execute complex procedures. This process quite literally moves a patient's anatomy from a 2D screen into the physical realm, unlocking incredible new opportunities for planning, education, and ultimately, patient care.
Just picture a cardiothoracic surgeon holding a precise, 3D-printed replica of a patient's heart days before an operation. They can physically trace complex vascular structures and map out the safest, most effective surgical approach. This level of hands-on preparation simply wasn't possible a decade ago.
Bridging Diagnostic Imaging And Tangible Models
This workflow directly connects the powerful diagnostic data from CT or MRI scans with the practical application of 3D printing. To understand how it works, you first need to know about the two file types involved.
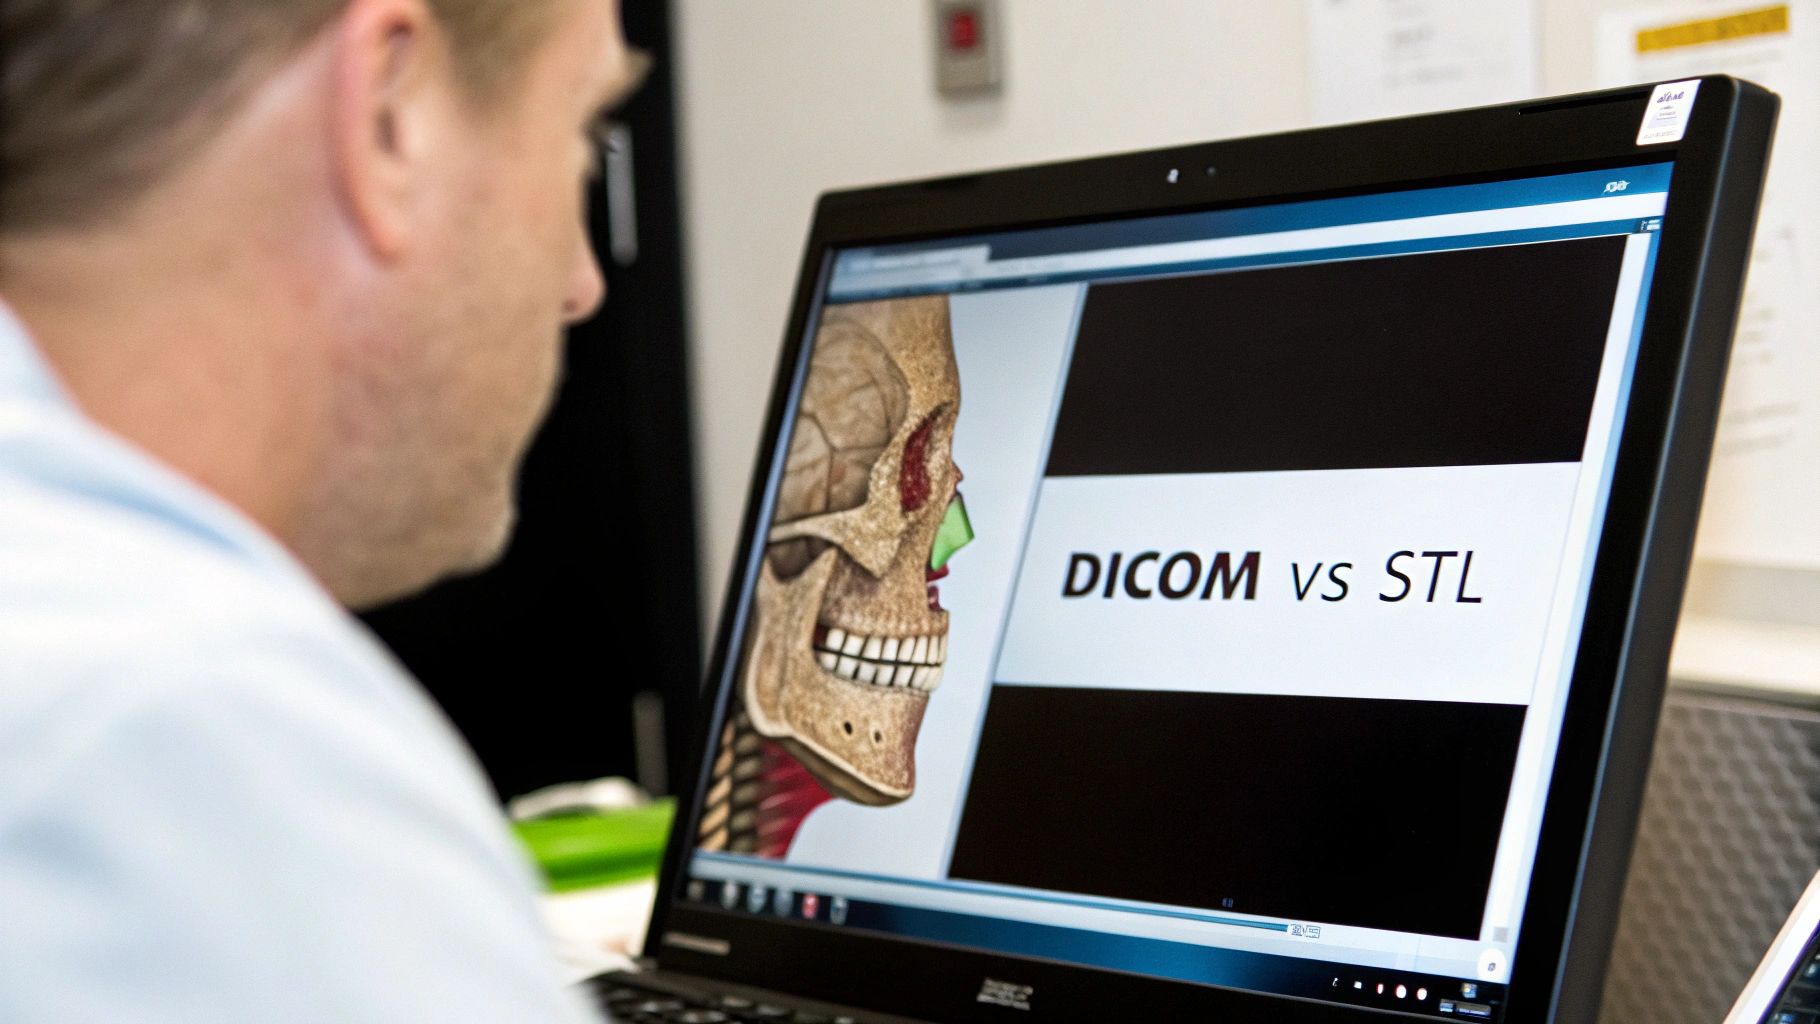
At a high level, the DICOM (Digital Imaging and Communications in Medicine) format is the global standard for medical imaging. It's a complex container that holds not just the image slices from a scan, but also a wealth of protected patient data. It's built for diagnosis, not for manufacturing.
That's where the STL (Stereolithography) file format enters the picture. An STL file is much simpler; it describes only the surface geometry of a 3D object using a mesh of triangles. It's the universal language of 3D printers. The conversion from DICOM to STL is the essential translation step that makes medical 3D printing possible.
To give you a clearer picture, here's a quick breakdown of how these two formats differ.
DICOM vs STL at a Glance
| Attribute | DICOM (Digital Imaging and Communications in Medicine) | STL (Stereolithography) |
|---|---|---|
| Primary Purpose | Medical imaging storage and transmission | 3D printing and computer-aided manufacturing (CAM) |
| Data Type | A stack of 2D image slices with associated metadata (patient info, scan settings, etc.) | A 3D surface mesh composed of interconnected triangles |
| Common Use | Storing CT scans, MRIs, and other medical images for diagnosis | Prototyping, manufacturing, creating anatomical models for surgical planning |
As you can see, they serve completely different functions. The conversion process extracts the anatomical geometry from the DICOM slices and rebuilds it as a 3D mesh for the STL file.
The healthcare industry's increasing comfort with digital systems is what makes this integration so seamless today. One study, for instance, found that 90% of small medical practices had already adopted certified electronic health record (EHR) systems. This widespread digital literacy lays a solid foundation for adopting more advanced workflows like in-house 3D printing. If you're interested, you can read more about these healthcare technology adoption trends to see just how ready the field is for this kind of innovation.
Key Takeaway: Converting DICOM data to an STL file isn't just about changing a file extension. It's about making medical data actionable—turning diagnostic information into a physical tool that can improve surgical outcomes and deepen anatomical understanding.
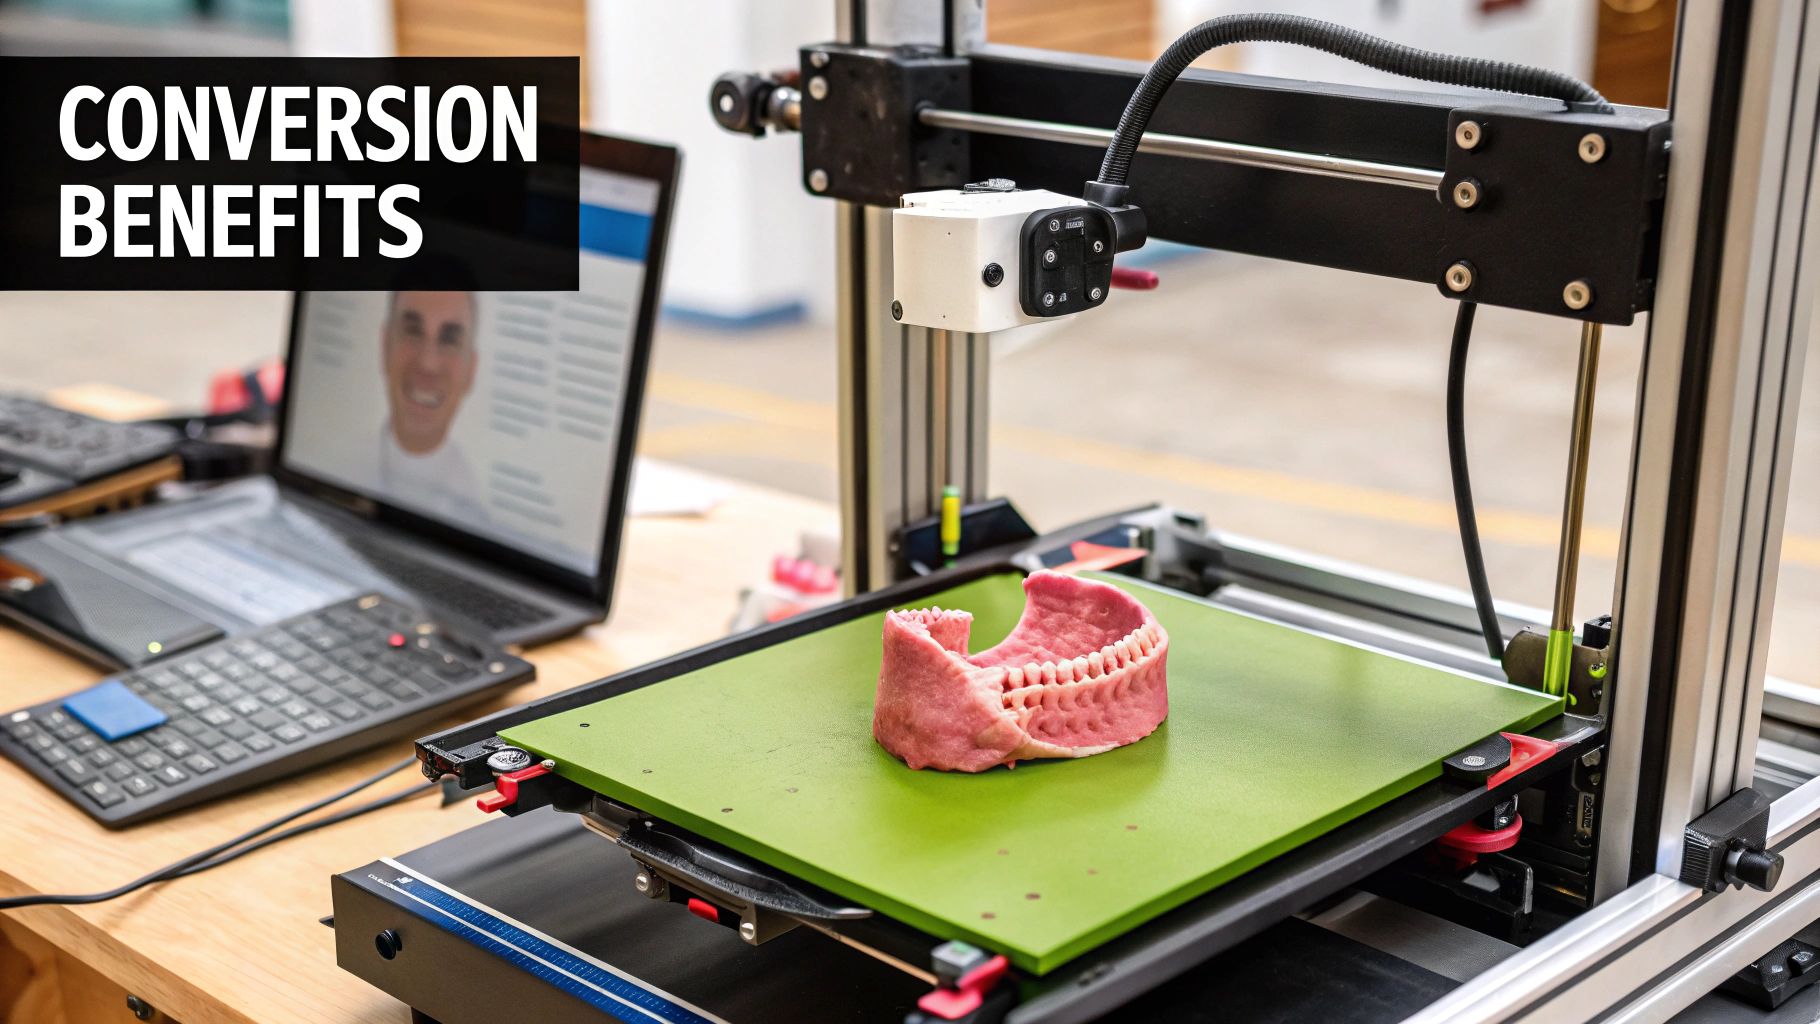
This process unlocks profound benefits across the entire healthcare spectrum:
- Enhanced Surgical Planning: Surgeons can practice complex procedures on patient-specific models, helping to reduce time in the operating room and minimize risks.
- Improved Patient Communication: A physical model makes it much easier for patients to visualize their own condition and the proposed treatment, fostering better-informed consent.
- Advanced Medical Education: Students and residents can learn from realistic anatomical replicas of rare or complex pathologies instead of relying only on 2D images in a textbook.
In this guide, I'll walk you through the entire process, from choosing the right software and segmenting the data to exporting a high-quality, printable STL file.
Choosing Your Toolkit for DICOM to STL Conversion
Before you can even think about segmentation or exporting, you have to pick your software. This is probably the most important decision you'll make in the entire DICOM to STL process. The tool you land on will directly influence the quality of your final 3D model, how long it takes to get there, and whether it’s even appropriate for what you need—whether that's for academic research or in-the-trenches clinical work.
The software landscape is broad. You've got everything from incredibly powerful, free open-source platforms to specialized, FDA-cleared commercial packages. The right choice really boils down to your budget, your technical comfort level, and the ultimate goal of your project. There's no single "best" tool, just the one that's right for the job in front of you.
Open-Source Powerhouses for Research and Education
If you're a researcher, a student, or just working on a tight budget, open-source software is a game-changer. These tools are often incredibly capable, with huge academic communities behind them, giving you a surprising amount of power without spending a dime.
From my experience, two options consistently stand out: 3D Slicer and InVesalius.
- 3D Slicer: This is pretty much the gold standard in the open-source medical imaging world. It's a beast of a platform for image analysis and visualization. Its real magic, though, is in its extensibility. There's a massive library of free plugins that let you add all sorts of specialized functions, from advanced segmentation algorithms to sophisticated analysis modules.
- InVesalius: Built from the ground up to turn medical scans into 3D models for prototyping, InVesalius offers a much more focused, and frankly, simpler user experience. It's a fantastic starting point if your main goal is just to get a 3D-printable model without getting bogged down in complex analytical features you don't need.
The user interface of 3D Slicer, for example, is built for serious work.
You can see how the multi-panel view lets you see the axial, sagittal, and coronal planes all at once, right next to the 3D rendering. This is absolutely critical for doing accurate anatomical segmentation.
My Two Cents: Don't be scared off by the learning curve on open-source tools. Yes, it can be a bit steep, but the skills you pick up are incredibly valuable and transferable. Plus, the communities behind platforms like 3D Slicer are very active, so you'll find tons of tutorials and forum threads to help you out when you get stuck.
Commercial Platforms for Clinical and High-Precision Needs
When you're working in a clinical setting or manufacturing medical devices, things change. Suddenly, accuracy, validation, and regulatory compliance aren't just nice-to-haves; they're non-negotiable. This is where commercial software comes in. These platforms are built specifically for these high-stakes environments, offering certified tools and dedicated customer support.
A major player here is Materialise Mimics. It's a complete software suite that comes with FDA clearance and a CE-mark, which means you can legally use it to create patient-specific models for planning surgeries or designing medical devices. Its algorithms are rigorously tested and validated, giving you a level of confidence you simply can't get from an open-source tool for clinical applications.
Another huge plus for commercial software is a more polished workflow. You'll find that many features are automated, and the user interface is often more intuitive. This can dramatically cut down the time it takes to get from a DICOM scan to a validated STL model—a critical advantage in a fast-paced clinic or a commercial lab where every minute counts.
Ultimately, your choice in the DICOM to STL conversion process comes down to balancing features, cost, and the strict regulatory needs of your project.
Getting Hands-On with Image Segmentation
Alright, this is where we roll up our sleeves. Segmentation is the heart of the DICOM to STL conversion process. It’s less about clicking a button and more about careful, deliberate work where you tell the software exactly what anatomical structure you want to turn into a 3D model. The quality of your final print hinges almost entirely on how well you do this.
Think of yourself as a digital sculptor. The raw DICOM scan is your block of marble, and your task is to methodically chip away everything that isn't the final piece—be it a specific bone, organ, or tangled web of blood vessels. Every tiny detail you keep or discard here will show up in the physical object you hold in your hands later.
Picking the Right Tool for the Job
Different anatomical structures require different approaches. You wouldn't use a sledgehammer for fine detail work, and the same principle applies here. Your segmentation strategy really depends on the contrast and clarity of the tissues in the scan.
A great starting point for many projects is thresholding. This technique is fantastic for high-contrast anatomy, like separating dense bone from the surrounding soft tissue in a CT scan. It works by using Hounsfield Units (HU), which are just a measure of radiodensity. For example, bone shows up with a high HU value (think +400 HU and above), whereas soft tissues and air have much lower values. By simply setting a specific HU range, you can instantly select all the voxels that make up the bone.
But thresholding can be a bit of a blunt instrument. It starts to struggle when you're trying to separate soft tissues that have very similar densities—like telling a kidney apart from the fat around it. That’s when you need to reach for more sophisticated tools. These often include:
- Region Growing: With this, you place a "seed point" somewhere inside the structure you want. The software then grows outward from that point, grabbing all the neighboring voxels that have a similar intensity. It's a bit like dropping food coloring into water and watching it spread.
- Manual Painting: This is exactly what it sounds like. You go slice by slice and manually trace or "paint" the outline of your target anatomy. Yes, it’s time-consuming, but for tricky areas, the level of control is unmatched.
- AI-Powered Segmentation: This is the exciting frontier. Modern software, like the tools our team at PYCAD develops, can use pre-trained machine learning models to automatically identify and outline complex organs. This can turn a task that once took hours of painstaking manual labor into a much faster process.
This image lays out the whole workflow beautifully, from loading the scan all the way to exporting the finished model.
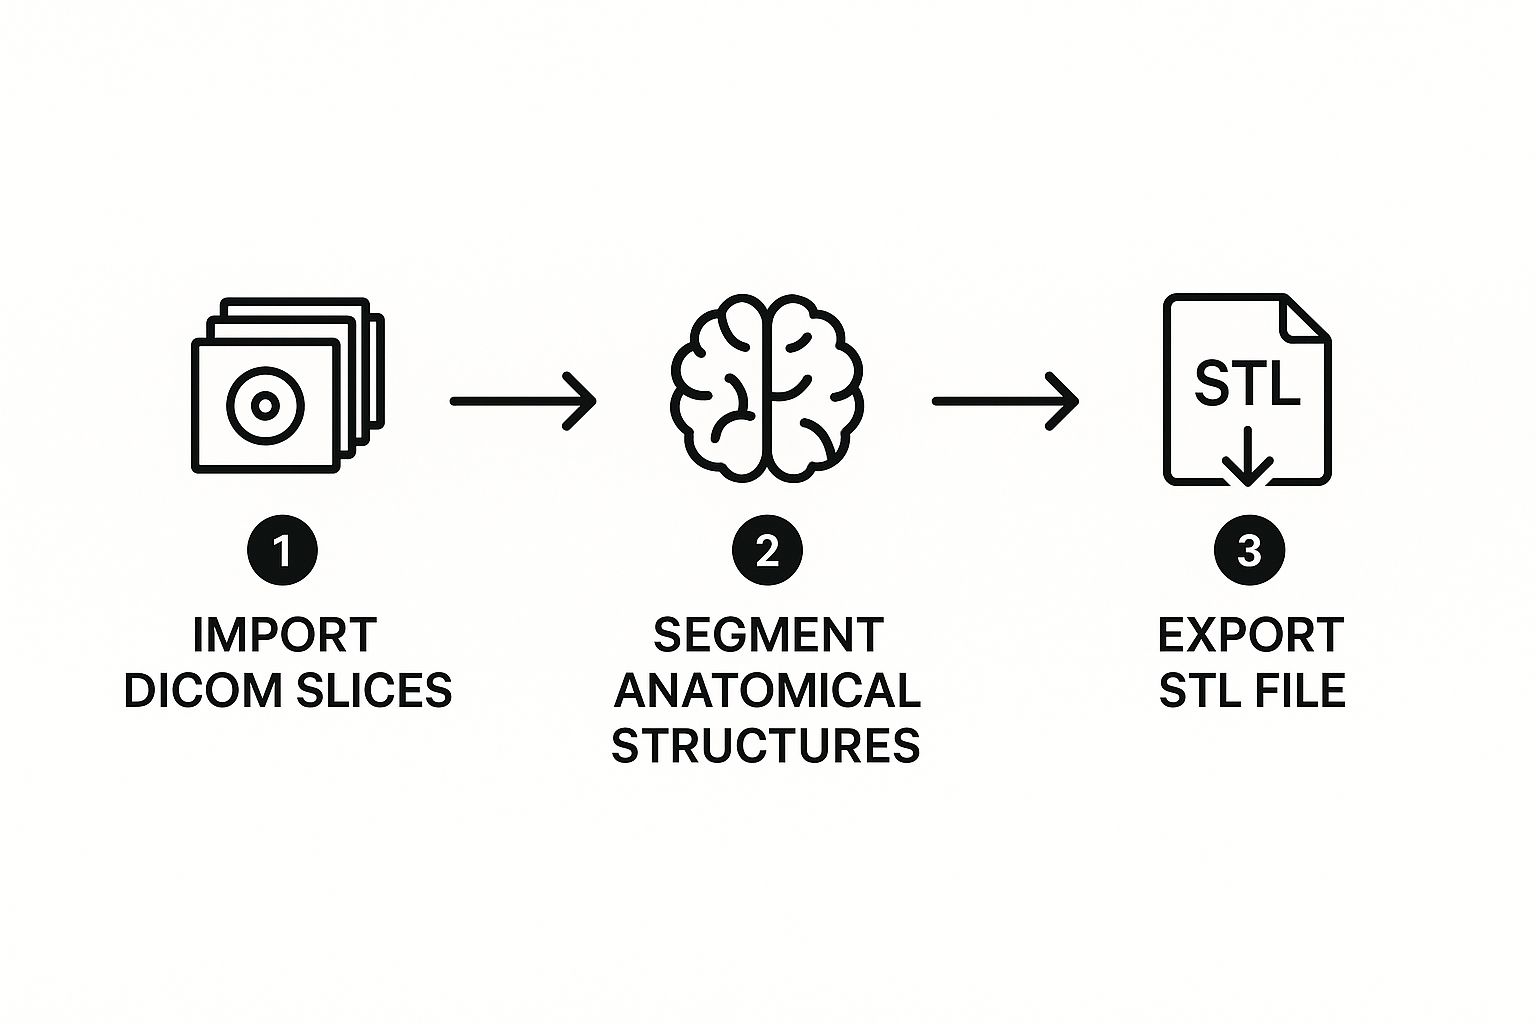
As you can see, segmentation is that critical, hands-on bridge connecting the raw medical data to a printable 3D file.
My Two Cents: Your goal here is to create a perfectly clean "mask" that covers only the anatomy you care about. If your mask is sloppy, with floating artifacts or missing chunks, your final STL file will be flawed and basically unusable. Take your time.
Real-World Example: Isolating a Femur
Let's make this real. Imagine a surgeon needs a model of a patient's femur for pre-operative planning.
First, you'd load the entire CT scan (the DICOM series) into your software, maybe something like 3D Slicer. You'll see the standard axial, coronal, and sagittal views on your screen. The first pass would likely involve that thresholding tool we talked about. You'd set a range to grab all the high-density bone—let's say from 250 HU to 1500 HU. Poof. Most of the skeleton in the view is now highlighted.
Of course, that selection will also include parts of the pelvis and tibia. Now the real work begins. Using digital editing tools, like a "scalpel" or an eraser, you'll need to carefully trim away those connected bones. You’ll also hunt for and delete any other stray "islands" of selected voxels that aren't part of the femur. This means stepping through the scan slice by slice, cleaning up the selection until only the complete femur remains. This careful cleanup is what elevates a model from a rough draft to something you can actually use in a clinical setting.
The payoff for this level of detail is huge, especially in fields like cardiovascular surgery. Radiologists are often key players here, using contrast-enhanced scans to segment the blood pool within arteries. This allows them to create hollow models of vascular networks that surgeons can physically hold and study before an operation. Getting to practice on a model of a patient's unique, intricate anatomy is a massive advantage. You can discover more about how 3D printing aids cardiovascular surgery to see just how impactful this technology has become.
Turning Your Segmentation into a High-Quality Printable File
So you've meticulously isolated the anatomy you need, and now you have a clean digital mask. Great work, but you're not quite at the finish line yet. The next step is converting that mask into a solid, printable 3D object, and this is where many projects either succeed or fail.
This isn't a simple "File > Save As" operation. Think of this stage as the digital equivalent of finishing a raw sculpture. The initial model that software like Invesalius, 3D Slicer, or Seg3D generates from your DICOM in STL work will be rough and often unprintable. It needs some crucial refinement to ensure the final physical object is accurate and high-quality.
Smoothing and Making the Model Watertight
The first thing you’ll probably notice is the "stair-stepping" effect on your new 3D model. This is a tell-tale sign of its voxel origins—it's what happens when you turn a stack of 2D pixel squares into a 3D surface. To get rid of those jagged edges, you'll need to use a mesh smoothing tool. This function cleverly averages out the positions of the tiny triangles making up the surface, giving you a much more organic and realistic finish.
A word of caution here: it's very easy to overdo it. Too much smoothing can obliterate the fine details you worked so hard to capture. You want to apply just enough to lose the pixelated look without sacrificing critical anatomical features. It’s a delicate balance learned through experience.
Next, you have to make sure the model is watertight—a term we use to mean the mesh is a single, solid object with no holes. A 3D printer needs a completely sealed volume to understand how to build the object layer by layer. Even a pin-sized hole can confuse the slicing software, leading to a failed print or bizarre artifacts. Most programs have a "hole filling" or "mesh repair" function to automatically patch these gaps.
Optimizing the Mesh for Printing
After all that, your mesh is probably technically correct, but it might also be gigantic. It's not uncommon for a high-resolution scan to create an STL file with millions of triangles, which can be a nightmare for slicing software to handle. This is where mesh decimation (or simplification) saves the day.
Decimation is a smart process that reduces the triangle count without wrecking your model. It strategically removes triangles from flatter, less complex areas while preserving the high-density mesh in places with fine detail. For instance, on a femur model, it would strip away polygons from the smooth shaft but keep all the detail around the intricate structures of the femoral head.
My Two Cents: Decimation is all about finding that sweet spot. The goal is to get the file size down to something manageable without losing the anatomical information that makes the model useful. If you decimate a vertebra too much, for example, you could lose the subtle contours of the spinous process, making the print useless for any real-world application.
Exporting the Final STL File
Once your mesh is smoothed, watertight, and optimized, you’re finally ready to export. The last choice you'll make is the file format: ASCII vs. Binary STL.
Here’s the breakdown:
- ASCII STL: This is a text-based format. You can actually open the file in a text editor and see the raw coordinates for every triangle. While that's handy for some deep-level debugging, it creates enormous files.
- Binary STL: This format stores the exact same data in a much more compact, computer-readable form. The files are significantly smaller—often by more than 75%—and are the undisputed standard for 3D printing.
Always, always choose binary STL. Your slicing software will thank you, and it’s the format every 3D printer on the market expects. With that final click, your journey from a 2D medical scan to a tangible, high-quality 3D model is complete.
How Industry Standards Shape Your Workflow
When you’re turning a DICOM scan into a physical 3D model, it’s easy to get lost in the software settings and segmentation clicks. But behind the scenes, a set of established industry standards is what makes this entire process possible and, more importantly, reliable.
These aren't just bureaucratic guidelines. Think of them as the shared language that allows different software, scanners, and hospitals to communicate seamlessly. Without these standards, trying to share and use 3D medical data would be a chaotic mess, creating untrustworthy results.
The DICOM standard itself has come a long way from just being a container for 2D images. A game-changing development for us in the 3D printing world was DICOM Supplement 205. This update officially standardized how 3D models, including the STLs we create, can be encapsulated directly within the DICOM framework.
Integrating 3D Models into Clinical Practice
So, what does that actually mean for your day-to-day work? It means a 3D model you meticulously segment from a patient’s scan can be stored and managed right inside a hospital's Picture Archiving and Communication System (PACS). The STL file effectively becomes another part of the patient's official medical record, traveling alongside the original CT or MRI scans.
This integration is a huge step forward. It guarantees that the 3D model is directly traceable to the source imaging data and patient information. This maintains a clear chain of custody, which is critical for security and regulatory compliance in healthcare.
Imagine a surgeon preparing for a complex procedure. They can now access not only the patient's CT scans but also the pre-segmented STL model for surgical planning—all from the same secure hospital network. This eliminates the risky practice of transferring sensitive files via USB drives or email and ensures everyone is working from the same validated model.
The Role of DICOM Working Group 17
This progress didn't just happen on its own. It’s the result of incredible collaboration within the medical community. DICOM Working Group 17 (WG-17) is the driving force here, a team of experts dedicated to advancing the standards for 3D printing and additive manufacturing in medicine.
One of their biggest wins for the DICOM in STL workflow was getting STL file encapsulation accepted into the standard via Supplement 205. This was championed by organizations that saw the immense potential of 3D printing in patient care. If you're interested in the bigger picture, you can find out more about how open standards in healthcare are pushing innovation forward and see the collaborative spirit behind these changes.
Ultimately, this collective focus on standardization makes the entire process of creating and using 3D-printed anatomical models safer, far more efficient, and much better integrated into the daily rhythm of clinical care.
Frequently Asked Questions About DICOM to STL Conversion
When you're getting started with converting DICOM to STL, it's natural to run into a few common questions. Even with the best software, some concepts can be tricky. Let's walk through some of the things people often ask, drawing from real-world experience to clear up any confusion.
Can Any DICOM Scan Be Turned Into a Good 3D Model?
Technically, yes, but the real question is whether it will be a useful model. The quality of your 3D print is a direct reflection of the quality of the original scan. It all comes down to the source data.
For the best results, you need high-resolution scans where the slices are very close together. If you start with a "thick-slice" scan, you'll end up with a stair-stepped, blocky model, and no amount of software magic can fix that.
Here’s what I’ve learned works best:
- For Bone: Standard CT scans are perfect. The natural high contrast between bone and soft tissue makes segmentation straightforward.
- For Organs or Blood Vessels: You'll want a contrast-enhanced CT or an MRI. The contrast agent makes these structures pop, so you can easily isolate them from the surrounding anatomy.
Trying to build a model from a blurry or low-resolution scan is an exercise in frustration. You'll spend hours trying to define edges that just aren't there and end up with a print that doesn't accurately represent the patient's anatomy.
The Golden Rule: The quality of your DICOM data sets the absolute ceiling for the quality of your STL file. It's a classic case of "garbage in, garbage out." Always push for the highest-resolution scan you can get your hands on.
What Exactly Is a "Watertight" STL Model?
You'll hear the term "watertight" or "manifold" thrown around a lot. It's a critical concept. Imagine your 3D model is a balloon. A watertight model is one that's perfectly sealed—no holes, no gaps, no leaks.
This is non-negotiable for 3D printing. The slicing software, which prepares your model for the printer, needs a completely closed surface to understand what's "inside" and what's "outside." This is how it calculates the toolpath for each layer.
If your model has even microscopic holes, the slicer gets completely lost. Best case, it throws an error and refuses to process the file. Worst case, it tries to print anyway, leading to bizarre results like missing walls, random internal structures, or a completely failed print.
Thankfully, most good medical conversion programs have built-in "hole filling" or "mesh repair" functions. Running this check is a mandatory final step before you even think about exporting. Don't skip it.
Why Is My STL File So Massive?
So you've exported your model and the file is enormous—hundreds of megabytes, maybe more. This is normal. Your STL file is essentially a text file that describes the surface of your model using a massive list of tiny triangles. More detail means more triangles, which means a bigger file.
The solution is a process called mesh decimation or simplification. This is a smart tool that reduces the total number of triangles in your model. It works by removing triangles from flatter, less detailed areas while trying to keep them in places with intricate curves and important features.
The trick is finding the right balance. You can often reduce the triangle count by 50-70% without losing any visually important detail. This dramatically shrinks the file size, making it much more manageable for your slicing software and less likely to choke your printer's memory.
At PYCAD, we develop the AI algorithms that drive this kind of advanced medical image analysis, making complex tasks like segmentation faster and more precise. Learn how our AI solutions can enhance your medical imaging projects.