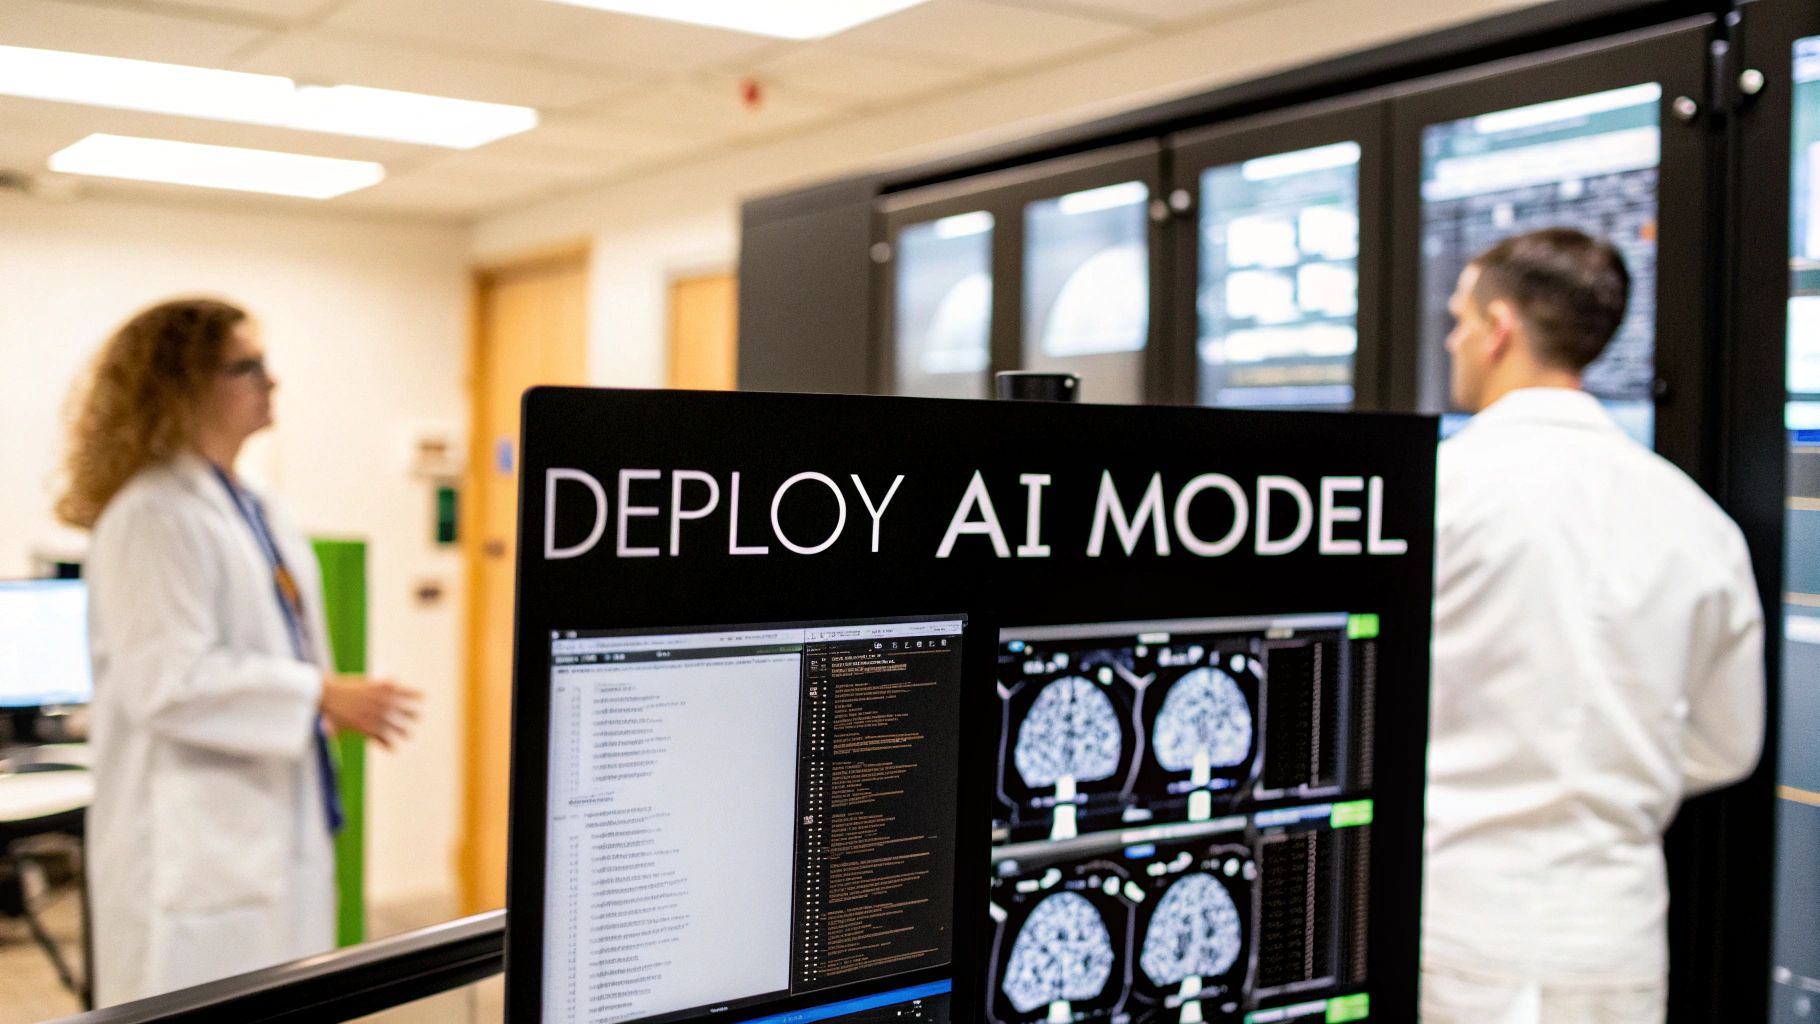
So, you've built a promising AI model. What now? Deploying it is the crucial next step—the moment you move your model from the sandbox of a development environment into the real world where it can start making predictions on live data.
This isn't just about flipping a switch. It’s about integrating your model into existing systems and workflows, usually by exposing it through an API, so it can deliver genuine value. This is where your research truly comes to life.
From Lab To Production: A Realistic AI Deployment Roadmap
Let's be honest: taking an AI model from a controlled lab environment to a live production system is where the real work begins. It’s far more than just pushing code. You're building a resilient, scalable, and maintainable system that has to deliver tangible results, day in and day out. This initial phase sets the stage for everything that follows.
A successful deployment is a strategic process, not just a technical task. It demands careful planning, especially around your model's specific needs. For example, deploying a medical imaging AI to spot anomalies in X-rays is a high-stakes game. You need extreme precision, low latency for quick diagnostics, and ironclad adherence to healthcare regulations like HIPAA. This is a world away from a retail recommendation engine, where an occasional off-base suggestion isn't a critical failure.
Key Deployment Concepts
Before we dive into the nitty-gritty, let's get on the same page with a few core concepts. You'll hear terms like containerization, API design, and continuous monitoring a lot. Think of these as the pillars holding up your entire deployment. Each one plays a vital role in making sure your model is robust, secure, and accessible.
One of the most common pitfalls I see is underestimating the operational overhead. A model isn't a "fire-and-forget" asset. It requires constant attention—monitoring, retraining, and adapting to new data. This whole practice has a name: MLOps (Machine Learning Operations).
The global push for AI is undeniable. An incredible 83% of companies now see AI as a critical piece of their strategic puzzle, and an estimated 97 million people are expected to work in AI-related roles. This explosive growth has also led to a ninefold increase in mentions of AI in legislation since 2016, which means compliance is no longer an afterthought. You can explore more about these trends and what they mean for your strategy.
The whole process can feel complex, but this visual breaks down the foundational workflow into three core actions.

As the infographic shows, the journey starts by packaging your model so it's portable (containerization). From there, you set up the environment where it will live, and finally, you make it available for use through a secure endpoint.
To put this into a more structured view, here’s a breakdown of the typical stages you'll go through.
AI Model Deployment Lifecycle Stages
| Stage | Key Objective | Primary Activities |
|---|---|---|
| 1. Packaging | Create a self-contained, portable version of the model. | Containerizing the model with dependencies using Docker. Serializing the model (e.g., pickle, joblib). |
| 2. Infrastructure Setup | Prepare a stable and scalable environment. | Provisioning cloud resources (VMs, Kubernetes clusters). Configuring networks and storage. |
| 3. Deployment | Launch the model into the production environment. | Deploying the container to the infrastructure. Setting up CI/CD pipelines for automation. |
| 4. Exposure & Integration | Make the model accessible to other services. | Creating a REST API (e.g., using FastAPI, Flask). Setting up an API gateway for security and traffic. |
| 5. Monitoring & Maintenance | Ensure ongoing performance and reliability. | Implementing logging and monitoring for performance, drift, and errors. Establishing retraining cycles. |
Each stage in this lifecycle builds on the last, creating a robust system that can reliably serve predictions and adapt over time. This structured approach helps ensure nothing falls through the cracks.
Choosing Your Deployment Infrastructure
Where your AI model lives is the foundation for everything that comes next. This isn't just a technical footnote; it’s a strategic decision that dictates performance, scalability, and ultimately, cost. You’re essentially choosing between three main paths: going with a major cloud provider, hosting it yourself on-premises, or finding a middle ground with a hybrid approach.
Your model's unique needs should be your guide. Let's stick with our medical imaging AI example. For a radiologist waiting on an analysis, latency is everything. They need results in near real-time. This reality makes an on-premises solution—where the model runs on servers inside the hospital's network—look pretty appealing. You sidestep the delays that come from shipping massive imaging files across the internet to a cloud server miles away.
But the cloud's flexibility and scale are hard to ignore. The power to spin up beefy GPU instances on a moment's notice, without the sticker shock of buying and maintaining that specialized hardware yourself, is a massive advantage for most teams.
Cloud Deployment: The Big Three
When people talk about cloud platforms for AI, you'll hear three names over and over again: Amazon Web Services (AWS), Microsoft Azure, and Google Cloud Platform (GCP). Each one has built a suite of services to make deploying an AI model easier, but they all have their own flavor.
- Amazon Web Services (AWS): Their Amazon SageMaker is a beast. It’s a fully managed platform designed to handle the entire machine learning lifecycle, taking a lot of the infrastructure headaches off your plate.
- Microsoft Azure: Azure Machine Learning really shines with its deep integration into other Microsoft enterprise software. Its AI Foundry also gives you a head start with a catalog of over 1,800 models, all wrapped in built-in security and compliance.
- Google Cloud Platform (GCP): GCP has serious credibility in the AI world, born from Google's own deep research. Its Vertex AI platform is particularly well-regarded for its powerful AI and data analytics capabilities.
As you weigh your cloud options, remember that effective systems integration is crucial. Your model won't operate in a vacuum. It needs to talk to other systems—pulling data from patient records, pushing results to billing software—and that connection needs to be seamless.
On-Premises Deployment: When to Keep It In-House
While the cloud feels like the default answer these days, sometimes an on-premises deployment is the only one that makes sense. This is particularly true in heavily regulated fields like healthcare or finance where data sovereignty isn't just a preference, it's a legal mandate. You simply can't send certain data outside a specific country or even beyond the organization's own firewalls.
The real driver for going on-prem is control. You own the hardware, you manage the network, and most importantly, you have total authority over the data. When you're dealing with sensitive patient information under regulations like HIPAA, that level of control is non-negotiable.
Performance is another strong argument. For applications that demand ultra-low latency, processing data locally cuts out the round-trip delay to a cloud data center. Imagine an AI model built directly into a CT scanner—the analysis has to happen right there, right then.
The obvious trade-off is the cost and the headache of maintenance. You're on the hook for buying, setting up, and maintaining all the hardware, which can be a huge capital and operational expense.
Making the Right Call
So, what's the right move for you? It really boils down to a handful of key factors. This table breaks down the decision-making process based on what usually matters most to a business.
| Factor | Cloud (AWS, Azure, GCP) | On-Premises |
|---|---|---|
| Scalability | High. Easily ramp resources up or down as needed. | Limited. Scaling means buying and installing more servers. |
| Initial Cost | Low. The pay-as-you-go model avoids a big upfront check. | High. Requires a significant capital investment in hardware. |
| Data Control | Moderate. You're governed by provider agreements and regions. | Total. You have complete control over data security and location. |
| Latency | Variable. Depends on your internet connection and data center distance. | Very Low. Processing happens on your local network. |
| Maintenance | Low. The provider manages all the hardware and infrastructure. | High. Your team is responsible for keeping everything running. |
For many organizations, a hybrid setup ends up being the most practical solution. You could do your model training in the cloud, tapping into that immense, on-demand computing power. Then, you could deploy the final, trained model on-premises for the actual day-to-day inference, satisfying security and latency needs. It’s a smart way to get the best of both worlds.
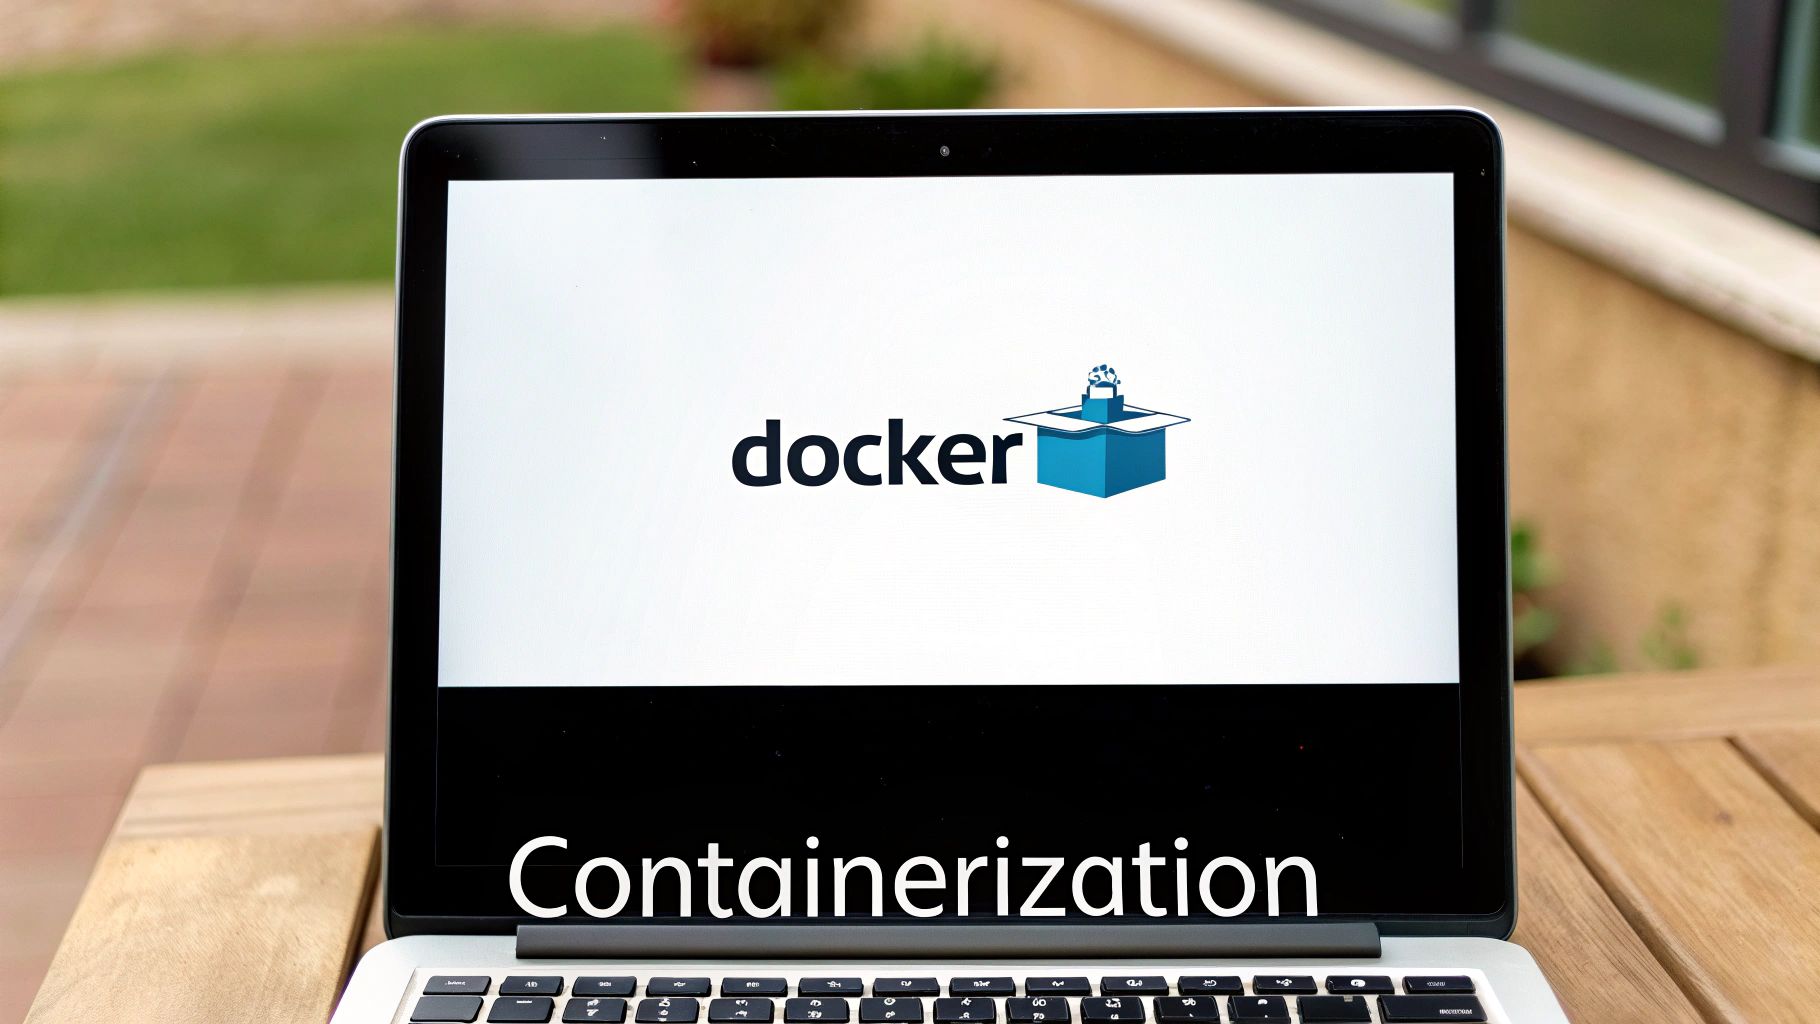
Using Docker to Keep Your Model Consistent Everywhere

The classic developer nightmare—"it works on my machine"—is more than just a meme; it's a real project killer. When you're ready to deploy an AI model, you need ironclad confidence that it will behave in production exactly as it did during testing. This is precisely where containerization, especially with Docker, comes into play. It's not just a nice-to-have, it's essential.
Think of a Docker container as a perfectly self-contained package. It bundles everything your application needs to run: your model files, specific dependencies like TensorFlow or PyTorch, system libraries, and all your configuration settings. This lightweight "box" runs identically on any machine with Docker installed, whether it’s your laptop or a massive cloud server. This level of consistency is the core reason Docker is now the de facto standard for reliable deployments.
Why Containerization Isn't Optional Anymore
For any serious AI deployment, containers give you a level of control and flexibility you can't get otherwise. It’s about more than just avoiding dependency conflicts.
- Portability: Once you build a Docker image, you can push it to a registry (like Docker Hub or AWS ECR) and pull it down to run practically anywhere. Cloud, on-prem, hybrid—it doesn't matter.
- Isolation: Each container is its own isolated world. This means your model’s environment won't clash with other applications on the same server, which eliminates one of the most common and frustrating sources of deployment failures.
- Scalability: When you pair Docker with an orchestration tool like Kubernetes, scaling becomes almost automatic. If traffic to your API suddenly spikes, Kubernetes can launch new container instances in seconds to handle the demand without you lifting a finger.
This control is absolutely critical in regulated fields like healthcare. For our medical imaging AI, a container ensures that the exact version of the model and its validated software environment are used for every single prediction. This isn't just good practice; it's a cornerstone of maintaining compliance and diagnostic integrity.
How to Write a Dockerfile for Your AI Model
The blueprint for any Docker image is a simple text file called a Dockerfile. It's just a list of instructions that Docker follows, step-by-step, to assemble your image. A well-written Dockerfile is your first step toward a smooth, containerized deployment.
Let's walk through a real-world example. Imagine we have a Python model saved as model.pkl, with an API built using FastAPI in a file named main.py. The Dockerfile would look something like this:
Start with an official Python base image
FROM python:3.9-slim
Set the working directory inside the container
WORKDIR /app
Copy the requirements file into the container
COPY requirements.txt .
Install the Python dependencies
RUN pip install –no-cache-dir -r requirements.txt
Copy the rest of your application code
COPY . .
Expose the port the API will run on
EXPOSE 8000
Command to run the application
CMD ["uvicorn", "main:app", "–host", "0.0.0.0", "–port", "8000"]
This Dockerfile is clean and effective. It starts with a lightweight Python image, installs the libraries from our requirements.txt file, copies over our code, and finally, tells the container what command to run to get the API server going.
Pro Tip: A common rookie mistake is using a massive base image (like the full
python:3.9tag) when a leaner version (python:3.9-slim) is all you need. Smaller images build faster, have a much smaller attack surface, and are quicker to transfer. Always start with the slimmest base image possible.
Build and Test Locally Before You Deploy
With your Dockerfile written, building the image is a one-line command. In your terminal, navigate to your project directory and run this:
docker build -t medical-imaging-api .
This command tells Docker to build an image from the Dockerfile in the current directory (.) and give it the tag (-t) medical-imaging-api.
Once the build finishes, you absolutely must test it locally. This isn't a step to skip. Running the container on your own machine helps you catch issues early, confirming that all dependencies were installed correctly and that your API boots up without a hitch. This simple local validation loop will save you a world of pain and debugging time later on.
Building a REST API to Serve Model Predictions
So, you've successfully containerized your model. It’s a neat, self-contained unit, but right now, it’s basically sitting in a soundproof room. To get any value out of it, you need a way for the outside world to talk to it. That's where a REST API comes into play. Think of it as the public-facing front door for your model, translating web requests into instructions your model can understand and act on.
Putting this API layer in place is a non-negotiable step to deploy an AI model in any real-world scenario. Without it, your powerful model is just an isolated artifact, completely cut off from the applications and users that need its insights. We'll be using a modern Python framework to build out this essential communication bridge.
For this kind of work, a framework like FastAPI is my go-to recommendation. It’s remarkably fast and intuitive, especially when you’re building APIs that need to juggle complex data types—like the DICOM files you constantly encounter in medical imaging.
Structuring Your API Endpoints
The heart of your API is its endpoints. These are simply the specific URLs that other services will call to get a prediction. A well-designed API has logical, predictable endpoints that another developer can understand without having to read pages of documentation.
For our medical imaging model, a clean endpoint might be /predict/xray. When an application sends a POST request with an image file to this URL, your API's backend logic kicks in. It's responsible for prepping the image, feeding it to the model, and then packaging the model's output into a clean, standardized response.
Speaking of responses, how you format the output is just as important as how you handle the input. JSON is the undisputed standard here. It's lightweight and can be parsed by virtually any programming language out there. A well-structured response is far more useful than just a raw text string.
Here’s what a good JSON response might look like:
{
"prediction_id": "a1b2c3d4-e5f6-7890-1234-567890abcdef",
"diagnosis": "Pneumonia",
"confidence_score": 0.92,
"regions_of_interest": [
{"box": [150, 200, 350, 450], "label": "Area of Concern"}
]
}
This gives the consuming application everything it needs: a unique ID for logging and tracking, the actual diagnosis, a confidence score to gauge reliability, and even the exact coordinates to highlight the problem area on the original scan.
Building Robust Backend Logic
Your API needs to do more than just pass data back and forth. Real-world data is messy, and your API needs to be tough enough to handle it without falling over.
Here are a few things I always build into my backend logic:
- Input Validation: What happens if someone sends a JPEG instead of a DICOM file? Or a text document? Your API shouldn't crash. It should be smart enough to validate the input and send back a clear error message, like a
400 Bad Request, explaining what went wrong. - Graceful Error Handling: If the model itself chokes on a weird input, the API needs to catch that failure gracefully. Instead of a vague
500 Internal Server Error, you can return a more specific message that helps your team debug the issue without exposing sensitive internal workings. - Asynchronous Processing: Some predictions, especially on high-resolution medical scans, aren't instant. They can take several seconds. If your API is synchronous, the user's application will be stuck waiting. A better approach is an asynchronous pattern where the API accepts the job, immediately returns a "processing" status with a job ID, and lets the client check back later for the final result.
This is also a great point to think about how your model might interact with other AI-driven systems. For another practical look at API construction for AI, check out this guide on the API for Chatbot Integration: Your Complete Setup Journey.
The idea of building your own API for a powerful model might have seemed out of reach a few years ago, but the economics have changed dramatically. The cost to deploy AI models has nosedived, with GPT-3.5-level inference costs dropping over 280-fold in just two years. On top of that, the performance gap between open-weight and proprietary models has shrunk from 8% to just 1.7%, making high-quality, in-house deployment more accessible than ever. You can read the full research about these AI trends in the latest AI Index Report.
By baking in solid validation, error handling, and smart processing strategies, you turn your containerized model from a science project into a truly reliable, production-ready service.
Navigating Security and Compliance for AI
Once your AI model is built, the real test begins. Deploying it, especially in a field like medical imaging where you're handling incredibly sensitive data, shifts the focus from pure tech to the high-stakes world of security and compliance.
This isn't just a box to check. It's a fundamental part of the job that protects patients, your organization, and the model's own integrity. A single breach isn’t just a technical problem; it can trigger devastating legal, financial, and reputational fallout.
Protecting Data and Managing Secrets
Your first line of defense is always the API endpoint. Leaving it unprotected is like leaving the front door wide open. You absolutely must implement strong authentication to control who can query your model. Simple API keys work for basic client verification, but for more fine-grained control, the OAuth 2.0 framework is the way to go, allowing you to manage permissions on a user-by-user basis.
Of course, controlling who can access the API is only half the battle. You also have to protect the data while it’s moving. Every piece of information sent between a client and your model needs to be encrypted. Using TLS/SSL (Transport Layer Security) isn't optional—it's the baseline standard for encrypting data-in-transit, scrambling it so it's useless to anyone who might be snooping on the network.
A surprisingly common mistake I still see is hardcoding secrets—API keys, database passwords, you name it—directly in the source code. That's a ticking time bomb.
Instead, always use a dedicated secrets management tool. Options like HashiCorp Vault or the native services from cloud providers like AWS Secrets Manager or Azure Key Vault are designed for this. They store your credentials securely and let your application pull them only when needed, keeping them far away from your code repositories.
A robust security posture demands a clear audit trail. For every prediction, you should log who made the request, when they made it, what data they sent, and what result the model returned. This isn't just for debugging; it's essential for proving compliance with regulations like HIPAA or GDPR.
To make sure you're covering all your bases, working through a comprehensive IT security audit checklist can be incredibly helpful. It provides a structured way to systematically check and strengthen your defenses.
The Regulatory Minefield of AI Deployment
In healthcare, regulations like HIPAA in the U.S. and GDPR in Europe are non-negotiable. These frameworks impose strict rules on handling, storing, and processing personal health information, and the penalties for getting it wrong are severe.
This regulatory pressure directly influences how organizations choose to deploy AI. It’s no surprise that 89% of enterprises in regulated industries now say that compliance-ready models are their top priority.
You can even see this play out in regional model preferences. In North America, GPT-4o is a popular choice, but many European organizations gravitate toward models like Claude, which are often perceived as better aligned with strict GDPR requirements. You can discover more insights about these AI model preferences and see how regulations are shaping the industry.
To stay on the right side of these rules, here are a few practices you should bake into your process:
- Data Anonymization: Whenever you can, strip all personally identifiable information (PII) from the data before it ever touches your model.
- Explainability: Avoid building complete "black boxes." The ability to explain why your model made a certain prediction is quickly becoming a critical requirement for earning trust and satisfying regulators.
By weaving security and compliance into every step of your deployment, you’re not just building a powerful system—you’re building one that's trustworthy and resilient.
Monitoring and Maintaining Your Production Model

Pushing a model live isn't the finish line; it’s really just the starting gun. I've seen countless teams pour all their energy into the initial sprint to deploy an AI model, only to let it wither on the vine once it’s in production. This is a huge mistake. The real work of MLOps starts here, making sure your model stays accurate, fast, and reliable in the wild.
It all begins with a solid logging system. You need to capture everything—and I mean everything. Log incoming requests, the model's predictions, and any errors that pop up. This detailed trail becomes your lifeline for debugging thorny issues that only appear under real-world pressure. Imagine a request from a specific brand of medical scanner consistently timing out; without those logs, you'd be completely in the dark.
Building Your Monitoring Dashboard
Once your logs are flowing, you can build a dashboard to see your model's health at a glance. This isn't just about catching crashes. You need to track key performance indicators (KPIs) that paint a clear picture of how your model is actually behaving.
I always recommend starting with these essential KPIs:
- Latency: How long does a prediction take? A sudden spike is a major red flag, pointing to anything from an infrastructure bottleneck to a problem with the model code itself.
- Throughput: How many requests can your model handle per second? This tells you about real-world usage patterns and helps you plan for scaling up.
- Error Rate: What percentage of requests are failing? Catching bugs early, before they affect a large number of users, is critical.
- Resource Utilization: Keep a close watch on CPU, memory, and GPU usage. This helps you avoid overloading your systems and keeps your cloud bills in check.
Post-deployment monitoring is standard practice in any safety-critical field. The FDA monitors drugs after they hit the market, and transportation boards investigate accidents. We need to apply that same level of rigor to AI, especially since many real-world harms are impossible to predict before a model is widely used.
Confronting Data Drift
Now, let's talk about the silent killer of production AI models: data drift. This happens when the live data your model encounters starts to look different from the data it was trained on. It's a subtle but deadly problem.
For example, a medical imaging model trained on scans from one manufacturer’s CT scanner might see its performance nosedive when it starts processing scans from a newer machine with different image properties. The model hasn't changed, but the world has.
To fight this, you have to be proactive. Constantly compare the statistical properties of incoming data against your original training set. Are the pixel intensity distributions shifting? Are new, unexpected patterns showing up?
When you spot significant drift, that's your cue. The model is going stale. This should kick off a well-defined feedback loop:
- Flag the performance drop automatically with alerts.
- Collect the new, problematic data for a closer look.
- Retrain the model on a fresh dataset that includes this new data.
- Redeploy the updated model back into production.
This cycle is what transforms a static model into a living, breathing system. It ensures your model continues to adapt and deliver value long after the excitement of the initial launch has faded.
Answering the Tough Questions About AI Deployment
Once you get past the theory and into the weeds of deploying an AI model, the practical questions start piling up. It happens on every project. Both the engineering team and the business leads start hitting the same walls of uncertainty. Let's walk through some of the most common questions I hear and clear up a few things to keep your project from getting derailed.
One of the first and biggest unknowns is always cost. People want a hard number, but the truth is, the price tag for running a model in production is far more than just the server rental. You have to account for everything: the cost of storing petabytes of medical images, the network bandwidth to move that data, the fees for your API gateway, and—most importantly—the engineering hours needed to keep the whole system humming. A model that sees heavy, constant use or needs a beast of a GPU will naturally cost a lot more to operate than a simple one.
Performance is another big one. "What's a good response time?" The only right answer is: it depends entirely on the use case. For the medical imaging models we build, a delay of more than a couple of seconds is a non-starter in a real clinical environment. But if you're running a batch job overnight to analyze research data, latency is barely a concern. You have to define your performance benchmarks based on what the end-user actually needs to do their job effectively.
I get this question all the time: "Can we just put it on a cheaper server?" My response is always the same: let's benchmark it and see. Sure, the model might run on a low-cost machine, but if the latency skyrockets and a doctor is left waiting, you haven't saved money. You've just created a frustrating and potentially useless tool. The "cheapest" option often costs you more in the long run.
How Often Do We Need to Retrain the Model?
This is probably one of the most critical questions, and the answer isn't a simple "every six months." Your retraining schedule shouldn't be based on the calendar; it should be triggered by what you see in your monitoring data. You have to be constantly on the lookout for data drift, which is when the new, real-world data your model is seeing starts to look different from the data you trained it on.
- Set a clear trigger. A great starting point is to automatically kick off a retraining pipeline when your model's accuracy dips below a specific, predetermined threshold.
- Build a data feedback loop. Don't let valuable production data go to waste. Create a system to capture new and tricky examples from the field, so you can use them to build an even smarter, more robust training set next time.
In a field like medical diagnostics, things change fast. New imaging equipment gets rolled out, and new techniques are developed. This means you’ll likely need to retrain your models more often just to keep up and maintain the high level of accuracy that clinicians depend on. Let the data be your guide.
At PYCAD, our focus is on transforming complex AI concepts into reliable, production-grade systems specifically for the medical imaging world. We handle the entire journey, from wrangling initial data to deploying secure, scalable APIs. If you need the expertise to bring your AI project to life, you can learn more about our AI deployment services.