It's truly remarkable what we can do in medicine today. We can take a series of flat, two-dimensional medical scans and turn them into a physical, three-dimensional model you can hold in your hand. The key is using specialized AI workflows that can intelligently interpret stacked images, like the DICOM slices from a CT scan, and build them into a complete 3D object.
From Flat Scans to Tangible Models
Think about this for a moment: a surgeon practicing a complex procedure on a perfect replica of a patient's heart before ever stepping into the operating room. This isn't a scene from a movie. It's happening right now, thanks to our ability to convert 2D medical images into incredibly accurate 3D models. This guide gets right to the point, walking you through the practical steps of how AI makes this leap from digital scan to physical reality.
The impact is immediate and powerful. Surgeons can rehearse tricky operations, patients get a much clearer picture of their own anatomy, and medical researchers can uncover new insights into how diseases develop. At its core, the concept is straightforward: we're teaching a machine to perceive depth and structure in a stack of flat images.
The Evolution of 2D to 3D Conversion
The quest to create 3D views from 2D images has been a long one. Early efforts back in the 1950s involved things like anaglyphic 3D glasses, but they were held back by clunky depth perception and weird color distortions. Fast forward to the 1990s, and computer vision started to change the game, but it still wasn't perfect.
It’s the recent breakthroughs in machine learning, especially with convolutional neural networks (CNNs), that have really cracked the code. Methods like "Deep3D" have shown just how good we've gotten at making a 3D model from a 2D image. We’ve come a long way.
This guide is all about putting these advanced techniques to work in a real-world clinical environment. We'll go through the entire process, from getting your raw DICOM data ready to having a finished model ready for surgical planning.
What This Guide Delivers
I've laid this out as a practical blueprint for anyone in the medical field, whether you're a clinician, researcher, or developer. Here’s what you'll walk away with:
- How to prepare and preprocess raw medical image data so it’s ready for an AI to analyze.
- The best way to select and implement an AI reconstruction workflow that fits your specific project.
- Steps for training, refining, and validating your 3D models to ensure they are clinically accurate.
- How to deploy your models for things like 3D printing or use in virtual reality.
The real win here is transforming diagnostic imaging from something you just look at on a screen into an interactive, hands-on tool that can genuinely improve patient care.
My goal is to pull back the curtain on this technology and give you a clear, actionable path. While companies like Freeform Agency can help with broader design services, this guide sticks to the nitty-gritty technical steps for medical imaging.
Let's start where every project begins: getting your data ready.
Getting Your Medical Image Data Ready for AI Conversion
The quality of your final 3D model is decided long before any algorithm gets involved. It all comes down to the raw data. I like to think of it like cooking: even a world-class chef can’t create a masterpiece with subpar ingredients. The same is true when you want to make a 3D model from 2D images; starting with high-quality, clean data isn't just a good idea, it's essential.
This initial preparation is, without a doubt, the most critical part of the entire process. If you rush it or cut corners here, you're setting yourself up for inaccurate models, frustrating do-overs, and a lot of wasted time. Let’s walk through what it actually takes to get your medical image data in perfect shape for AI conversion.
What Kind of Medical Image Files Are You Working With?
Your first task is to understand the files you've been given. Medical imaging has several standard formats, and each one has its own quirks and structure.
- DICOM (.dcm): This is the gold standard in clinical settings. A DICOM file is more than just a picture; it's a comprehensive data package containing patient info, scanner settings, and the image itself. If you're working with CT or MRI scans from a hospital, they'll almost certainly be in this format.
- NIfTI (.nii): You'll see this format, short for Neuroimaging Informatics Technology Initiative, a lot in the research world, especially for brain scans. NIfTI is a bit simpler than DICOM and is great at bundling 3D or even 4D data (like an fMRI time series) into a single, manageable file.
- PNG/TIFF Stacks: Occasionally, you might just get a folder full of 2D images saved as PNGs or TIFFs. While they're easy to open, they're missing the crucial metadata—like slice thickness and pixel spacing—that's baked into DICOM and NIfTI files. That information is absolutely vital for an accurate 3D reconstruction.
For most clinical projects, you'll be wrestling with DICOMs. Get comfortable with Python libraries like pydicom, which are indispensable for pulling out both the pixel data and the metadata you need to build your model correctly.
The Art of Cleaning Up Your Data
Raw medical scans are rarely ready to go right out of the box. They're often full of noise, artifacts, and other inconsistencies that can throw an AI model for a loop. This cleanup phase, called preprocessing, is where we fix these issues to create a standardized, high-quality dataset.
A crucial first step is normalization. Scans from different machines—or even the same machine on different days—can have wildly different pixel intensity values. Normalization brings everything to a consistent scale, like 0 to 1, which stops the AI from getting distracted by meaningless variations in brightness or contrast.
Next up is tackling noise. Medical images can have "salt-and-pepper" static or other visual distortions. Applying a filter, like a Gaussian blur or a median filter, helps smooth out these imperfections so the AI can focus on the real anatomy. This is a delicate balance, though; overdo it, and you risk blurring away the very details you're trying to model.
The goal of preprocessing isn't to make the images look prettier to the human eye. It's to create a mathematically consistent and clean dataset that an algorithm can interpret reliably. Every single preprocessing step should have a clear, justifiable reason for how it will improve the model's performance.
Isolating What Matters: Segmentation
Now we get to the really hands-on part: segmentation. This is where you meticulously outline the specific anatomical structure or region of interest (ROI) on every single 2D slice. If you want a 3D model of a kidney tumor, you have to show the AI exactly where the tumor is and where the healthy tissue around it begins and ends.
This is often the most time-consuming part of the entire project, but there's no way around it. Your accuracy here directly translates to the accuracy of your final 3D model.
You've got a few options for tools, ranging from manual to semi-automated:
| Tool | Approach | Best For |
|---|---|---|
| ITK-SNAP | Manual/Assisted | Precise, hands-on segmentation with helpful semi-automated tools. |
| 3D Slicer | Manual/Automated | A powerful, open-source platform with a whole suite of segmentation modules. |
| SimpleITK | Programmatic (Python) | Scripting and automating segmentation for very large datasets. |
Imagine using a tool like ITK-SNAP. A radiologist might sit down and carefully trace the outline of a liver on hundreds of individual CT scan slices. The output of this work is a "mask"—a set of black-and-white images where the liver pixels are marked as '1' and everything else is '0'. This stack of masks becomes the "ground truth" that you'll use to train your AI, providing the rock-solid foundation needed to create an accurate 3D model from those initial 2D images.
Choosing Your AI-Powered Reconstruction Workflow
Alright, your data is clean, organized, and perfectly segmented. Now comes the exciting part: picking the right AI engine to perform the actual 2D-to-3D magic. This choice is absolutely critical because different AI architectures interpret image data in fundamentally different ways. The right model is the key to creating a 3D reconstruction that's not just visually impressive but clinically accurate.
This isn't about chasing the newest, shiniest algorithm. It's a practical decision. Are you modeling a solid organ like a liver, where precise boundaries are everything? Or are you tracing the delicate, web-like patterns of vascular structures? Your answer will point you directly to the best tool for the job.
The Powerhouses of 3D Reconstruction
In the world of medical 3D modeling, two families of AI models really stand out: the veteran Convolutional Neural Networks (CNNs) and the newer, fascinating Neural Radiance Fields (NeRFs). They both produce incredible results, but their underlying philosophies are worlds apart.
Convolutional Neural Networks (CNNs) are the established workhorses. A CNN works by sliding a series of filters across your 2D image slices to pick out key features—edges, textures, and anatomical shapes. As the data passes through successive layers, the network builds a sophisticated understanding of the anatomy, ultimately piecing these features together into a coherent 3D object, usually a mesh or voxel grid. Think of it like an expert sculptor meticulously studying every cross-section of a marble block before they start carving.
Neural Radiance Fields (NeRFs) take a completely different route. Instead of building a solid geometric shape, a NeRF learns a continuous mathematical function that represents the entire 3D scene. You can ask it, "What's at this exact XYZ coordinate?" and it will tell you the precise color and density at that point. This approach generates stunningly realistic renderings from any angle. It's less like a sculptor and more like a physicist creating a perfect simulation of how light interacts with the tissue.
Making the Right Choice for Your Project
So, which path do you take? It boils down to a trade-off between geometric precision, visual realism, and the computational muscle you have available.
- For Structural Accuracy (CNNs): If your primary goal is a geometrically sound model for surgical planning, taking measurements, or 3D printing, a CNN-based workflow is almost always your most reliable bet. They are masters at defining crisp boundaries and producing solid, "watertight" meshes.
- For Visual Realism (NeRFs): If you need to visualize complex internal tissues with subtle density changes or create photorealistic views for training and education, NeRFs are in a league of their own. The catch? Extracting a clean, solid mesh from a NeRF for something like 3D printing can be a bit more involved.
This infographic breaks down the decision-making process, from defining your needs to picking the right tools.
The most important question you can ask is: "What is the primary clinical use for this model?" Your answer will tell you whether to prioritize a perfect, manifold mesh (pointing to CNNs) or unparalleled visual fidelity (where NeRFs shine).
To help clarify the decision, let's compare these architectures side-by-side.
Comparing AI Models for 2D to 3D Medical Image Conversion
This table breaks down the strengths, weaknesses, and ideal use cases for the common AI architectures you'll encounter.
| AI Architecture | Primary Strength | Key Challenge | Best For |
|---|---|---|---|
| Convolutional Neural Network (CNN) | High geometric accuracy and creates clean, solid meshes | Can sometimes struggle with fine, complex details or semi-transparent structures | Surgical planning, 3D printing, creating anatomical models for measurement, and finite element analysis (FEA). |
| Neural Radiance Field (NeRF) | Unmatched photorealism and view-dependent effects | Extracting a clean, manifold mesh can be difficult; computationally intensive | Creating realistic visualizations for education, virtual reality training simulations, and analyzing soft tissue. |
| Generative Adversarial Network (GAN) | Can generate novel 3D data from 2D inputs | Training can be unstable; output quality can be inconsistent | Data augmentation (creating more training examples), anomaly detection, and research into generative anatomy. |
| Transformer-based Models | Excellent at capturing long-range dependencies in the data | Very data-hungry and computationally expensive to train from scratch | Reconstructing large, complex structures where context from distant slices is important (e.g., entire spinal column). |
Ultimately, CNNs remain the go-to for most practical, geometry-focused clinical applications today, while NeRFs and other models are pushing the boundaries of visualization and research.
Getting Your Development Environment Ready
Once you've settled on an approach, it's time to set up your digital workshop. The AI landscape is dominated by two main frameworks: TensorFlow and PyTorch. Honestly, they are both fantastic, and your choice often comes down to personal preference or which framework a pre-trained model you want to use was built on.
For beginners, many find PyTorch a bit more intuitive and easier to debug. TensorFlow, backed by Google, has an incredible ecosystem of tools like TensorBoard for monitoring training, making it a beast for production-level deployments.
No matter which you choose, setting up a dedicated environment is non-negotiable. Using a tool like Conda or Python's built-in venv creates an isolated workspace for your project. This is a crucial step that prevents library conflicts and makes your entire setup easy to replicate. A standard environment will usually include:
- Your chosen framework (
tensorflowortorch) - Medical imaging libraries like
SimpleITKandpydicom - 3D data libraries such as
trimeshoropen3d
The Advantage of Pre-Trained Models
Let's be realistic: training a medical AI model from scratch requires an astronomical amount of curated data and serious computing power—often more than a single lab or clinic has on hand. This is where pre-trained models are a game-changer. These are models that have already been trained on massive, diverse datasets, like thousands of CT or MRI scans.
By starting with a pre-trained model, you aren't starting from a blank slate. You're leveraging a model that already has a foundational understanding of anatomy. Your job is to simply fine-tune it on your specific data. This technique, called transfer learning, can slash your training time from weeks to hours and often leads to better accuracy, especially when you have a limited dataset.
Platforms like PYCAD are built around this very concept, providing optimized, pre-trained AI solutions that dramatically shorten the path from raw DICOM slices to a functional, deployable 3D model.
Training Your Model and Refining the Output
Alright, this is where your careful data preparation pays off. You've got your curated image data and a solid AI architecture ready to go. Now, we dive into the training phase, which is where the model truly learns to see the 3D anatomy hidden within those stacks of 2D slices.
It’s an iterative loop of learning, making mistakes, and correcting itself until it can consistently produce an accurate reconstruction. I like to think of it like teaching a student—you don't just hand them a textbook and expect them to ace the exam. You give them examples, quiz them, and steer them back on track. Training a model is much the same.
Kicking Off the Training Process
To start, you feed the model your dataset—the 2D images paired with their "ground truth" segmentation masks. The model will try to predict the shape, compare its guess to your mask, measure the error, and then tweak its internal wiring to do a little better on the next attempt. This cycle, known as gradient descent, repeats thousands of times.
Two key settings really steer this entire process:
- The Loss Function: This is simply the math formula that tells the model how "wrong" it was. For medical segmentation, I almost always start with Dice loss. It's fantastic at measuring the overlap between the predicted shape and the real one, which is exactly what we need.
- The Optimizer: This is the algorithm that takes the error score from the loss function and decides how to adjust the model's parameters. An optimizer like Adam is a go-to because it's smart enough to adjust its own learning rate as it goes, leading to more efficient training.
Honestly, getting these settings perfect is more art than science. It often takes a bit of experimentation to find the sweet spot where your model learns quickly without getting stuck.
Keeping a Close Watch on Performance
You can't just hit "run" and hope for the best. Monitoring the training process in real-time is absolutely essential for spotting problems before they derail your work. This is where a tool like TensorBoard becomes your best friend.
TensorBoard provides a live dashboard where you can watch key metrics, like the loss value, evolve with every cycle. A steadily decreasing loss curve is a beautiful sight; it means your model is learning. But if that curve flattens out or starts jumping all over the place, that's your cue to step in and make some adjustments.
Before you even start, you need to split your data into three buckets. This is non-negotiable.
- Training Set: The bulk of your data, used to actively teach the model.
- Validation Set: A smaller, separate set the model is tested against during training. This is your check-in to make sure it's actually learning and not just memorizing.
- Test Set: A final, pristine dataset that the model has never seen before. You only use this once at the very end to get an honest report card on its real-world performance.
Overfitting is the single biggest enemy in model training. It happens when your model memorizes the training data perfectly but can't generalize to new, unseen images. Using a validation set acts as your early warning system, showing you when the model's performance on new data starts to degrade.
From Raw Output to a Polished Model
Seeing that first 3D shape emerge is a huge milestone, but the work isn't done yet. The raw output is often a rough, blocky representation or a messy mesh with plenty of flaws. This is where post-processing turns a promising result into something genuinely useful.
First up is mesh conversion. If the model spits out a voxel grid, you'll need an algorithm like Marching Cubes to convert it into a standard triangular mesh (like an STL or OBJ file). The result, however, will likely have jagged, staircase-like artifacts and way too many polygons.
That brings us to the next, critical step: mesh refinement. This involves a handful of cleanup jobs to improve the model's quality.
- Smoothing: Algorithms like Laplacian or Taubin smoothing can help iron out those jagged edges for a more organic-looking surface. A word of caution: don't overdo it, or you risk losing fine anatomical details.
- Decimation: Your initial mesh might have millions of triangles, which can bring even powerful software to its knees. Decimation is a smart process that reduces the polygon count while preserving the model's overall shape.
- Hole Filling and Repair: The AI can sometimes leave small holes or other errors in the mesh. These need to be fixed to create a "watertight" model, which is essential for things like calculating volume or preparing for 3D printing.
The Final Touch With Manual Tools
Even with the best automated workflow, a human eye for detail is irreplaceable. For that final polish, I always pull the refined mesh into dedicated 3D software. For me, MeshLab and Blender are the go-to tools for this last mile.
MeshLab is an open-source workhorse for processing 3D meshes and has an incredible array of tools for cleaning and repairing models. Blender, while known for animation, is also a world-class modeling program that allows for precise, manual adjustments to fix any lingering imperfections.
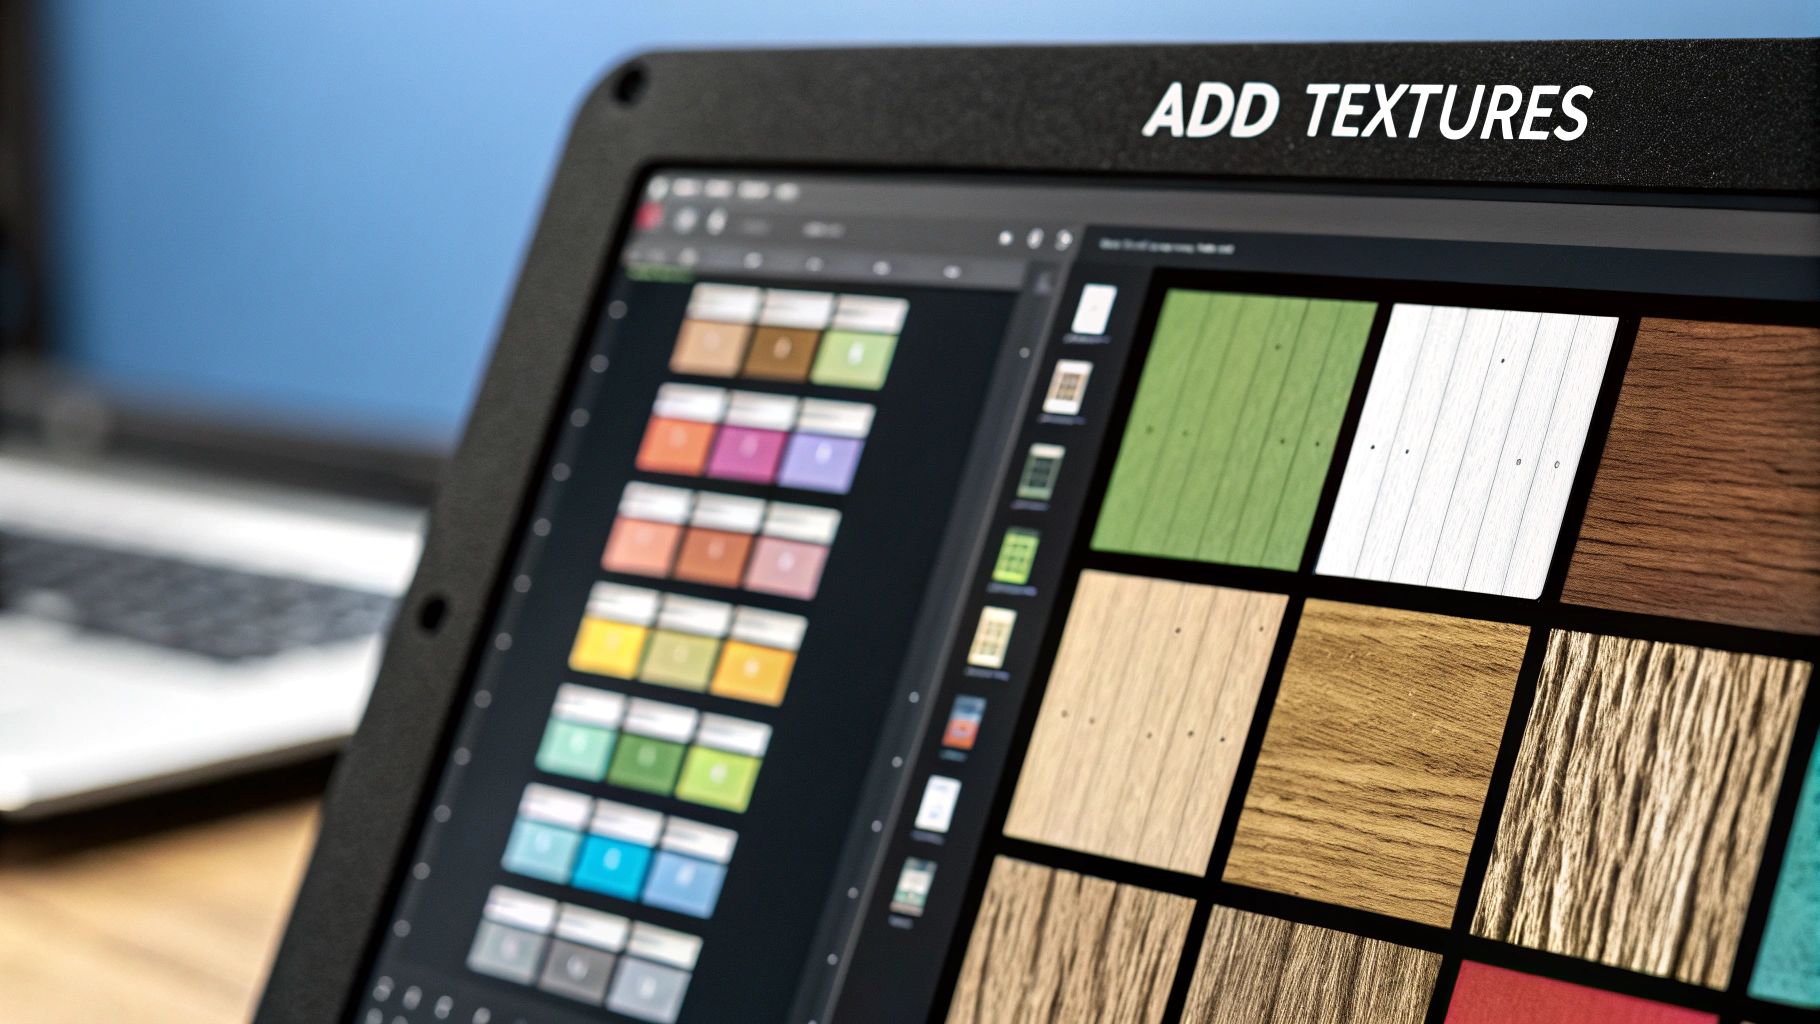
The last step is often applying realistic textures. This might mean mapping colors from the original 2D scans back onto the 3D surface or using procedural textures to help differentiate tissue types. This is what transforms a geometric shape into a visually rich and informative anatomical model, ready for whatever clinical application you have in mind.
Getting Your 3D Model into the Hands of Clinicians
You've done the hard part. You've taken flat, 2D scans and turned them into a clinically accurate 3D model. But a perfect digital file sitting on a server doesn't help anyone. The real value comes when that model leaves the lab and makes its way into the real world.
This final stage is all about deployment—turning your hard work into a tangible, usable tool for surgeons, students, and patients. It's the bridge between digital creation and practical application. Whether it's a 3D-printed organ for surgical planning or an interactive VR simulation, this is what gives your model its purpose.
Exporting for Maximum Compatibility
First things first, you need to get your model out of your software and into a universal format. The format you choose really depends on what you plan to do with it. Think of it like saving a document—a PDF is great for sharing, but you'd want a DOCX file for collaborative editing.
Here are the heavy hitters you'll encounter most often:
-
STL (Stereolithography): This is the gold standard for 3D printing, no question. An STL file is a straightforward description of a model's surface geometry, using a mesh of triangles. It's simple, universally supported, and works with just about every 3D printer and slicing software out there.
-
OBJ (Object File): If you need more than just shape, OBJ is your go-to. It's a step up from STL because it can store not only the geometry but also color, texture, and material data. This makes it perfect for creating full-color physical models or for use in advanced visualization tools.
-
GLTF/GLB (GL Transmission Format): Often called the "JPEG of 3D," this format is all about efficiency. It’s the standard for displaying 3D models on the web and in AR/VR applications because it bundles everything—geometry, textures, and even animations—into one tidy, compact file.
For most medical projects, you'll find yourself exporting to STL for printing and GLB for any kind of digital viewing or interaction.
Prepping for a Perfect 3D Print
Just hitting "save as STL" and sending the file to the printer isn't quite enough. To get a high-quality, successful print, you need to run through a quick pre-flight checklist. Taking a few minutes here can save you hours of frustration and wasted material from a failed print.
-
Check Your Mesh Integrity: The model absolutely must be "watertight," also known as "manifold." This just means there are no holes, overlapping faces, or other funky geometry that could confuse the printer.
-
Verify Wall Thickness: Make sure every part of your model is thick enough to actually print without crumbling. Really delicate structures, like tiny blood vessels, might need to be artificially thickened a bit in your software to be viable.
-
Generate Supports: A 3D printer can't print in mid-air. Any complex parts or overhangs will need temporary support structures built underneath them. These are designed to be snapped off easily after the print is finished.
Think of 3D printing like building something with Lego, one layer at a time. If a new layer has nothing directly beneath it, it's just going to droop and fail. Support structures are the temporary scaffolding that holds everything up until the model is complete.
Beyond Printing: Immersive Clinical Applications
While physical, 3D-printed models are incredibly valuable, the possibilities don't stop there. Immersive tech like virtual reality (VR) and augmented reality (AR) is creating entirely new ways for clinicians to interact with patient anatomy.
By exporting your model as a GLB or FBX file, you can bring it into platforms that allow for some mind-blowing interaction. Imagine a surgical team putting on VR headsets to literally walk through a patient's heart, planning their exact approach from every possible angle. Or a medical student using an AR app on a tablet to overlay a 3D kidney onto a manikin, seeing exactly how the organ is situated in the body.
This journey from 2D images to useful 3D models has parallels in other fields, like filmmaking. Back in 2005, pioneers like Dr. Barry B. Sandrew at Legend3D were using advanced colorization tech to convert movies to 3D. But rushed jobs, like the infamous 2010 conversion of Clash of the Titans, showed what happens when the process isn't done right. Today, just like in medicine, the focus is on quality and careful execution. To learn more, you can discover more insights about the evolution of 2D to 3D conversion. This is how you can make a 3D model from a 2D image that truly makes an impact.
Your Top Questions About Medical 3D Modeling, Answered
Even with a solid plan, jumping into medical 3D modeling from 2D images naturally brings up a few questions. I've heard these from just about everyone—clinicians, researchers, and developers alike—as they start their first conversion projects.
Let's tackle some of the most common hurdles right now. Getting clarity on things like data privacy and time investment upfront will save you a lot of headaches down the road and help your project move forward with confidence.
How Much Data Is Enough?
This is the big one, and the honest answer is, "it depends." The path you choose dictates your data needs.
If you're fine-tuning a robust, pre-trained model that already knows its way around general anatomy, you can get surprisingly far with a small, high-quality dataset. Think in the range of 50 to 100 well-segmented scans. The model isn't learning from zero; you're just teaching it the specifics of your task.
On the other hand, if you're building a model from the ground up—especially for a rare condition or a completely novel application—the data appetite is huge. You could be looking at thousands of examples to get the model to learn the necessary patterns without just memorizing your training set. For most real-world clinical work, sticking with a pre-trained model is the most practical route.
I can't stress this enough: quality trumps quantity every single time. A smaller, pristine dataset with accurate segmentations will always yield better results than a massive, messy one. Your model is a direct reflection of the data you feed it.
Can We Keep Patient Data Secure?
Yes, absolutely. But security isn't automatic; it demands strict, unwavering discipline from your team. Protecting patient data is paramount.
The entire process hinges on one critical step: anonymization. Before a single DICOM file ever touches your training pipeline, all Protected Health Information (PHI) must be completely stripped from its metadata.
This means scrubbing:
- Patient names and ID numbers
- Birthdates
- Specific dates of scans
- Any other piece of information that could identify an individual
Beyond that, you have to use secure, compliant infrastructure (like HIPAA-compliant servers) and enforce tight access controls. The AI workflow itself isn't the risk—the danger lies in how the data is managed before it ever gets there.
What’s the Real-World Time Commitment?
The time it takes to make a 3D model from a 2D image can swing wildly from one project to the next. The single biggest time sink is almost always the manual grunt work of data preparation, particularly segmentation.
An expert could easily spend hours—sometimes even a full day or two—meticulously tracing a single complex organ across a whole stack of image slices.
Once your data is prepped and ready, the actual AI training is much faster. It might take a few hours or maybe a day, depending on your model’s complexity and the power of your hardware. Final clean-up and refinement could add another couple of hours. This is why AI-assisted segmentation tools are so valuable; they can slash that initial prep time and make the whole process feel much more manageable.
Ready to accelerate your medical imaging projects? PYCAD provides specialized AI solutions that streamline the entire workflow, from data handling to model deployment, helping you turn complex 2D scans into accurate 3D models with greater speed and precision. Explore PYCAD's AI services today!