
In this blog post, we will discuss some free software that can be used to visualize, edit, and annotate medical images in formats such as Dicom or Nifti.
Hands-on 3D slicer

Download and install
To download 3D slicer, you can go to this link. And then choose your operating system. Always download the stable release.

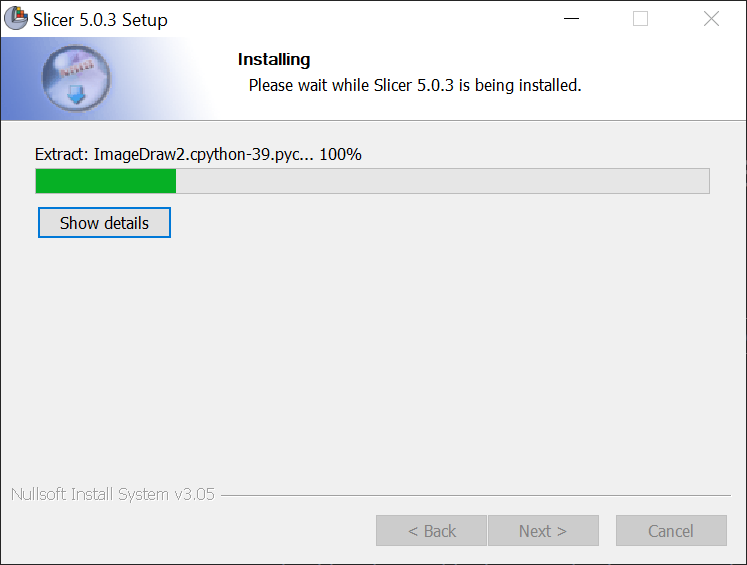
Then, to install it, simply follow the instructions in the welcome window.
Visualize Dicoms and Nifti files
To upload Nifti files, simply drag and drop the file into the Slicer’s welcome window, and another window will appear:
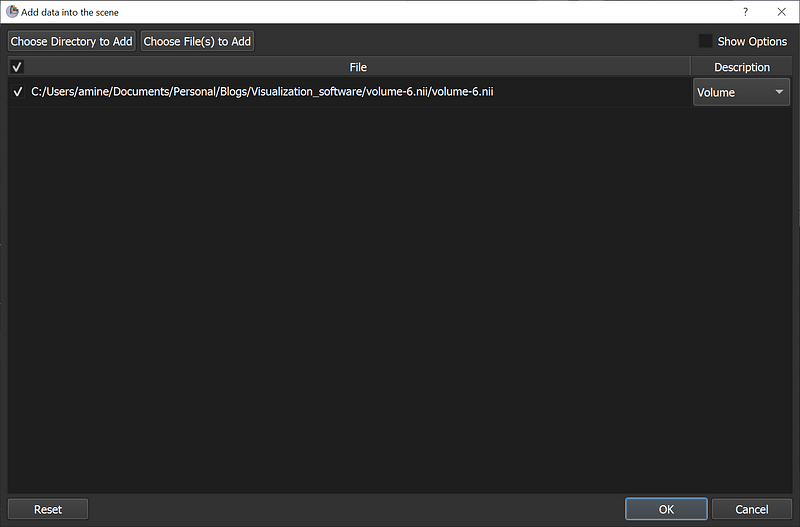
When you upload a scan/case you need to keep it as volume, then press OK.
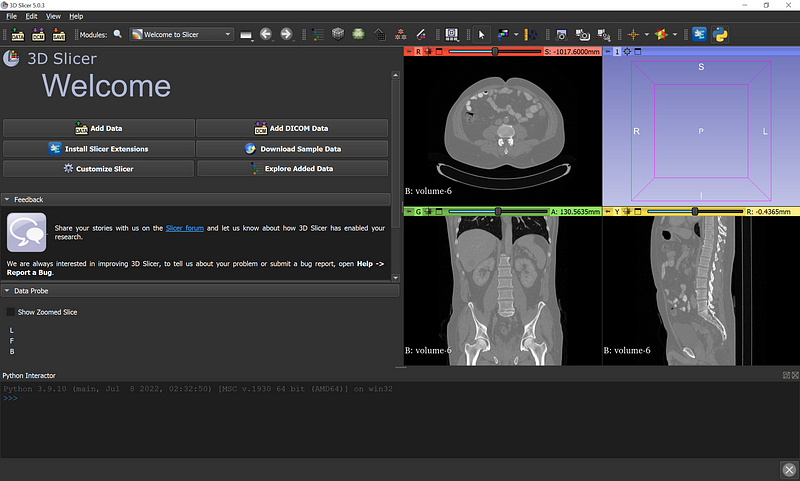
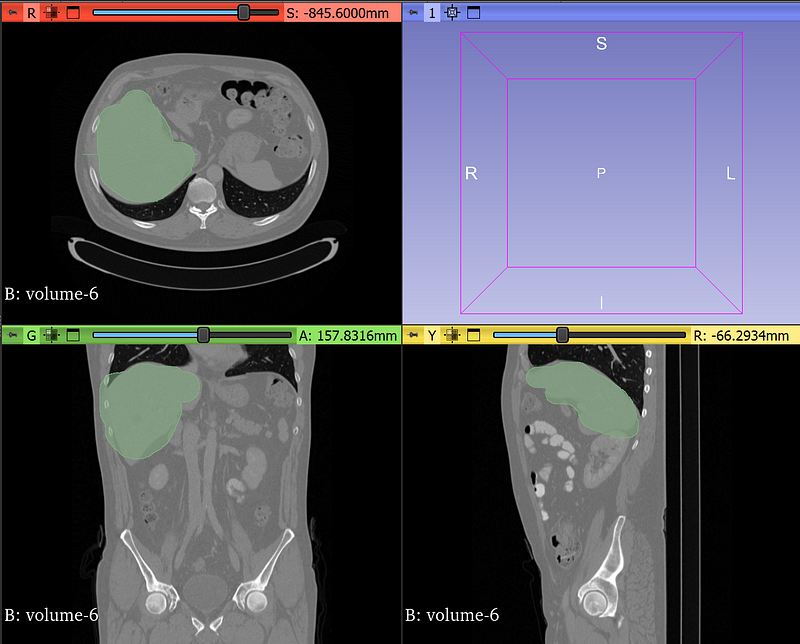
As shown in the image below, the file will be uploaded and viewed using 3D slicer with three different axes (axial, sagittal, and coronal).
How to upload the Dicom Files?
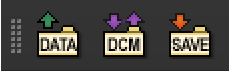
To upload Dicom files, click the DCM or DATA button and then select a single file (one slice) or a directory to upload the entire case.
How to do segmentation
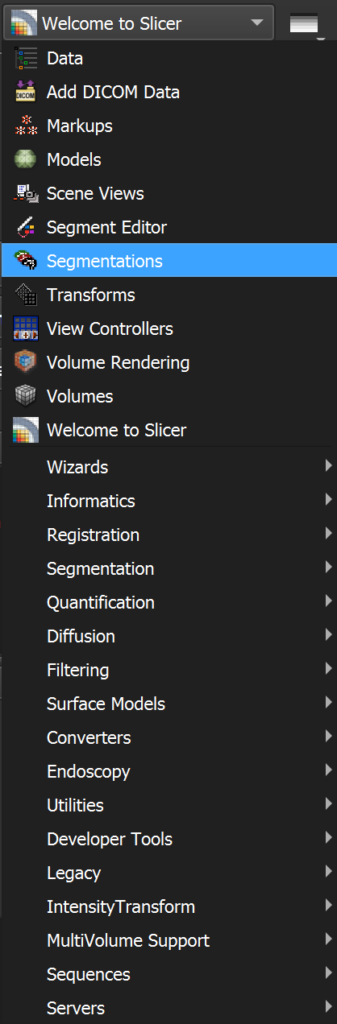
The most important part now is determining how to create masks (segments) for a specific organ in the scan for use in diagnosis or machine learning algorithms. You must select the “Segmentations” option here:
Then, create a new segmentation using this option:
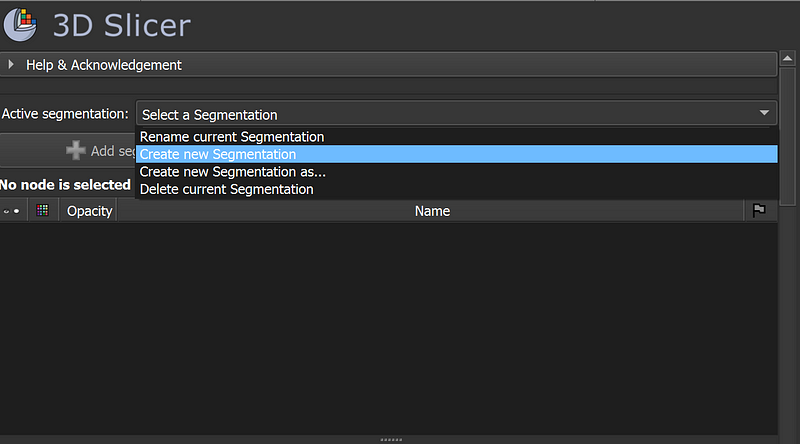
When you select this option, a segmentation file containing the masks will be created. However, for each organ you want to segment, you must create a new “Segment” by selecting “Add segment”:

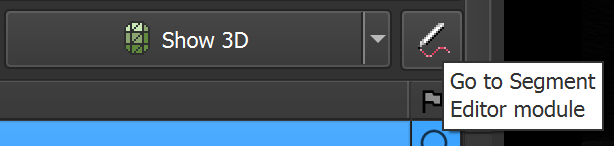
Now click on the pen to go to the segmentation editor:
There are numerous tools in the Segment Editor to assist you with segmentation. There are 100% manual tools and semi-automatic tools that can be useful at times.
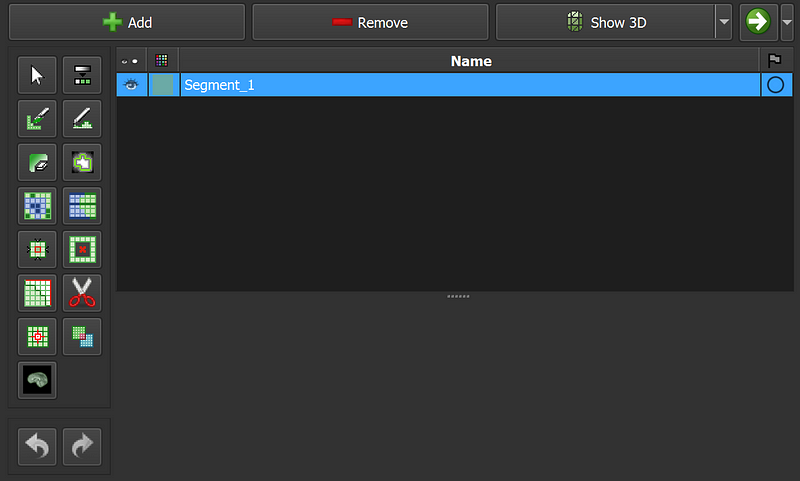
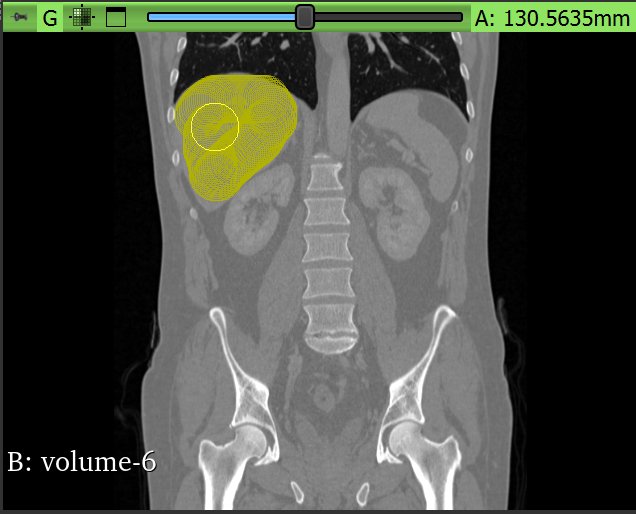
We can use the brush, for example, to do manual segmentation:
You must be aware that segmentation is required in all slices. Don’t worry about the different orientations; you only need to choose one, and when you’re finished, you’ll notice that the segmentation has been done in the three orientations listed below:
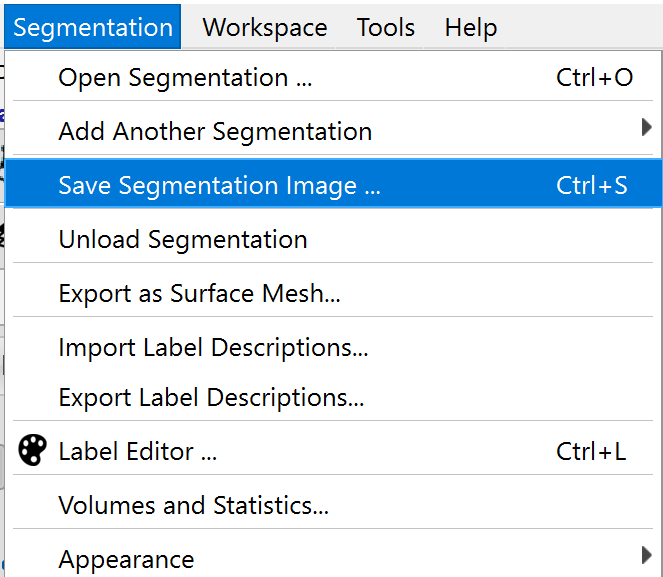
When you’ve finished segmenting your file, you can save it as a Nifti file or in other formats. The following steps are required:
Click on the green arrow

Go to “Export to file”
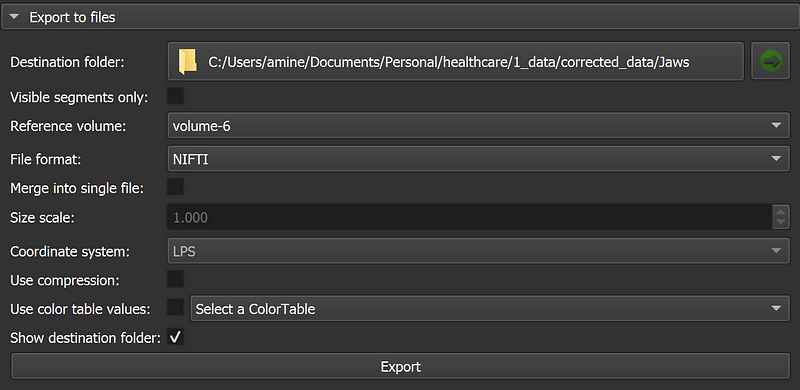
Fill in the information like the destination folder, the reference volume (very important), and the file format. And then click on export.
Hands-on ITK-snap
Download and install
You can download ITK-snap from the official website here (the registration is optional, you can skip it).
IMPORTANT: the version 4.0 is not working for everyone, so I recommend installing 3.8 which is a stable version.
Visualize Dicoms and Nifti files
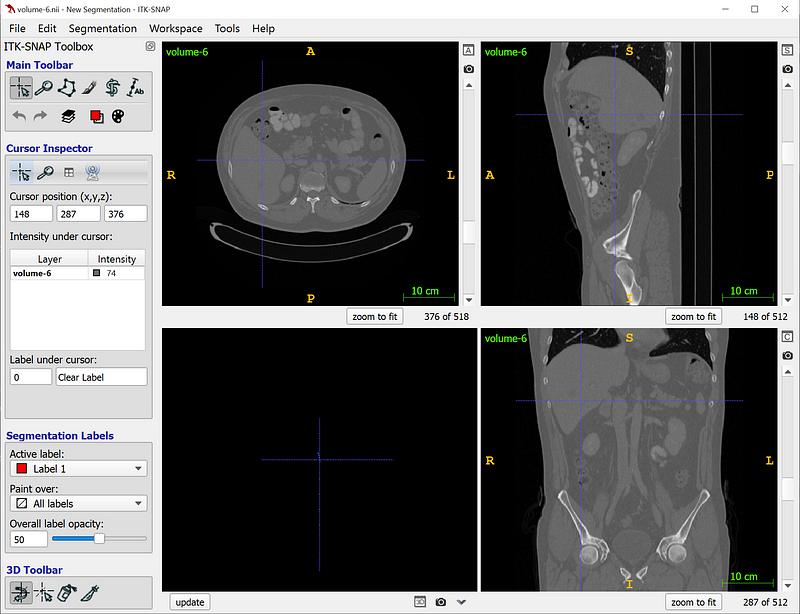
To view Nifti or Dicom files in ITK-snap, simply drag and drop your file onto the software’s welcome screen.
Note: To upload an entire directory of Dicom files, simply drag and drop one Dicom file from the directory, and the entire directory will be uploaded automatically.
How to do segmentation
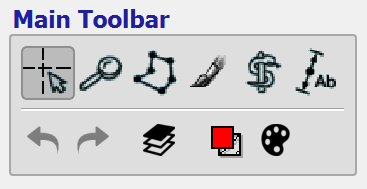
To do the segmentation, you can go to the ‘Main Toolbar’ and choose the brush:
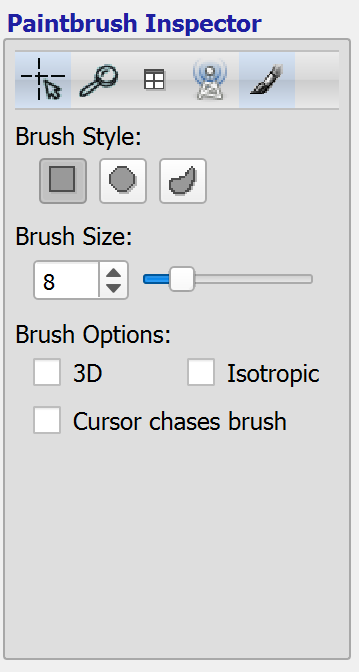
Then you can select the brush type and size. You can even select the 3D option, which will duplicate the mask for a few neighbor slices when you segment in one slice.
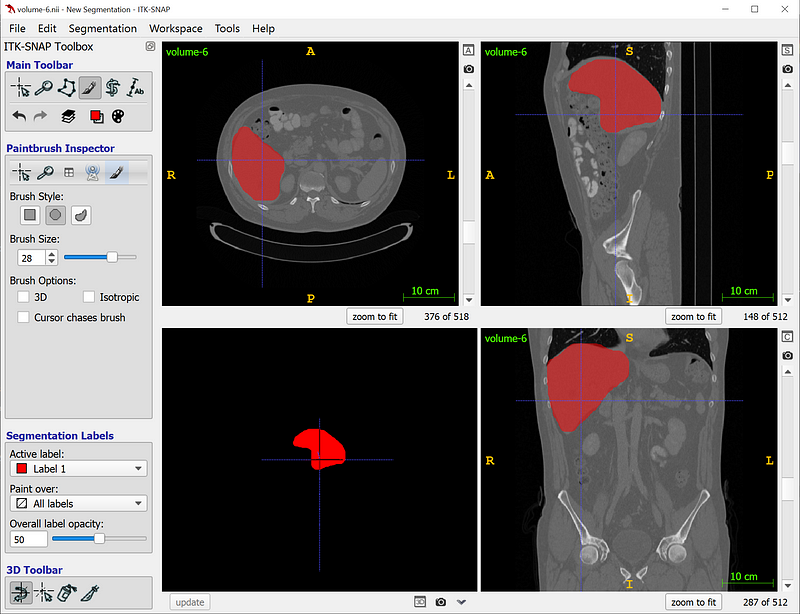
When you finish the segmentation, it will be the same as with the 3D slicer in that you can do it in only one orientation and then it will be added in the three orientations. You can also plot the 3D representation (this can be done in 3D slicer as well).
When you complete the segmentation, you can save it as a Nifti file using this option:
Convert Dicoms into Nifti using 3D slicer
If you want to combine Dicom files into a single Nifti file, you can do so with a few clicks of the mouse.
- Upload your Dicom files into 3D slicer
- Then click on the ‘save’ button at the top, and this window will pop up:
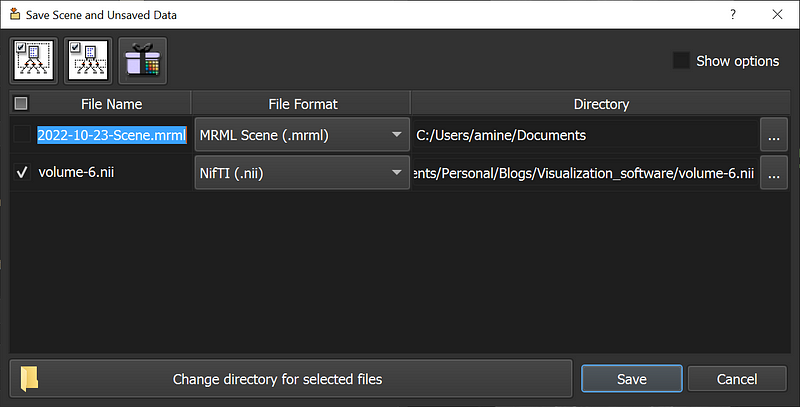
- Fill in the information needed and then click on save.
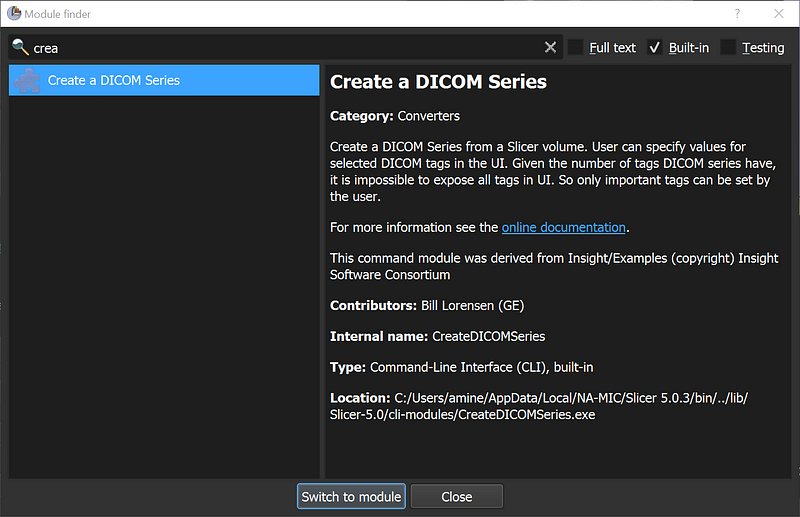
Convert Nifti into Dicoms using 3D slicer
You can also use the 3D slicer module ‘Create a Dicom Series’ to convert a single Nifti file into a Dicom series.
💡 Tips
If you want to convert multiple medical images and a large number of files with a single click, you can use my free application, which can be found here.
Full course about medical imaging segmentation is coming soon, join the waitlist here.
🆕 NEW
Learn how to effectively manage and process DICOM files in Python with our comprehensive course, designed to equip you with the skills and knowledge you need to succeed.