The Evolution of 2D to 3D: From Basic to Breathtaking
Turning 2D images into 3D models has undergone a remarkable transformation. Early techniques, like the anaglyphic glasses popular in the mid-20th century, merely hinted at depth using red and blue lenses. These glasses created a 3D illusion by presenting slightly different images to each eye. However, the effect was often limited and resulted in color distortion. This basic approach laid the foundation for more advanced methods, driven by progress in computer graphics and algorithms.
The development of Depth-Image-Based Rendering (DIBR) in 2004 was a significant step forward. DIBR algorithms create depth maps from 2D images, supplying the information needed to reconstruct a scene in three dimensions. This breakthrough overcame limitations of previous techniques and expanded the possibilities of 2D to 3D conversion. From simple anaglyph glasses to sophisticated algorithms, the history of 2D to 3D demonstrates a continuous pursuit of more realistic and immersive visual experiences. Explore this topic further.
The Rise of Modern 3D Conversion
Modern techniques have dramatically elevated 2D to 3D conversion, achieving stunning results. However, this advanced technology comes at a price. Converting live-action film footage, as seen in Disney's G-Force and Alice in Wonderland, cost between $50,000 and $100,000 per minute. This substantial investment highlights the resources required for high-quality 3D conversions, especially for complex scenes demanding frame-by-frame manual adjustments.
The increasing use of Artificial Intelligence (AI) is revolutionizing the 2D to 3D conversion process. AI-powered tools automate various aspects, including generating depth maps, refining textures, and even adding animation. This automation not only accelerates the workflow but also makes 3D conversion more accessible to a broader audience, empowering both professionals and hobbyists.
The Future of 2D to 3D
The future of 2D to 3D conversion is promising, driven by continuous innovation. As AI algorithms advance, we can anticipate even more realistic and automated conversion processes. The development of new software and hardware will further expand the possibilities, leading to increasingly impressive and immersive 3D experiences.
This progress signifies that creating compelling 3D models from 2D images will become simpler, faster, and more readily available. The ongoing convergence of artistic expression and technological advancement promises to yield truly remarkable outcomes in the coming years.
The Science Behind 2D to 3D: Making Flat Images Pop
Transforming a 2D image into a 3D model involves replicating how our brains perceive depth. This intricate process relies on interpreting visual cues that inform us about the three-dimensional structure of what we see. Understanding these cues is essential for successful 2D to 3D conversion.
Depth Perception: The Foundation of 3D
Our brains utilize several cues to understand depth from the two slightly different images each eye captures. Stereopsis uses the disparity between these images to create a sense of depth. The greater the difference, the closer the object appears. This principle underpins stereoscopic 3D glasses and many 2D to 3D conversion methods.
Another crucial factor is parallax. Parallax refers to the apparent shift in an object’s position when viewed from different angles. Think of looking out the window of a moving car: closer objects appear to move faster than those further away. This relative motion provides another depth cue.
Mimicking Depth Cues in Technology
Modern 2D to 3D conversion techniques strive to replicate these natural depth cues. Software algorithms analyze 2D images, identifying patterns and features that suggest depth. These algorithms generate depth maps, representing the distance of each pixel from the camera. These maps are fundamental to building a 3D model from a 2D image. For example, areas with larger disparity in a stereo image pair are assigned closer values within the depth map.
The history of 3D technology is closely linked to these concepts. The first polarized 3D film, Beggars Wedding (1936), pioneered advanced methods by maintaining color fidelity through light polarization. Discover more insights about the history of 3D technology. By the 1950s, simpler anaglyphic conversion using red and blue lenses became popular. These developments demonstrate the continuing evolution of replicating depth perception for richer visual experiences.
From Depth Maps to 3D Models
Once a depth map is generated, it’s used to extrapolate the three-dimensional form of the scene. This process often involves creating a mesh – a network of connected triangles forming the 3D model’s surface. The depth map guides the placement of these triangles, ensuring closer image parts project outward in the 3D model. Understanding the science behind depth perception allows for more effective and realistic 2D to 3D conversions.
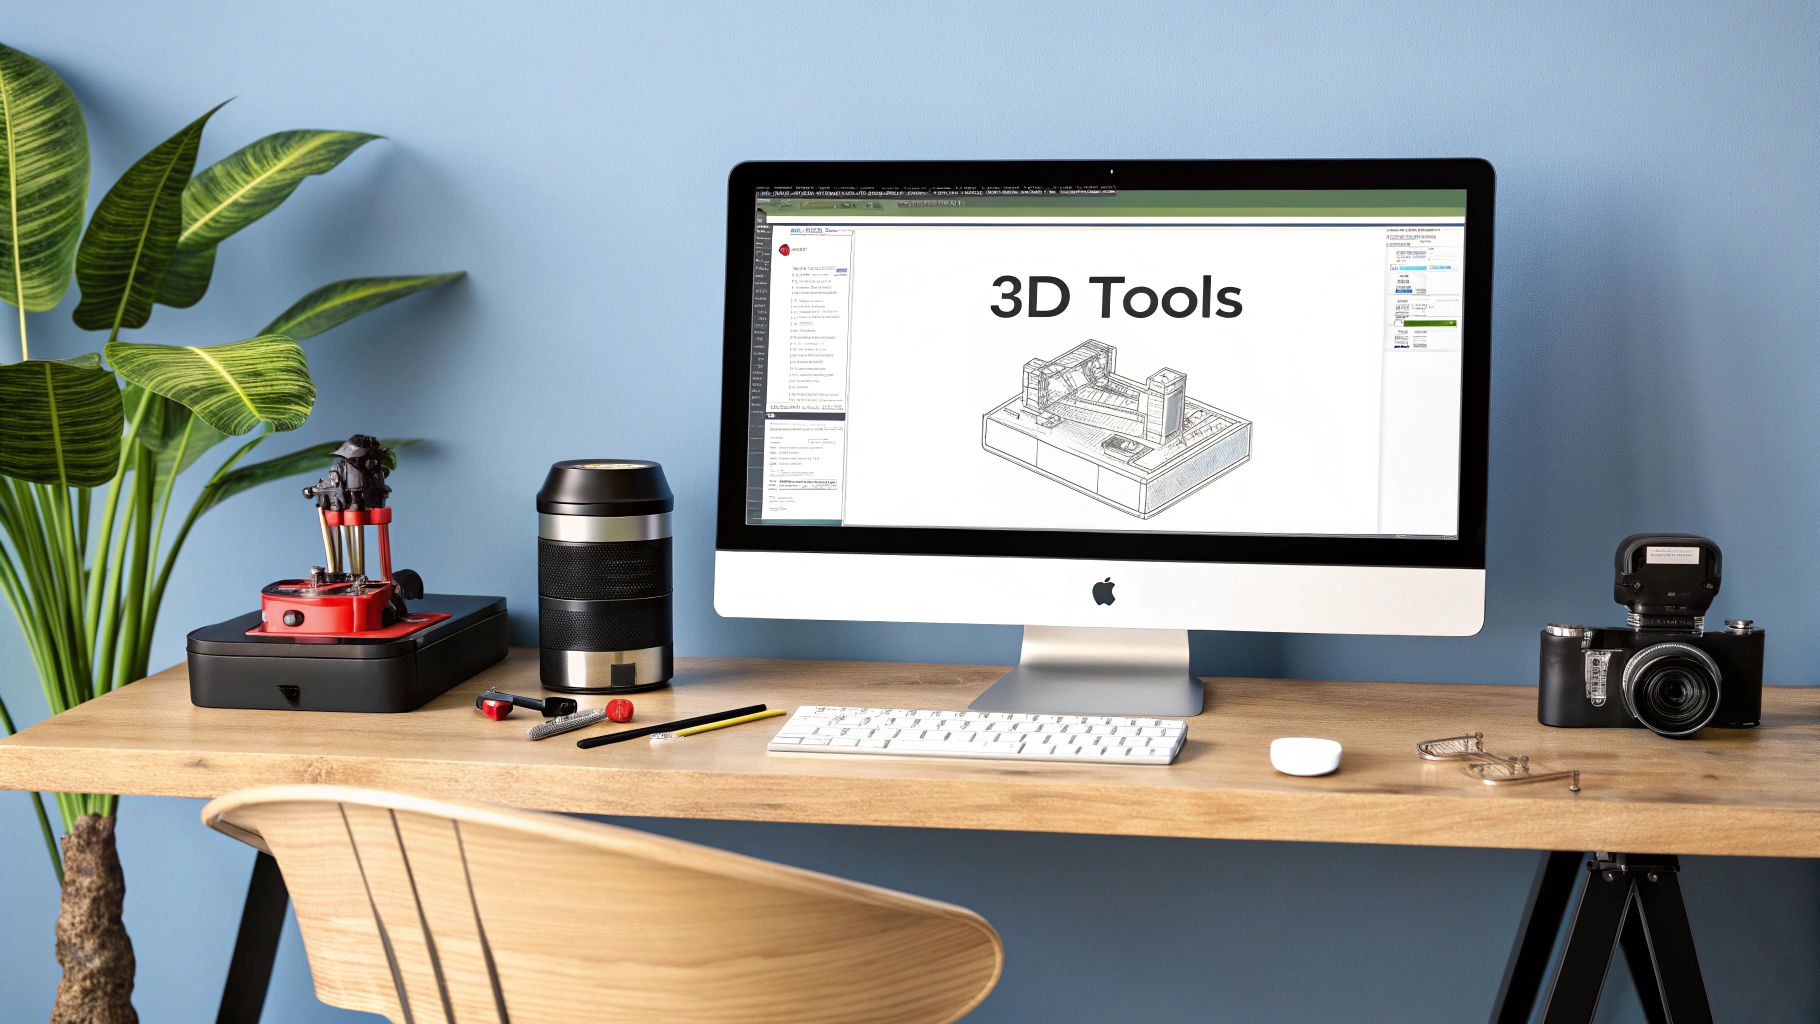
Essential Tools To Turn 2D Images Into 3D Masterpieces
Now that we understand the process of 2D to 3D conversion, let's explore the software that makes it happen. Choosing the right software is key to creating high-quality 3D models. This section will guide you through popular and effective options for various skill levels and budgets.
Software Solutions For Every Level
A wide range of software exists for 2D to 3D conversion. Some cater to beginners with user-friendly interfaces, while others offer advanced features for professionals. For example, Meshlab is a free, open-source tool excellent for processing and editing 3D meshes. Its strength lies in handling complex geometries and large datasets, making it valuable for refining intricate models.
Blender offers a complete set of tools for modeling, animation, and rendering. While it has a steeper learning curve, its flexibility and power make it popular among 3D artists. It's well-suited for projects requiring extensive customization.
For a more streamlined, AI-powered option, Meshy provides a user-friendly platform for 2D to 3D conversion. Meshy uses AI to automate steps in the process, making 3D modeling more accessible. Once you have your 2D image, you can use tools like those described in this guide on how to add 3D objects. This automation simplifies the workflow and allows for quick prototyping.
To help you select the perfect software, we've compiled a comparison table highlighting key features and capabilities.
To help you choose the right 2D to 3D conversion software, here's a comparison of some popular options:
"2D to 3D Conversion Software Compared: What Actually Works"
"A comprehensive comparison of leading software tools for converting 2D images to 3D, highlighting strengths, limitations, and ideal use cases"
| Software | Price Range | Skill Level | Best For | Key Features | Output Formats |
|---|---|---|---|---|---|
| Meshlab | Free (Open Source) | Intermediate – Advanced | Mesh Processing & Editing | Handles complex geometries, large datasets | Various (OBJ, STL, PLY, etc.) |
| Blender | Free (Open Source) | Beginner – Advanced | Modeling, Animation, Rendering | Comprehensive toolset, flexible, powerful | Various (OBJ, FBX, STL, etc.) |
| Meshy | Paid (Subscription) | Beginner – Intermediate | Quick 2D to 3D Conversion | AI-powered automation, user-friendly | OBJ, GLB, FBX, STL |
This table offers a quick overview of the software mentioned, showcasing their price range, suitability for different skill levels, and key strengths. Choosing the appropriate software will depend on your project's specific needs and your comfort level with 3D modeling tools.
Choosing The Right Features
Knowing which features are most important for your project is crucial. Some programs excel at preserving detail, while others prioritize speed. If your project involves complex shapes, look for robust mesh editing. For image-based 3D modeling, tools that generate depth maps are vital. Adobe is also continuously exploring innovative 3D creation techniques.
Also, consider output formats. Different programs support various 3D file formats, so ensure compatibility. Common formats include .obj, .fbx, and .stl, each suited for different purposes.
Exploring Advanced Capabilities
Professional 3D conversions often use advanced features like realistic lighting, texture mapping, and handling complex materials. Some programs offer plugins for enhanced functionality, like generating PBR (Physically Based Rendering) materials, which are crucial for realistic 3D assets.
Consider software integration with other workflow tools like sculpting software (ZBrush) or game engines (Unity). Integration streamlines the process and boosts efficiency.
Choosing the right tools significantly impacts the quality of your 3D models. By considering your needs and exploring options, you can find the perfect software to bring your 2D images to life in 3D.
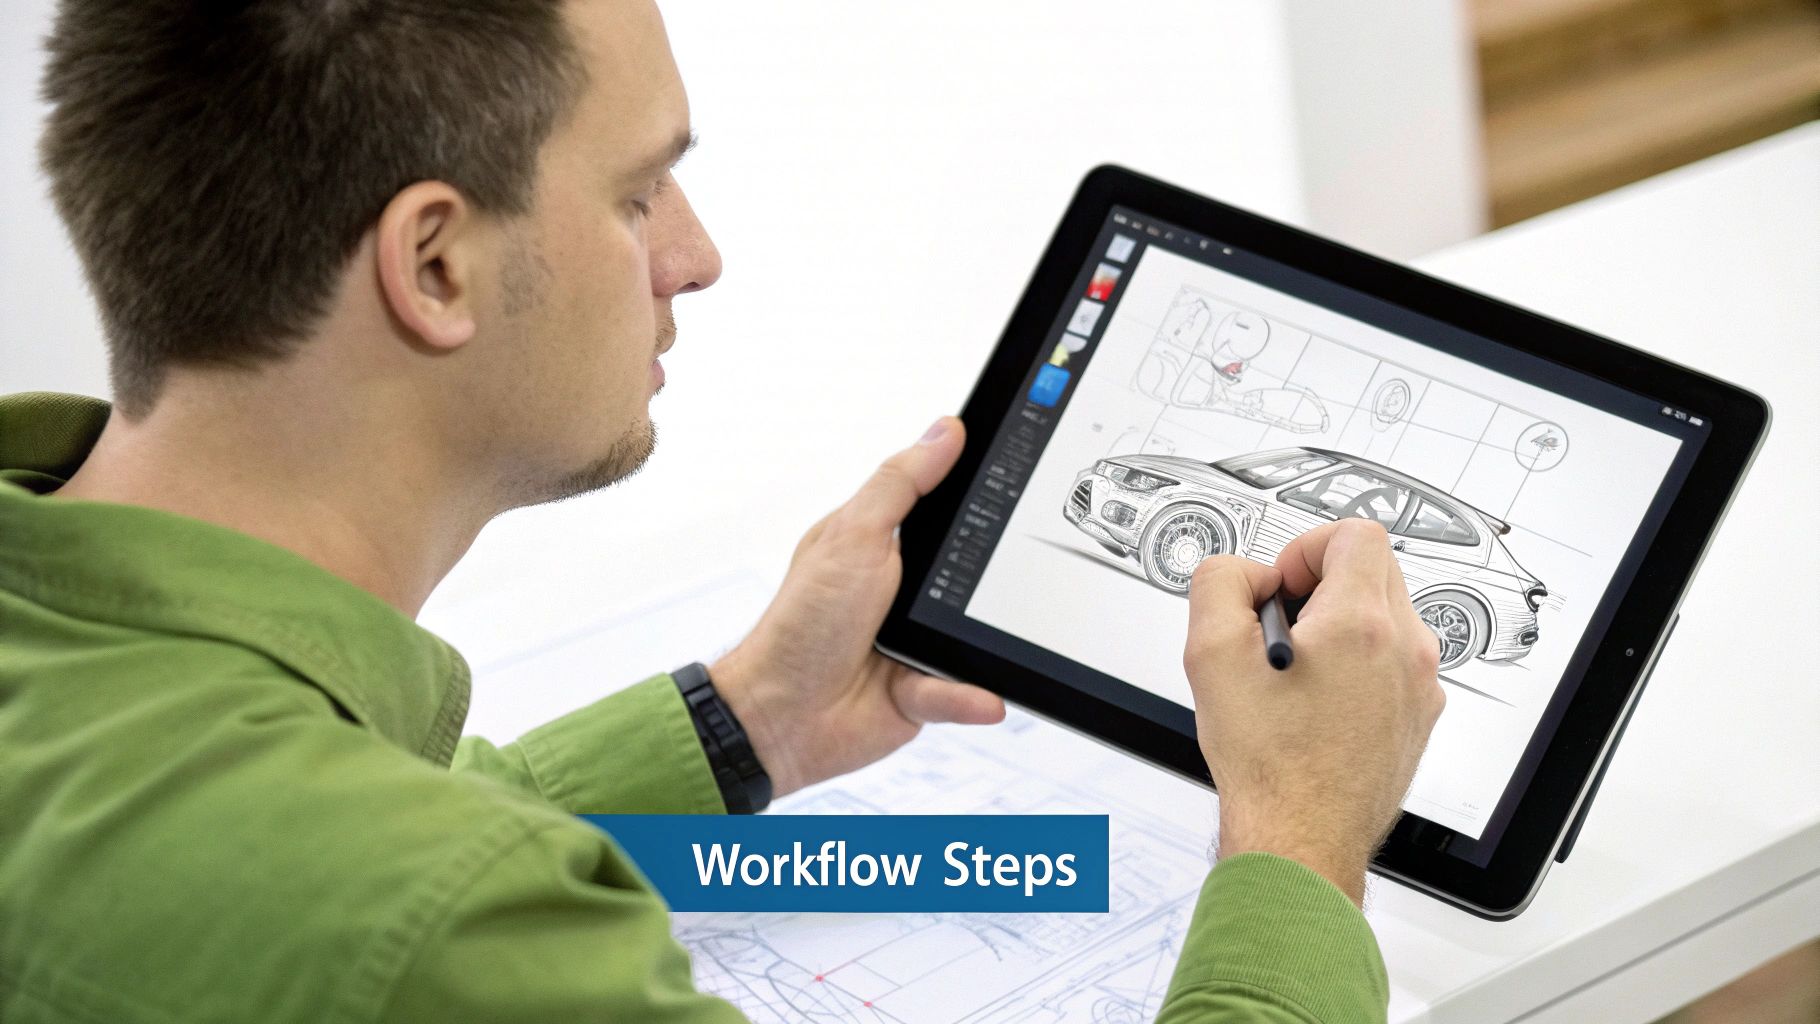
From Flat to Dimensional: Your Step-by-Step Conversion Guide
Turning 2D images into 3D models involves a structured process that blends artistic vision with technical execution. This guide provides a practical workflow suitable for various image types, offering a clear path from a flat image to a dimensional model.
Image Selection and Preparation
The journey begins with selecting an appropriate 2D image. High-resolution images with clear details and well-defined edges are the best starting point. This ensures the software can accurately interpret shapes and features during conversion. Precise source material makes the process smoother and more accurate.
Preparing the image is the next crucial step. Cleaning up noise, adjusting contrast, and ensuring correct color balance enhances conversion accuracy. A well-prepared image leads to better 3D model generation.
3D Conversion Process: A Step-by-Step Breakdown
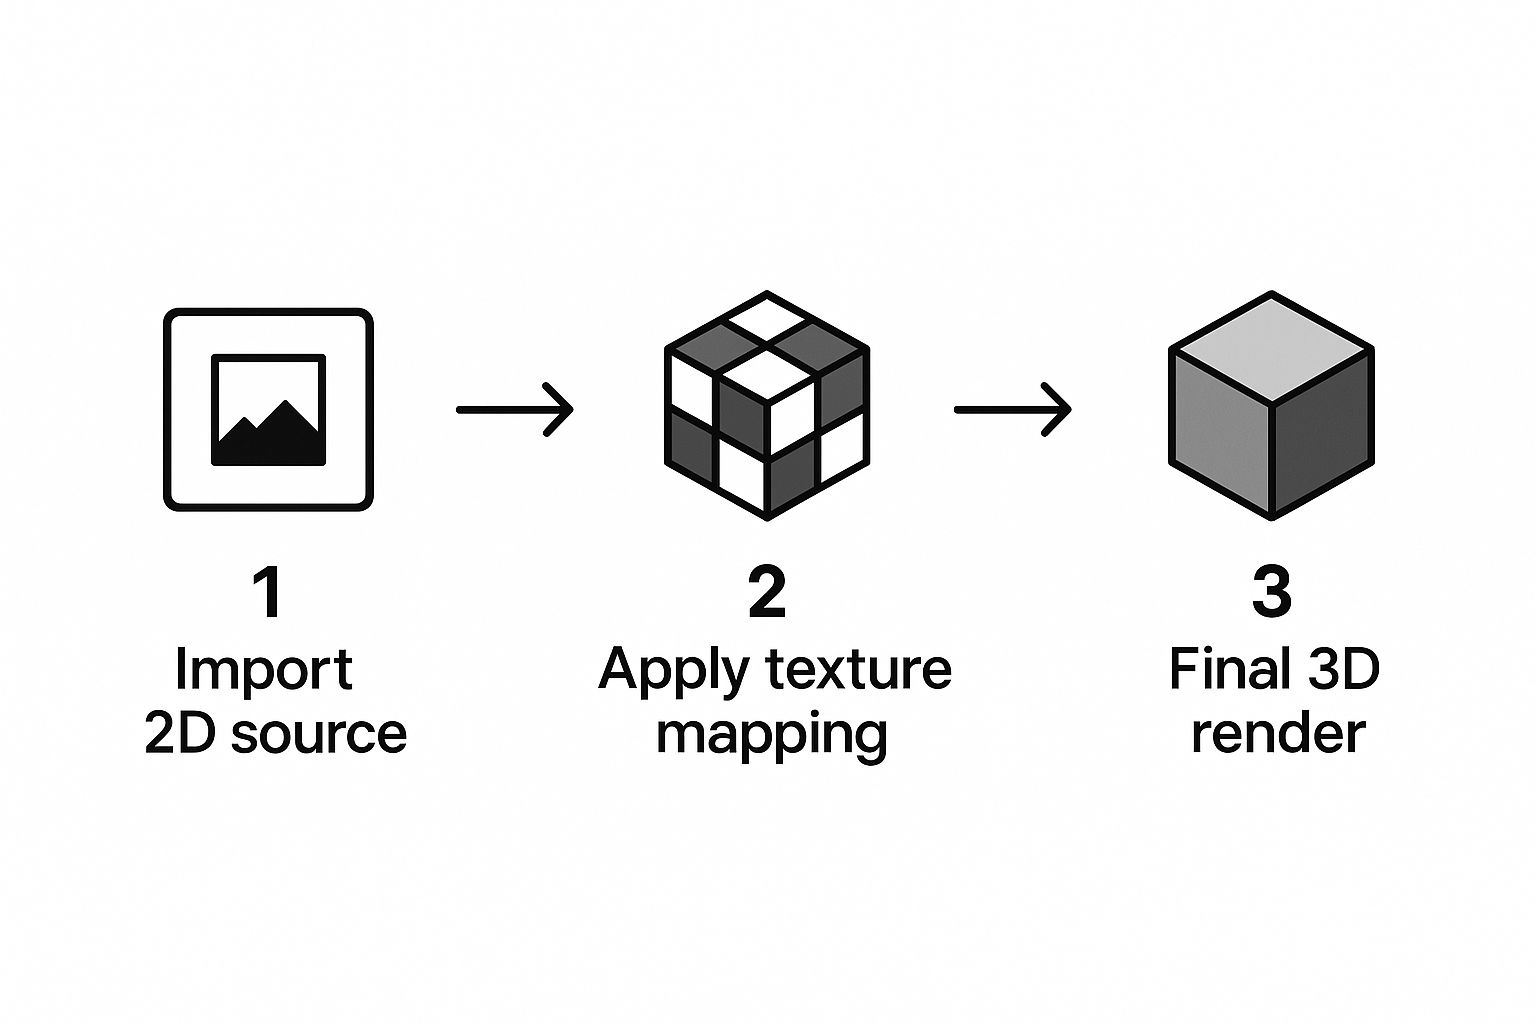
The conversion process itself can be broken down into several key stages, as illustrated in the process flow below. This infographic visualizes the step-by-step conversion from 2D image to 3D model. Each stage builds upon the previous one, forming a streamlined workflow:
- Depth Map Generation: The software analyzes the 2D image to create a depth map. This represents the distance of each pixel from the viewpoint, acting as a blueprint for the 3D model.
- Mesh Creation: Using the depth map, the software generates a 3D mesh. This network of interconnected polygons forms the surface of the 3D model.
- Texture Mapping: The original 2D image is “wrapped” around the 3D mesh, adding color and detail. This process, called texture mapping, gives the model its realistic appearance.
- Refinement and Optimization: Once the initial 3D model is generated, further refinement is often necessary. This might involve smoothing rough edges, adjusting mesh density, and optimizing the model for various applications.
The process flow clearly illustrates the sequential stages of converting a 2D image to a 3D model. The interdependence of these steps is crucial for a high-quality result.
Addressing Common Challenges
The conversion process isn't always straightforward. Challenges like complex geometries, occlusions (hidden parts of the image), and intricate texture mapping can arise. However, understanding these challenges and using appropriate techniques can mitigate their impact. Advanced software features like mesh editing and texture projection can help resolve these issues effectively. For adding 3D objects to your 2D image, you can explore tools like those available from Pedra.
Mastering 2D to 3D Conversion
By following this structured approach, you can develop a repeatable process for turning 2D images into compelling 3D models. This guide provides the foundational steps and considerations necessary for navigating the conversion process effectively. With practice and exploration of different techniques, you can refine your workflow and achieve professional-quality results.
Professional Techniques That Elevate Your 3D Conversions
Transforming 2D images into 3D models is a multifaceted process that blends technical skill with artistic vision. While automated conversions can achieve a basic 3D effect, true realism requires the application of professional techniques. These techniques are the key to creating believable 3D assets from 2D images.
Mastering Lighting and Shadows
Realistic 3D models rely heavily on the interplay of light and shadow. Proper lighting gives depth and dimension, while accurate shadowing defines shape and form. Consider how light interacts with real-world surfaces to replicate these effects convincingly in your 3D models. Software like Blender provides granular control over light sources and shadow properties.
This allows artists to fine-tune the lighting to achieve optimal realism. The right balance can bring a scene to life and add a sense of believability to the 3D conversion.
Reconstructing Complex Geometries
Converting simple shapes into 3D is usually straightforward. However, complex geometries require a more nuanced approach. Reconstructing intricate shapes from 2D images demands careful analysis and skillful manipulation of 3D modeling software. Often, this involves manually refining the 3D mesh, ensuring it accurately represents the original image's features. Tools like Meshlab offer precise editing capabilities for complex meshes.
This precision is crucial for capturing fine details and ensuring the 3D model faithfully represents the original 2D image. Careful mesh editing can significantly elevate the quality of the final 3D asset.
Handling Reflections and Transparencies
Reflections and transparencies add a layer of realism, but they also introduce complexity to the conversion process. Accurately depicting light interaction with transparent or reflective surfaces requires specialized techniques and advanced software features. Physically-based rendering (PBR) materials simulate real-world light behavior, enhancing realism.
PBR materials are particularly effective for materials like glass or polished metal, adding depth and believability to the 3D model. The skillful use of PBR materials can make the difference between a flat, unconvincing model and a truly realistic representation.
Combining AI Assistance With Manual Refinement
AI-powered tools are increasingly valuable in 2D to 3D conversion, automating many steps in the process. However, AI often produces a starting point that requires further refinement. Combining the speed of AI with the precision of manual editing delivers the best results. AI can generate initial depth maps and meshes, which artists can then refine using software like Blender or Meshlab.
This collaborative approach leverages the strengths of both AI and human artistry. AI streamlines the initial stages, while manual refinement adds the finishing touches that bring the 3D model to life.
Best Practices for Professional Results
The following best practices can significantly enhance the quality of your 3D conversions:
-
High-Resolution Images: Starting with high-resolution images provides more data for the conversion process, resulting in more detailed 3D models.
-
Clean Source Material: Clean up noise, remove unwanted elements, and color-correct your 2D image before conversion to ensure a cleaner 3D model.
-
Iterative Refinement: Rarely is a 2D to 3D conversion perfect on the first try. Iterative refinement through continuous evaluation and improvement is crucial for optimal results.
-
Software Proficiency: Mastering your chosen 3D modeling software is essential for fully realizing your creative potential and achieving professional-grade results.
Let's explore some common challenges and their solutions:
Introducing a helpful table detailing common issues faced during 2D to 3D conversion and how to address them. This table summarizes practical solutions based on experiences from professional artists, offering a valuable guide for navigating these common challenges.
| Challenge | Impact | Solution Approach | Tools/Methods | Difficulty Level |
|---|---|---|---|---|
| Loss of Detail in Complex Areas | Blurred or simplified geometry in intricate parts of the model. | Manually rebuild or refine the mesh in affected areas. | Meshlab, Blender sculpting tools | Medium to Hard |
| Texture Stretching or Distortion | Unrealistic textures on curved or complex surfaces. | Use UV unwrapping techniques to optimize texture mapping. | Blender, 3D painting software | Medium |
| Inaccurate Depth Perception | The 3D model appears flat or lacks depth. | Adjust lighting and shadows, refine the mesh based on depth cues in the 2D image. | Blender, Photoshop for depth map creation | Easy to Medium |
| Difficulty with Transparent Objects | Transparencies appear unrealistic or do not interact correctly with light. | Employ PBR materials and adjust transparency settings. | Blender, Substance Painter | Medium |
| Time-Consuming Manual Refinement | Achieving a high level of realism requires significant manual editing. | Combine AI-powered tools for initial steps with focused manual refinement in critical areas. | Blender, Meshlab, AI-based 2D to 3D conversion software | Medium |
This table provides practical guidance on tackling some of the most common issues in 2D to 3D conversion. By understanding these challenges and applying the suggested solutions, you can significantly improve the quality and realism of your 3D models.
By mastering these techniques and addressing common challenges, you can create compelling 3D models from 2D images. With practice and dedication, you can transform flat images into impressive 3D assets that go beyond basic conversions, resulting in truly realistic and visually compelling creations.
Bringing Your 3D Conversions to Life: Practical Applications
Your newly created 3D models offer more than just static visuals. The process of converting 2D images into 3D opens exciting possibilities across diverse fields. From enhancing e-commerce experiences to enriching education, 3D conversions are making a real impact. Let's explore some key areas where these techniques are proving invaluable.
3D Product Visualization in E-Commerce
One of the most significant advantages of 2D to 3D conversion lies within the realm of e-commerce. Creating 3D models provides customers with a far more immersive and interactive online shopping experience. This added dimension allows for a comprehensive product view from all angles, close examination of details, and a better understanding of how the product fits into their lifestyle.
This increased interaction can lead to a significant reduction in product returns and a boost in sales. Furniture retailers, for example, are using 3D models and Augmented Reality (AR) to enable customers to virtually place furniture within their homes. This empowers customers to confidently assess size, style, and fit, minimizing the uncertainties often associated with online furniture purchases. It effectively bridges the gap between online and in-store shopping.
Engaging Educational Materials With 3D
3D models are transforming the educational landscape, changing how students learn and interact with information. Complex concepts become more tangible when visualized in three dimensions, making abstract ideas easier to grasp. This visual approach enhances comprehension and memory retention.
Medical students, as an example, can now explore intricate anatomical structures using 3D models of organs and skeletal systems. These interactive models provide dynamic explorations not possible with traditional 2D textbooks or illustrations. These interactive learning experiences are proving to be more engaging for learners across various disciplines.
Enhancing Architectural Presentations With 3D
Architects and designers are increasingly incorporating 3D models to create compelling client presentations. Transforming 2D blueprints and drawings into 3D models allows for a more realistic and immersive showcase of proposed designs. This realism helps clients better visualize the final project and provides a deeper understanding of spatial arrangements and design elements.
Rather than relying on static images, architects can now present interactive 3D models that clients can explore virtually. This immersive experience helps clients to visualize the project more effectively and better understand its design and functionality.
Optimizing 3D Assets for Different Platforms
Converting 2D images into 3D is just the first step. Optimizing these 3D assets for different platforms is essential, depending on their intended use. This optimization ensures smooth performance and effective presentation, whether displayed on a website, within an AR application, or integrated into a game engine.
Careful consideration of file formats, polygon count, and texture sizes is necessary to maintain visual quality while minimizing file size. This optimization process is crucial for a smooth user experience across various platforms.
The ability to convert 2D images into 3D provides valuable tools across diverse industries. By understanding these practical applications and optimization techniques, you can maximize the impact of your 3D conversions and harness the power of 3D visualization to create truly engaging and effective content. Ready to explore the power of 3D model conversion? Discover how PYCAD can help you leverage the latest technology for your specific needs. Visit PYCAD to learn more about innovative solutions for medical imaging and 3D model conversion.