The Science Behind 2D to 3D Transformation
Creating a 3D image from a 2D image involves understanding how our brains perceive depth and space. Think about how we interpret a photograph: a smaller, less vibrant mountain with a hazy effect appears further away. These are depth cues, and software uses these same clues to reconstruct 3D information from a 2D image.
One crucial cue is perspective. Just as a road appears to narrow in the distance, converging lines in an image suggest depth. Artists have used perspective for centuries, and this principle informs algorithms that generate 3D images from 2D ones.
Lighting and shadows also play a vital role. We instinctively understand shadows as indicators of shape and depth. Software mimics this, analyzing light and shadow to infer 3D forms, much like a sculptor uses light and shadow to define contours.
Depth Perception Algorithms and Spatial Reconstruction
Depth perception algorithms further refine this transformation. They analyze perspective, lighting, and shadows to recreate spatial relationships between objects. By analyzing relative sizes and positions, these algorithms calculate distances and build a 3D model.
Furthermore, Neural Radiance Fields (NeRFs) have revolutionized 2D to 3D transformation. NVIDIA's Instant NeRF can train on dozens of images in seconds, rendering a 3D scene in milliseconds. NeRFs capture how light radiates from objects, allowing for highly realistic 3D reconstructions with applications in virtual reality and robotics.
The Future of 2D to 3D Conversion
The combination of artistic principles and algorithms allows us to create 3D images from 2D ones. As technology continues to advance, the precision and realism of 3D reconstructions will also improve, creating new possibilities across various fields.

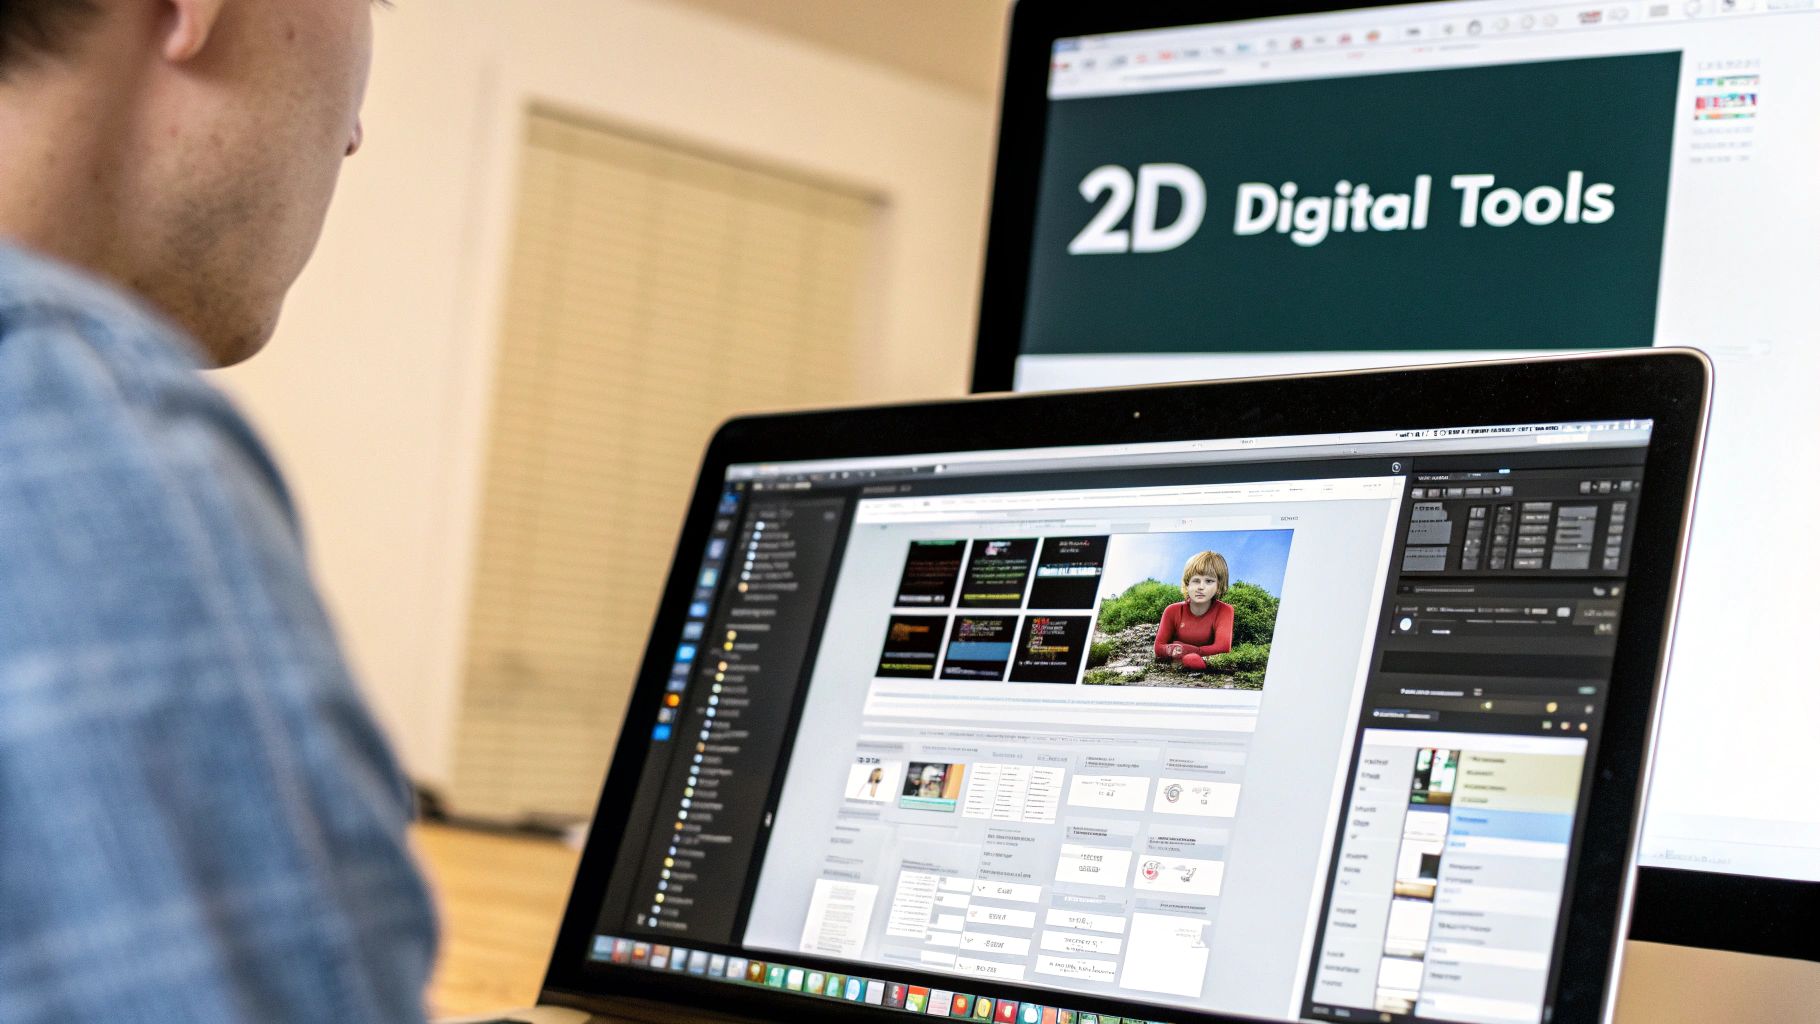
Selecting the Right Tools to Create 3D Images from 2D
Creating 3D images from 2D requires the right tools. Selecting appropriate software significantly impacts your project's success, whether you're creating quick social media content or detailed architectural visualizations. This exploration of 2D-to-3D conversion software offers guidance based on practical testing and insights from 3D artists.
Software Solutions for Varying Needs and Skill Levels
The market offers diverse software catering to different skill levels and project complexities. Some programs specialize in photogrammetry, creating 3D models from multiple photographs. Others use AI-powered 3D generation, enabling faster workflows. There are tools ideal for beginners, prioritizing ease of use, and professional-grade software with advanced features.
Some software excels at creating basic 3D models from single images, perfect for social media or online product showcases. These tools often feature intuitive interfaces and simplified workflows.
However, complex 3D models from architectural blueprints or product designs require software capable of handling intricate geometries and textures. These programs often have steeper learning curves but offer greater control over the final 3D output, including material customization and rendering options.
The pursuit of 3D creation from 2D images has a history. Software like Pixel 3D and Real 3D existed in the 1990s, with prices ranging from £59.00 to £359.95 for professional versions. This demonstrates a longstanding interest in 3D rendering technology. Explore further details here.
Building Your 3D Toolkit: Free vs. Paid Options
One of the first decisions is whether to choose free or paid software. Several free and open-source options offer powerful capabilities, allowing beginners to explore 3D creation without financial investment. These tools may lack the advanced features of premium solutions but provide excellent starting points.
Paid software unlocks advanced tools and functionalities, including high-resolution rendering, sophisticated texture mapping, and industry-specific plugins. Before investing, carefully evaluate your needs and ensure the tool aligns with your project and skill level.
Evaluating Software: Key Considerations
Choosing the right software involves assessing key factors:
- Ease of Use: How intuitive is the interface?
- Features: Does the software offer the necessary tools for your project?
- Output Quality: What level of detail and realism can be achieved?
- Pricing: Is the cost aligned with your budget?
- Support: Is there adequate documentation and community support?
Choosing wisely means considering present needs and future aspirations. By carefully evaluating these elements, you can build a toolkit that supports your 3D creation journey.
Exploring Open-Source and Commercial Software
To help you in the selection process, we’ve put together a comparison table highlighting some popular options.
The table below, "Top 2D-to-3D Conversion Software Comparison", provides a comprehensive look at various software tools for this purpose. It compares pricing, features, ease of use, and ideal use cases.
| Software | Price | Skill Level | Best Features | Output Formats | Ideal Use Cases |
|---|---|---|---|---|---|
| Meshroom | Free | Beginner to Intermediate | Open-source, photogrammetry, community support | OBJ, PLY | 3D scanning, hobby projects, learning photogrammetry |
| RealityCapture | Paid (subscription) | Intermediate to Advanced | Professional photogrammetry, high accuracy, fast processing | OBJ, FBX, DXF, more | Surveying, architecture, industrial design, high-quality 3D models |
| Blender | Free | Beginner to Advanced | Versatile 3D modeling and animation suite, includes photogrammetry tools | OBJ, FBX, STL, more | Animation, game development, general 3D modeling |
| Autodesk ReMake (discontinued – now integrated into other Autodesk products) | N/A | Beginner to Intermediate | Cloud-based photogrammetry, easy to use | OBJ, FBX, STL, more | Quick 3D model creation from photos |
This table highlights the diversity of tools available. Free, open-source programs like Meshroom offer great starting points, while commercial software like RealityCapture delivers professional-grade features. Remember to consider your specific needs and budget when selecting.
Mastering Photogrammetry: Multiple Angles, One Model
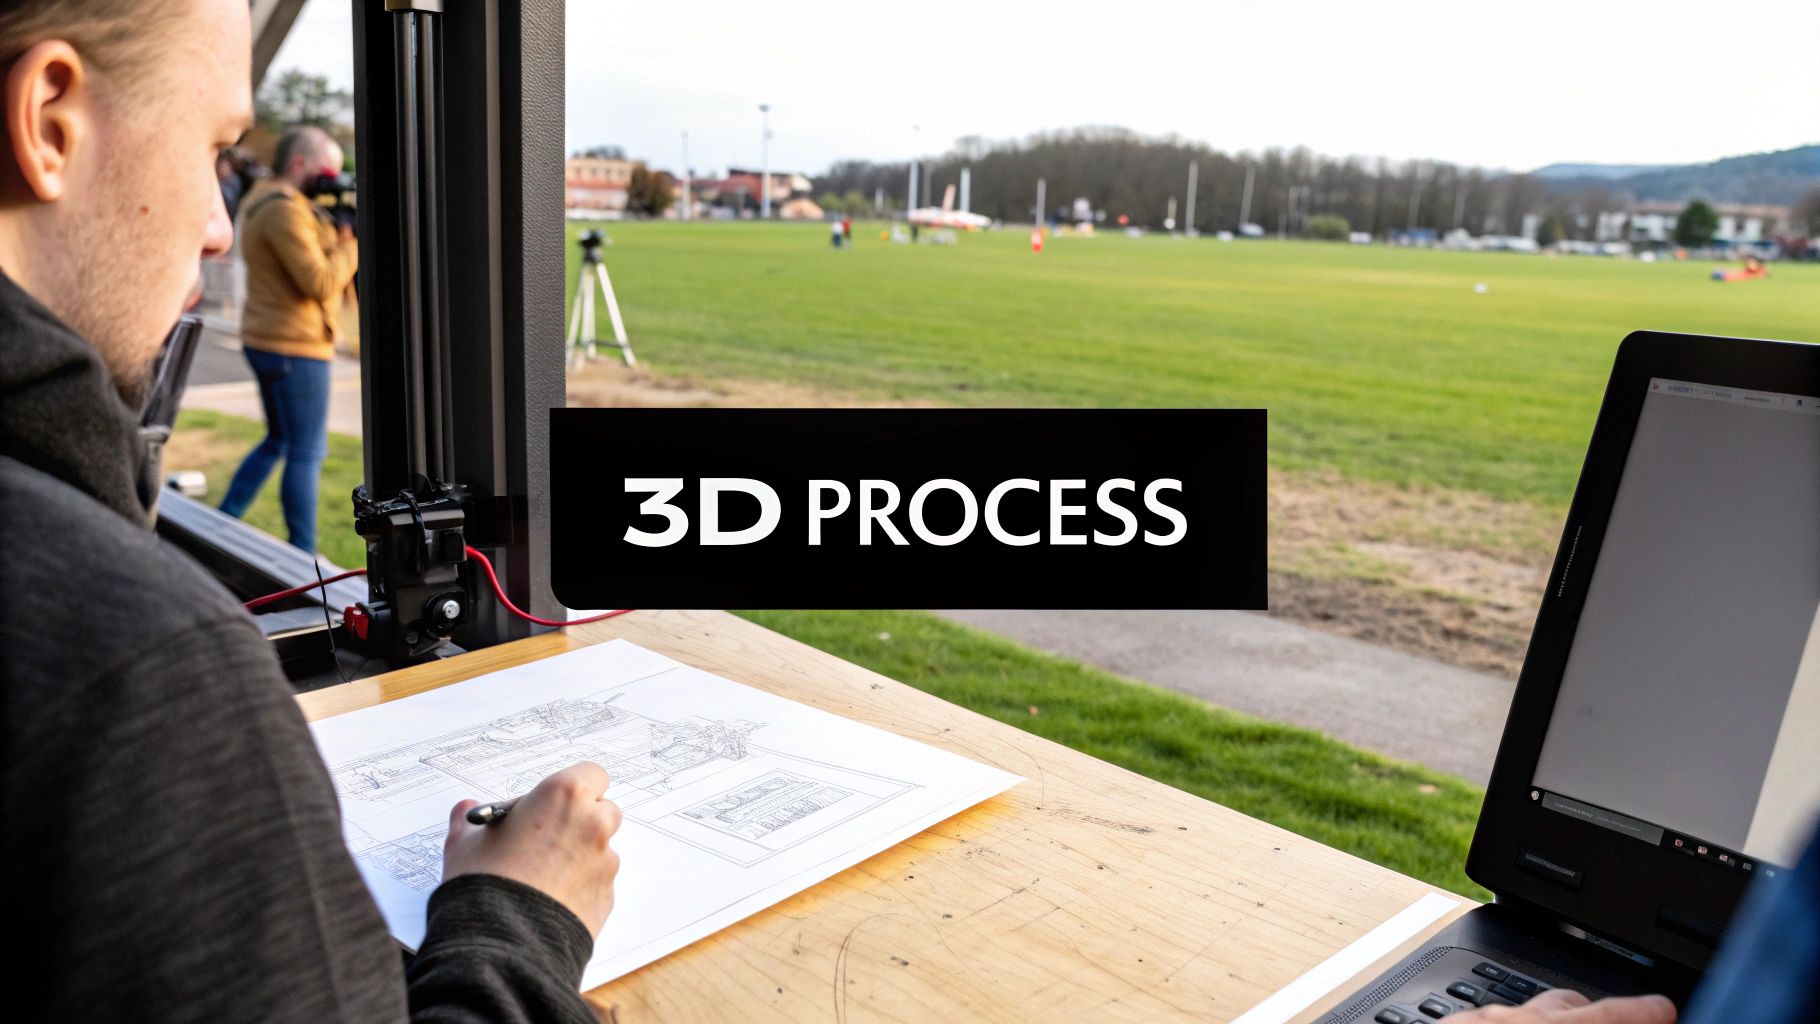
Photogrammetry lets you create a 3D model from a collection of 2D photographs. It's similar to assembling a puzzle, with each image revealing a part of the final 3D structure. This section explores the practical steps involved in using this technique to create 3D images from 2D photographs.
Capturing Ideal Source Images for Photogrammetry
The quality and coverage of your source images significantly impact the success of your photogrammetry project. Keep these important factors in mind when planning your photoshoot:
-
Camera Settings: Maintaining consistency in your camera settings is crucial. Use a fixed focal length throughout the shoot for consistent perspective. Manual focus and exposure settings ensure uniformity across all your images.
-
Lighting: Aim for even, diffused lighting. Harsh shadows or significant lighting changes between shots can disrupt the software's reconstruction process. Overcast days often provide the best lighting conditions for outdoor photogrammetry.
-
Shooting Pattern: Employ a systematic shooting pattern with substantial overlap between each image. Visualize covering your subject with a net of photographs, aiming for 60-80% overlap between adjacent shots.
-
Coverage: Comprehensive coverage from all angles is essential for building an accurate 3D model. Include top-down and bottom-up perspectives whenever possible to capture a complete 3D representation of your subject.
Understanding Success and Failure in Photo Sequences
Some photo sequences yield impressive 3D models, while others fall short. The difference often comes down to the finer points. Insufficient overlap can result in gaps or "holes" in the final model. Inconsistent lighting or exposure can create texture anomalies. Blurry or out-of-focus images will make accurate alignment difficult, leading to distorted or incomplete reconstructions. Photogrammetry creates 3D models from 2D images using overlapping photographs taken from different angles. This technique finds applications in various fields, including architecture and archaeology. Using software like Meshroom, you can generate a 3D point cloud from a set of 2D images in under 10 minutes. The process involves structure from motion computation followed by dense point cloud generation to create a detailed 3D model. Learn more about this process here.
Troubleshooting Common Photogrammetry Problems
Even with careful planning, you might encounter some issues. Here are a few common problems and how to address them:
-
Missing Areas: Missing parts of your 3D model usually indicate gaps in your image coverage. Review your source images to pinpoint these gaps and reshoot the object, focusing on the missing sections.
-
Texture Inconsistencies: These issues often stem from uneven lighting or changes in camera settings. Maintaining consistent lighting and settings during your shoot is the best approach. Post-processing software can sometimes help correct minor inconsistencies.
-
Alignment Errors: Blurry images or inadequate overlap often cause alignment errors. Using a tripod helps minimize blur. Ensure sufficient overlap between images for better alignment.
By understanding the core principles of photogrammetry and applying these practical tips, you can consistently generate high-quality 3D models from your 2D photographs. This allows you to present your subjects in a new dimension, opening up a wealth of creative opportunities. With practice and attention to detail, you can master this powerful technique and transform your photography into impressive 3D art.
AI-Powered 3D Generation: Capabilities and Limitations
Artificial intelligence is changing how we create 3D images from 2D sources. This presents both exciting opportunities and important challenges. This section explores the current state of AI-driven 2D to 3D image conversion, examining its strengths, weaknesses, and practical uses.
The Power of AI in 3D Image Creation
AI algorithms excel at automating complex tasks, and 3D image generation is no different. These algorithms can analyze 2D images, identify depth cues, and extrapolate 3D information quickly. This reduces the time and effort required for 3D model creation, making it more accessible.
For example, AI algorithms can analyze a single image and infer the 3D shape of the objects within it. This is useful for quickly generating basic 3D models for product visualizations or social media content. AI can also enhance traditional 3D creation methods like photogrammetry by automating tasks such as image alignment and point cloud generation.
Limitations of Current AI Technology
While AI has great potential, current technology still has limitations. AI algorithms sometimes struggle with complex scenes or images with ambiguous depth cues. This can lead to inaccuracies in the 3D models, requiring manual correction.
Another limitation is the need for high-quality input data. AI algorithms perform best when trained on large datasets of high-resolution images. If the input 2D image is blurry, low-resolution, or lacks detail, the 3D model may be flawed. This is why understanding image capturing techniques is important for successful AI-driven 3D creation. Advancements in machine learning have led to sophisticated methods for creating 3D images from 2D pictures. Researchers at Washington University in St. Louis developed an algorithm that generates a continuous 3D model of cells from partial 2D images using neural field networks. This allows for smooth zooming and rotation. Explore this topic further here.
Optimizing AI-Generated 3D Models
Several techniques can improve the quality of AI-generated 3D models:
-
Input Preparation: Providing clear, high-resolution 2D images is crucial. Ensure proper lighting, focus, and composition.
-
Prompt Engineering: When using AI tools with text prompts, crafting precise and descriptive prompts can guide the algorithm.
-
Post-Processing: Refining AI-generated models with traditional 3D modeling software allows for correcting errors and adding details. This combines the speed of AI with manual editing precision.
Combining AI with Traditional Techniques
A strategic approach involves combining the efficiency of AI with the precision of traditional methods. AI can generate a base 3D model quickly. This model can then be refined using established 3D modeling tools. This hybrid workflow optimizes both speed and quality.
By understanding AI's capabilities and limitations, and integrating it into your workflow, you can unlock its potential to create impressive 3D images from 2D sources. This field continues to evolve, promising further advancements in realism, efficiency, and accessibility.
From Flat to Fantastic: Your Complete Workflow Guide
This guide provides a practical, step-by-step approach to transforming 2D images into compelling 3D visuals. We'll explore essential techniques for various projects, discuss optimal settings, and offer troubleshooting tips to help you avoid common pitfalls. Whether you're just starting out or you're a seasoned 3D artist, this workflow can enhance your 3D image creation process.
Depth Maps: The Foundation of 3D
The first step in many 2D to 3D conversions is creating a depth map. This grayscale image represents the distance of objects from the viewer's perspective. Lighter areas indicate closer objects, while darker areas represent objects further away. Imagine a photograph of a forest: the trees in the foreground would be bright in the depth map, while the background trees would appear darker.
Creating effective depth maps requires skill and attention to detail. While some software like Blender can automatically generate depth maps, manual adjustments often yield the best results. This refinement process is similar to sculpting, where you start with a basic shape and refine it into a detailed representation.
Applying Textures for Enhanced Realism
After generating the 3D model, applying textures is essential for adding realism and visual appeal. Textures provide surface detail and richness, transforming a simple 3D shape into a more engaging and believable object. Just like adding wood grain to a plain cube enhances its visual interest, textures add depth and complexity to your 3D models.
This process involves carefully mapping the 2D texture onto the 3D surface. Precision is key here, as misalignments can lead to visible seams or distortions in the final image. Think of it as wrapping a present: accurate placement of the wrapping paper ensures a clean, polished look.
Preparing 3D Models for Various Applications
The final preparation steps depend on how you intend to use the 3D image. For 3D printing, the model must be watertight and error-free to ensure a successful and structurally sound print. This prevents weaknesses or imperfections in the final physical object.
If the 3D image is destined for virtual reality (VR), optimizing for real-time rendering is crucial. This often involves reducing the polygon count or simplifying textures to maintain smooth performance within the VR environment. Creating 3D images from 2D opens up a wide range of applications, from physical objects to immersive virtual experiences.
Streamlining Your Workflow: Tips and Tricks
Here are a few tips to improve the quality and efficiency of your 2D to 3D conversions:
-
Begin with high-resolution images: A high-resolution starting image provides more detail for the conversion process, resulting in a richer and more accurate 3D model.
-
Utilize specialized software: Different software packages excel at specific 3D creation techniques, such as photogrammetry or AI-powered generation. Consider using tools like Meshroom for photogrammetry or RealityCapture for AI-powered 3D modeling.
-
Practice and experiment: The more you practice, the better you'll understand the intricacies of 2D to 3D conversion. Experimentation with different techniques and settings will help you develop a personalized workflow.
To provide a clearer understanding of the conversion process, let's look at a typical project timeline. The table below outlines the stages involved, their estimated time requirements, the necessary skill levels, and key considerations for each stage.
2D to 3D Conversion Process Timeline: Step-by-step breakdown of the conversion process with estimated time requirements and skill level for each stage
| Process Stage | Estimated Time | Required Skill Level | Key Considerations |
|---|---|---|---|
| Preparing 2D images | 1-2 hours | Beginner | Image quality, resolution, perspective |
| Creating depth map | 1-4 hours | Beginner to Intermediate | Software used, manual refinement |
| Generating 3D model | 30 minutes – 2 hours | Beginner to Advanced | Software, complexity |
| Applying textures | 1-4 hours | Intermediate | Texture quality, mapping accuracy |
| Post-processing and optimization | 1-4 hours | Intermediate to Advanced | Output requirements |
By following these steps and considering the factors outlined in the table, you'll be well on your way to creating high-quality 3D images from 2D sources. Remember, prioritizing quality and consistent practice are key to mastering this process.
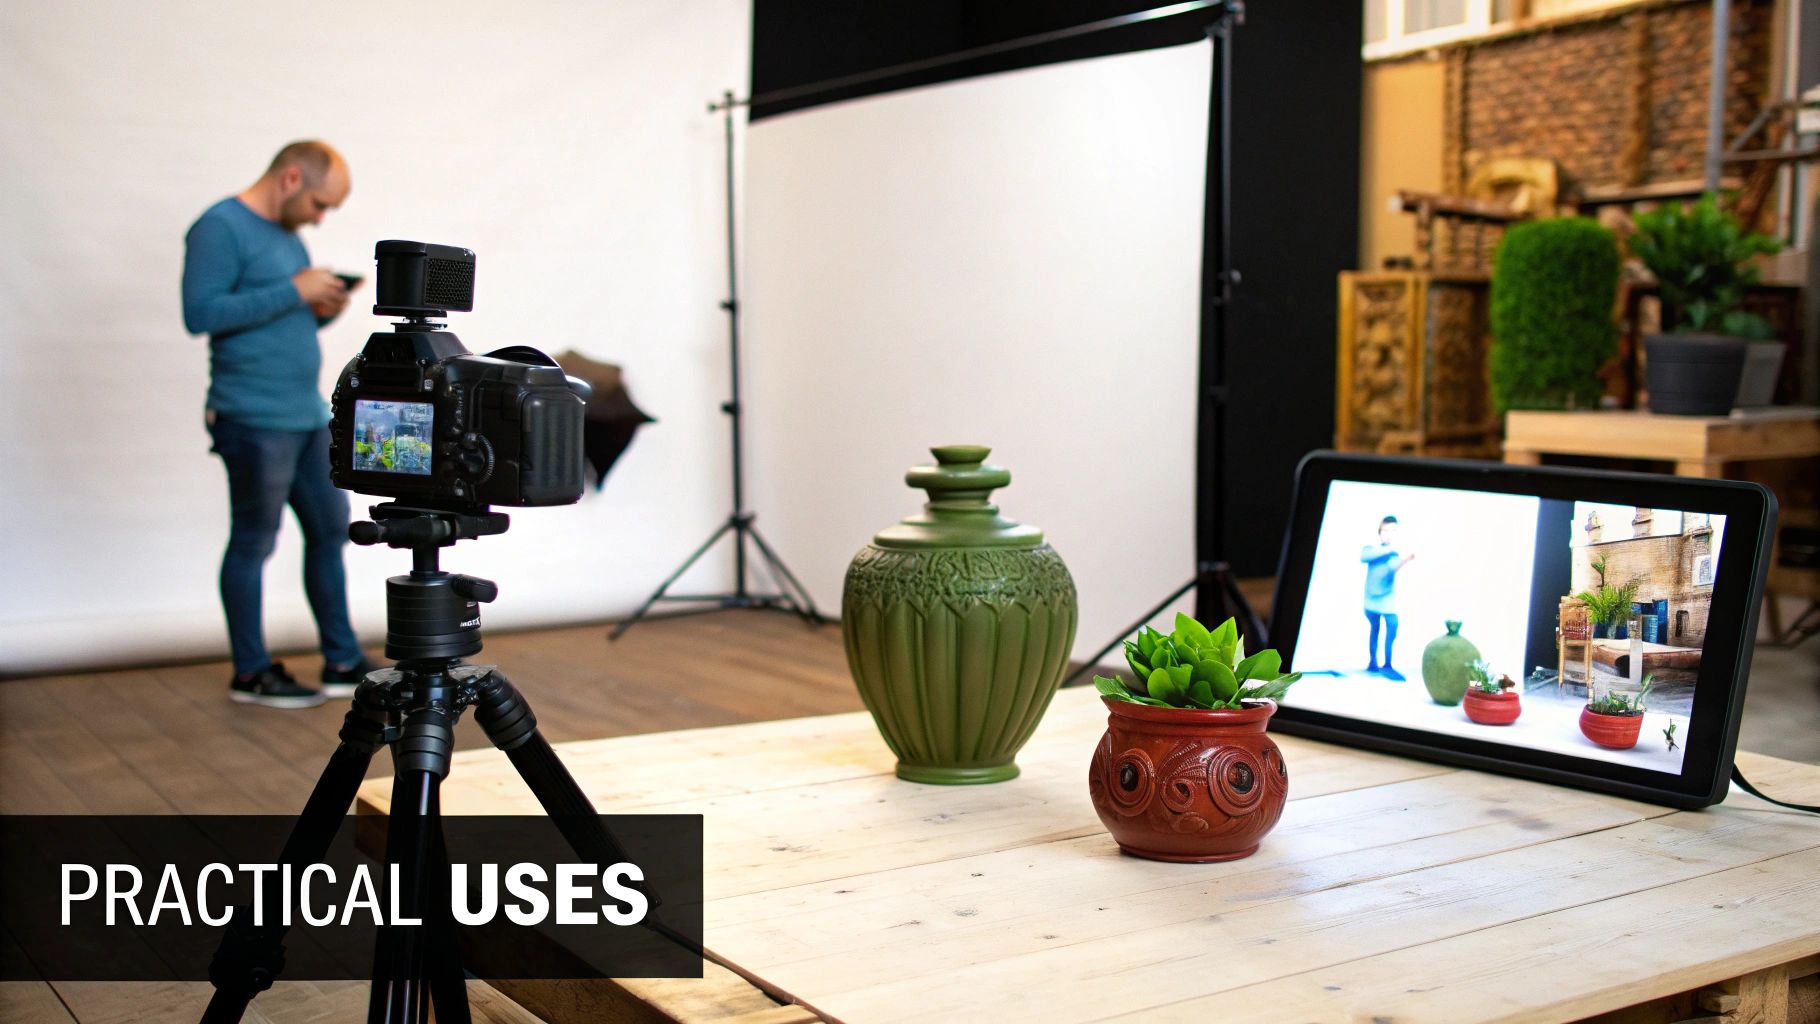
Real-World Applications That Drive Results
2D to 3D image conversion is more than just a creative tool. It's transforming industries and delivering real-world value. From visualizing architectural blueprints to enhancing medical diagnoses, this technology is making a tangible impact. Let's explore some compelling examples of how professionals use these techniques to achieve concrete results.
Architecture: Winning Clients With Immersive Visualizations
Architects are using 2D to 3D conversion to transform blueprints and sketches into immersive 3D models. These models offer clients a realistic preview of the final project, helping them understand spatial relationships and design choices more effectively. This enhanced visualization can significantly improve client approval rates and reduce costly revisions later in the project.
Imagine presenting a client with a 3D walkthrough of their future home, rather than static 2D blueprints. This immersive experience allows them to “experience” the space, leading to greater understanding and satisfaction.
E-Commerce: Boosting Conversion Rates With 3D Product Renderings
E-commerce brands are leveraging 3D models created from 2D images to enhance product displays. These interactive 3D renderings allow potential customers to examine products from all angles, zoom in on details, and even visualize products in their own homes.
This provides a more engaging and informative online shopping experience, leading to higher conversion rates and reduced product returns. A recent study showed that product pages with 3D visuals experienced a 25% increase in conversion rates compared to those with only 2D images. This highlights the power of 3D visualization in influencing purchasing decisions.
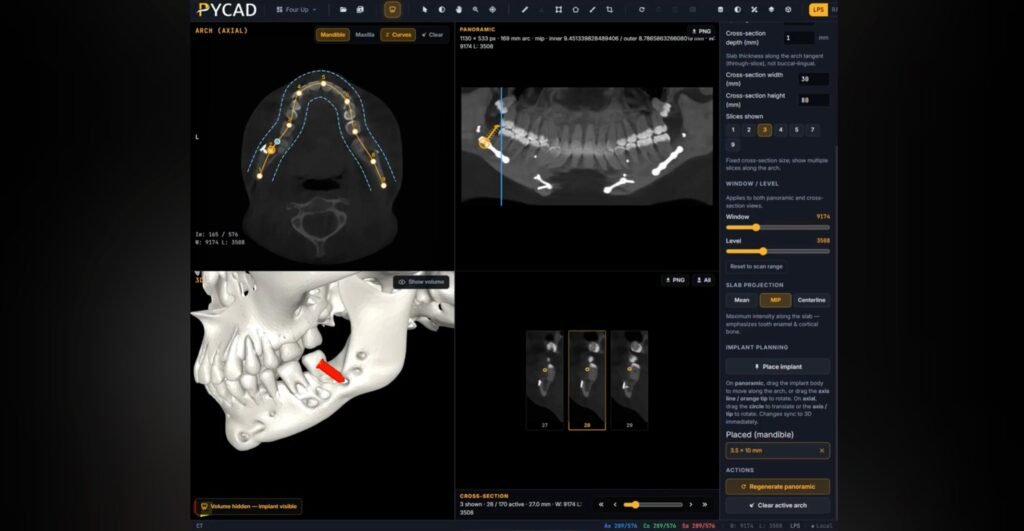
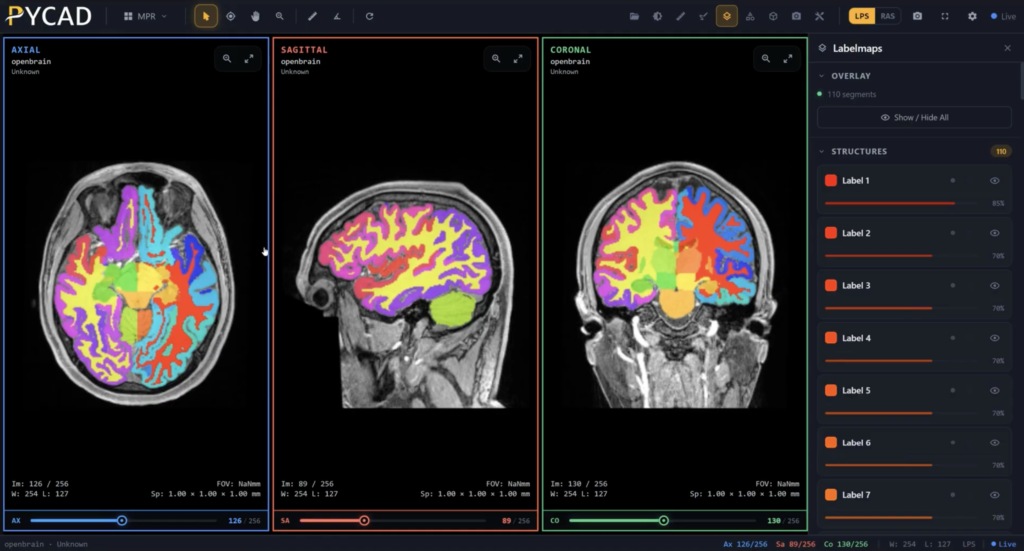
Medical Imaging: Improving Diagnostic Accuracy With Enhanced Visualizations
The medical field uses 2D to 3D conversion to create 3D models of anatomical structures from medical scans. This enables medical professionals to visualize complex anatomy in three dimensions, improving diagnostic accuracy and facilitating more effective treatment planning.
For instance, converting 2D X-rays or CT scans into 3D models allows surgeons to better understand the spatial relationship of organs and tissues. This leads to more precise surgical procedures and improved patient outcomes. This added dimension can be particularly useful in fields like orthopedics, cardiology, and oncology.
Beyond These Examples: Expanding Applications
The potential applications of 2D to 3D conversion extend far beyond these examples. From creating virtual museum exhibits to developing training simulations for complex tasks, this technology is continuously finding new and innovative uses.
As the tools and techniques continue to evolve, we can expect even more widespread adoption and more profound impacts across diverse industries. The ability to create 3D images from 2D sources is becoming increasingly valuable across various sectors.
Ready to experience the power of AI in medical imaging? Explore PYCAD's innovative solutions and discover how they can enhance your medical device development and optimize healthcare outcomes. Visit PYCAD today.