
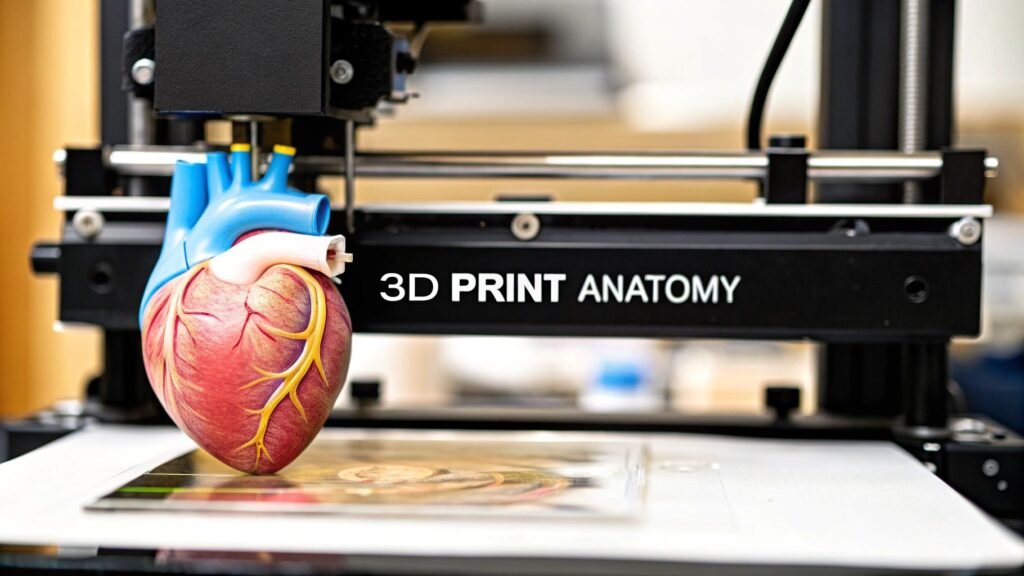
A patient-specific anatomical model is a production job: scan → segment → watertight mesh → pick a printer/material → slice → finish. It is not a brain-product roundup (3D printed brain models) and it is not the file-conversion page (convert DICOM to STL). Those are earlier or side steps.
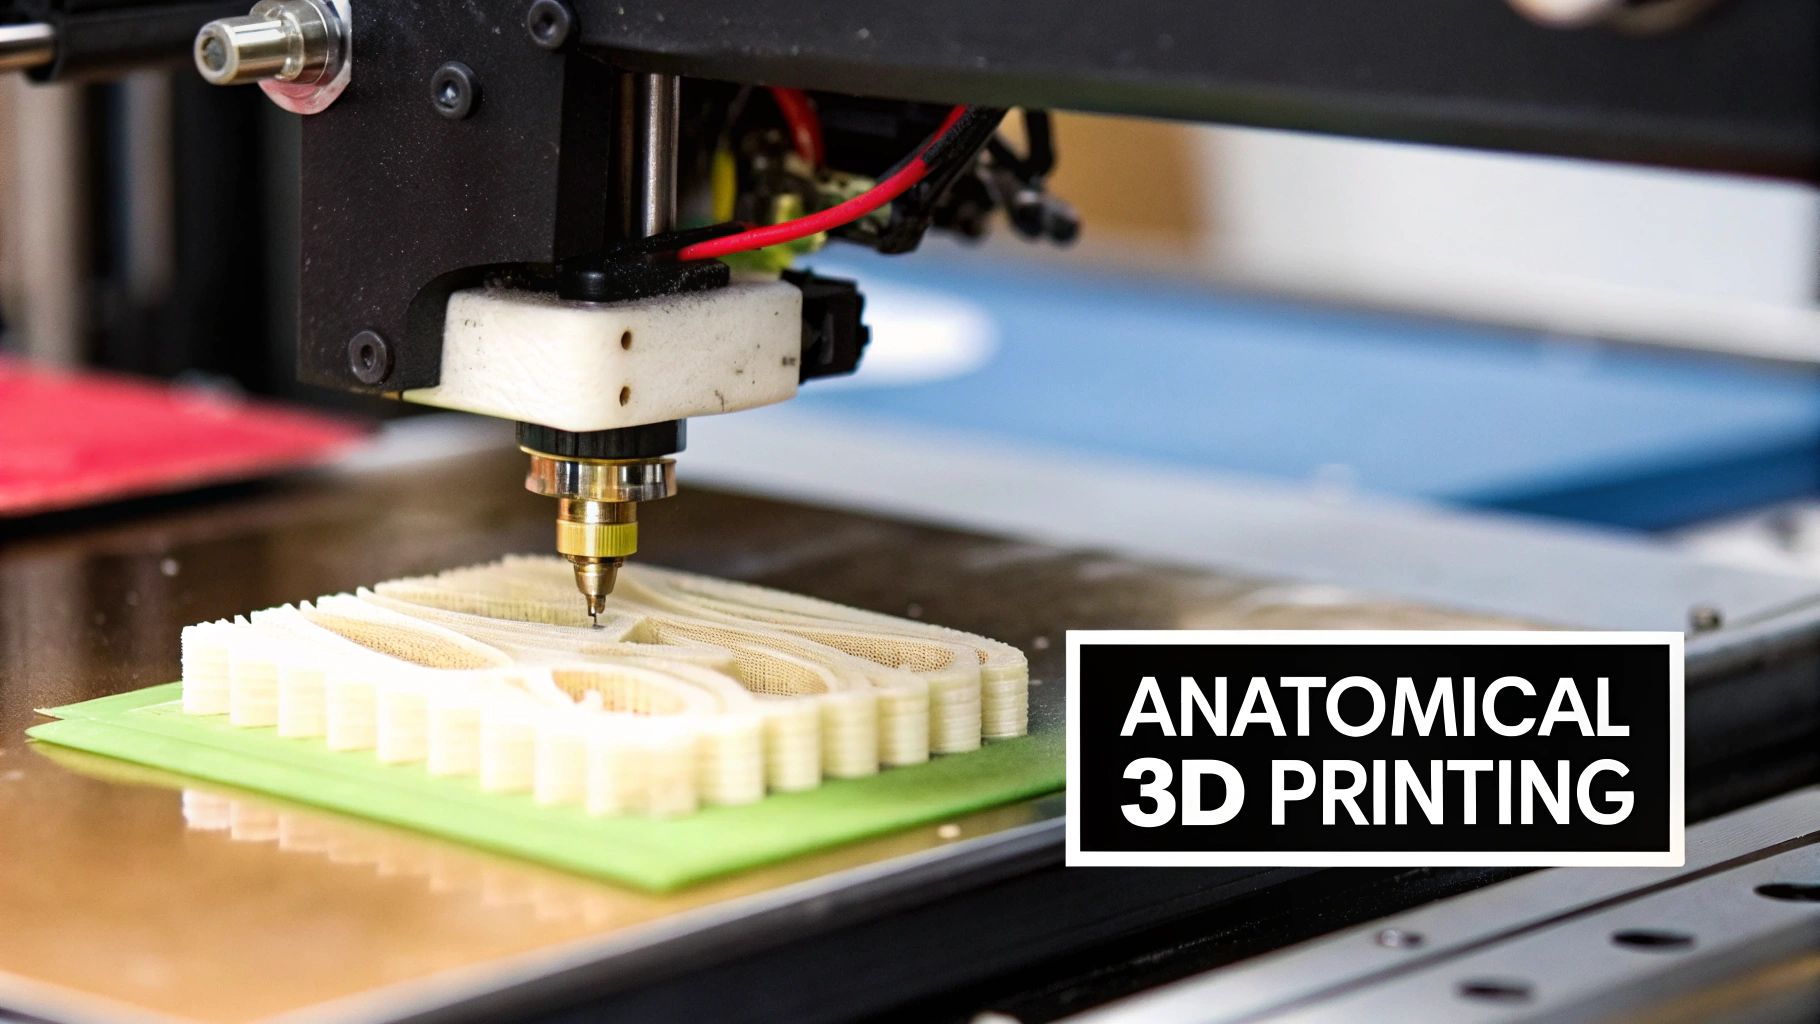
What the physical part is for: rehearsal (hold the fracture, try the plate), teaching a specific pathology instead of a textbook average, and a consent conversation where the patient can see their anatomy. None of that works if the scan was thick-slice junk or the mesh is not watertight.
Scan to a printable mesh
Input is a CT or MRI series in DICOM. Thin slices, little or no gap. Thick survey slices brick the surface. Segmentation is the slow step: mark the voxels that are the bone, vessel, heart, tumor. Thresholding on Hounsfield units is the first tool (bone is bright). It fails at thin cortex, contrast edges, and metal. Semi-automatic (seed + grow) is the usual compromise. Manual paint is the fallback.
AI segmenters cut the hours. They still need a check against the source slices. A network that never saw your implant or your protocol will miss cortex.
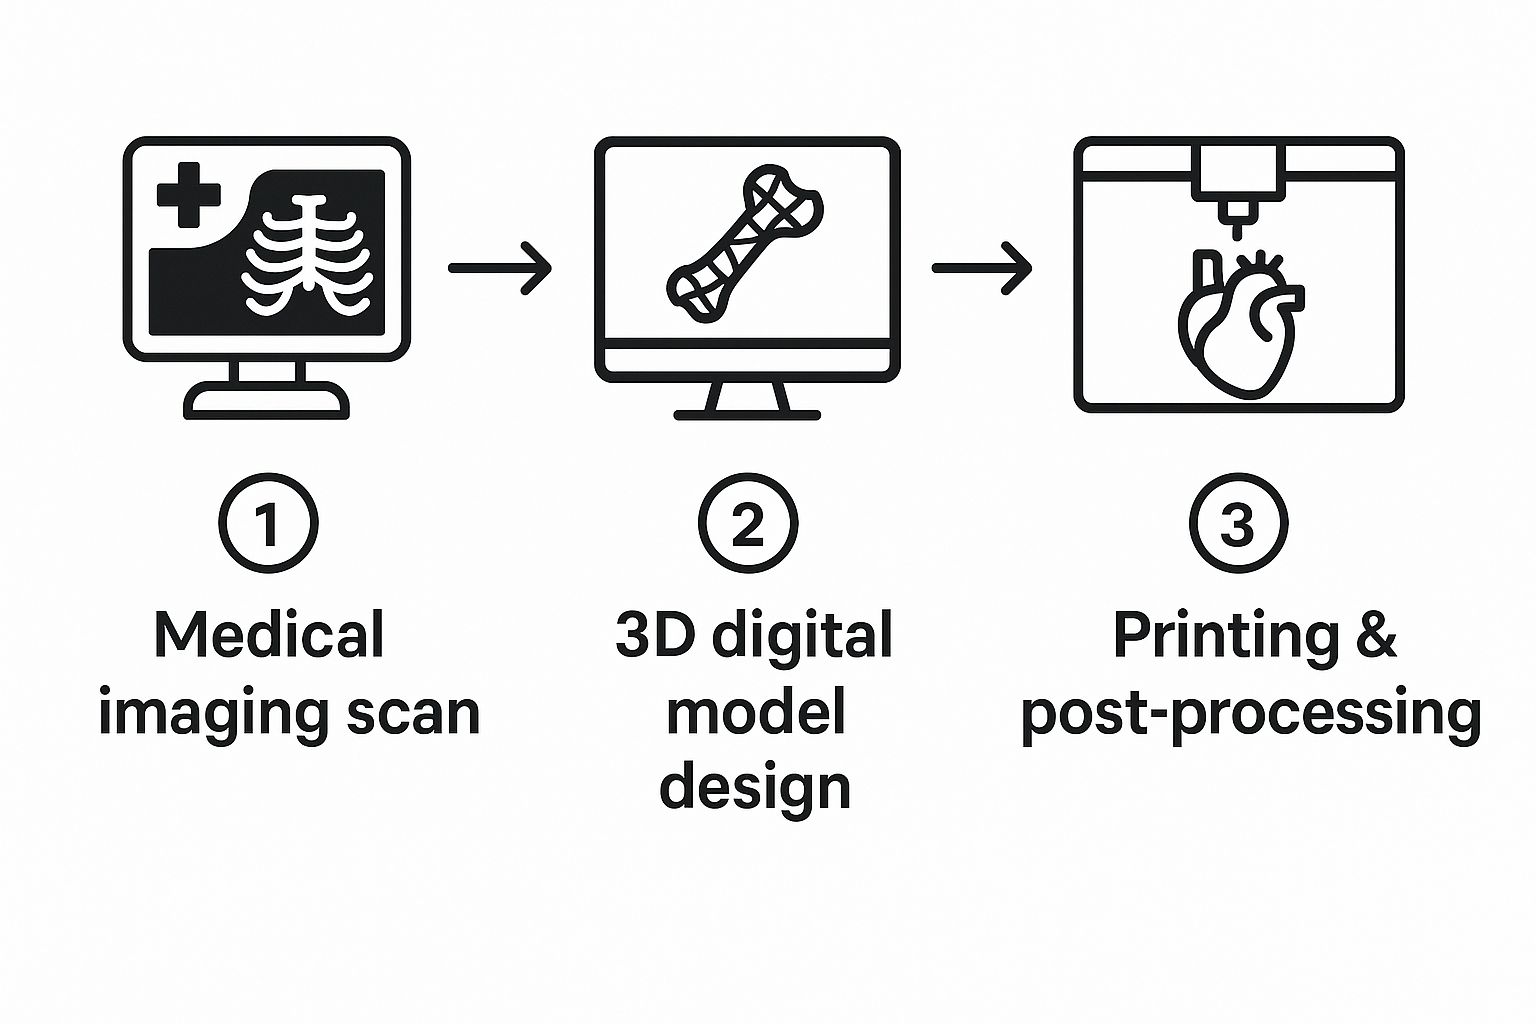
The segment becomes a triangle mesh, usually STL. The first export is almost never print-ready:
- Holes — not watertight; the slicer does not know inside from outside.
- Self-intersections — surfaces crossing.
- Non-manifold edges — an edge welded to more than two faces.
Repair those before you slice. Then, if needed: split a large spine into pieces, hollow to save resin, add pins. Keep every thin vessel if that is the point of the model; simplify a solid bone if the surgeon will torque on it. How to patch the mesh itself is how to edit an STL file.
Printer and materials
| Technology | Best for | Detail | Materials | Relative cost |
|---|---|---|---|---|
| FDM | Large, durable bones (pelvis, spine, femur) for handling and ortho planning | Lower | PLA, PETG, TPU, ABS | Low |
| SLA | Fine vessels, cardiac chambers, anything that has to look sharp | Very high | Resins: standard, clear, flexible, some biocompatible | Medium |
| SLS | Internal channels and interlocking parts (bronchial tree) without support trees | High | Powders, usually nylon | High |
FDM extrudes filament. Cheap, tough, good for a pelvis the resident will pass around. Layer lines are visible. SLA cures resin with a laser or projector; this is the usual choice for a neonatal heart or a vessel tree. Wash and UV-cure after. SLS sinters powder; unused powder is the support, which is why hollow airways survive.
Brian Albers, 3D Printing Engineer at St. Louis Children’s Hospital, on why they run Formlabs SLA: “We lean very heavily on the Formlabs printers. It’s great on the cost savings side of it, but it’s also a quick and efficient process.”
Material is the other half. PLA for cheap color-coded teaching bones. TPU when the part should flex like soft tissue. PETG or ABS when someone will clamp or trial a plate on it. SLA resins when you need a smooth surface or a sterilizable/biocompatible grade that the manufacturer actually specifies for that use — read the datasheet, do not assume “medical resin” means OR-ready.
- Fractured femur, reconstructive plan. Life-size, handled, dimensionally honest → FDM in PETG or ABS.
- Neonatal heart, congenital defect, parents in the room. Tiny vessels and valves, clear or multi-color → SLA. FDM will smear the anatomy that matters.
Slicing
The slicer turns the STL into per-layer G-code (or the resin equivalent). Three settings do most of the work:
- Layer height. ~0.1 mm when surface texture matters (heart, nerves). 0.2–0.25 mm is enough for a femur used as a size reference. Finer is slower.
- Infill. 10–20% for a consult model. 25–30% if it will be handled hard or used with instruments. A translucent kidney with a colored tumor inside: 0% infill, one or two walls, solid tumor body.
- Supports. Organic / tree supports touch less and sand off cleaner than a grid. Tilt a spine ~45° instead of standing it up; you drop a lot of support on the processes.
Finish

The raw print is not the model. Support marks, layer lines, and a single cheap color are what you have until you finish it.
- Supports. FDM: flush cutters, pliers, deburr. SLA: easier after the IPA wash and before the final UV cure, while the resin is less brittle. Thin vessels snap if you rush.
- Surface. Sand 220 → 400+. Needle files or a small rotary tool in the grooves. ABS can take vapor smoothing. SLA needs a full UV cure on the manufacturer’s time or it stays tacky or turns brittle.
- Color. A contrasting tumor on a kidney is the usual patient-education move. Airbrush for even coats; a small brush for vessels. Gloss if you want a wet-tissue look.
- Assembly. Multi-piece spines: cyanoacrylate or epoxy, filler in the seams, then paint as one part.
Software, accuracy, and when it is a device
- Research / budget: 3D Slicer (steep), InVesalius (gentler).
- Clinical / QMS: Materialise Mimics, Simpleware ScanIP — the stacks that already have cleared workflows in many hospitals.
Sub-millimeter fidelity is possible. It is the sum of thin-slice acquisition, a checked segmentation, and a printer that can hold the feature size (SLA or PolyJet for vessels; FDM is fine for a femur outline). For a planning model, overlay the final mesh on the source slices and measure. If it is used to diagnose, plan treatment, or guide an instrument, regulators (FDA in the US) often treat it as a medical device: cleared software, a documented QMS, and a validated process. Teaching and generic consent models usually are not in that bucket. Intended use decides, not the fact that plastic came out of a printer.
PYCAD builds custom web DICOM viewers when the 3D view has to live in the clinical workflow, not only on the print-shop PC. Case studies.