Breaking Down DICOM to JPEG Conversion
Converting medical images from DICOM to JPEG format is essential in modern healthcare. While DICOM serves medical equipment and software needs perfectly, JPEG offers universal accessibility for sharing images with patients, colleagues, and in presentations. Finding the right balance between smaller file sizes and preserving diagnostic details is key to successful conversion.
Understanding the Need for Conversion
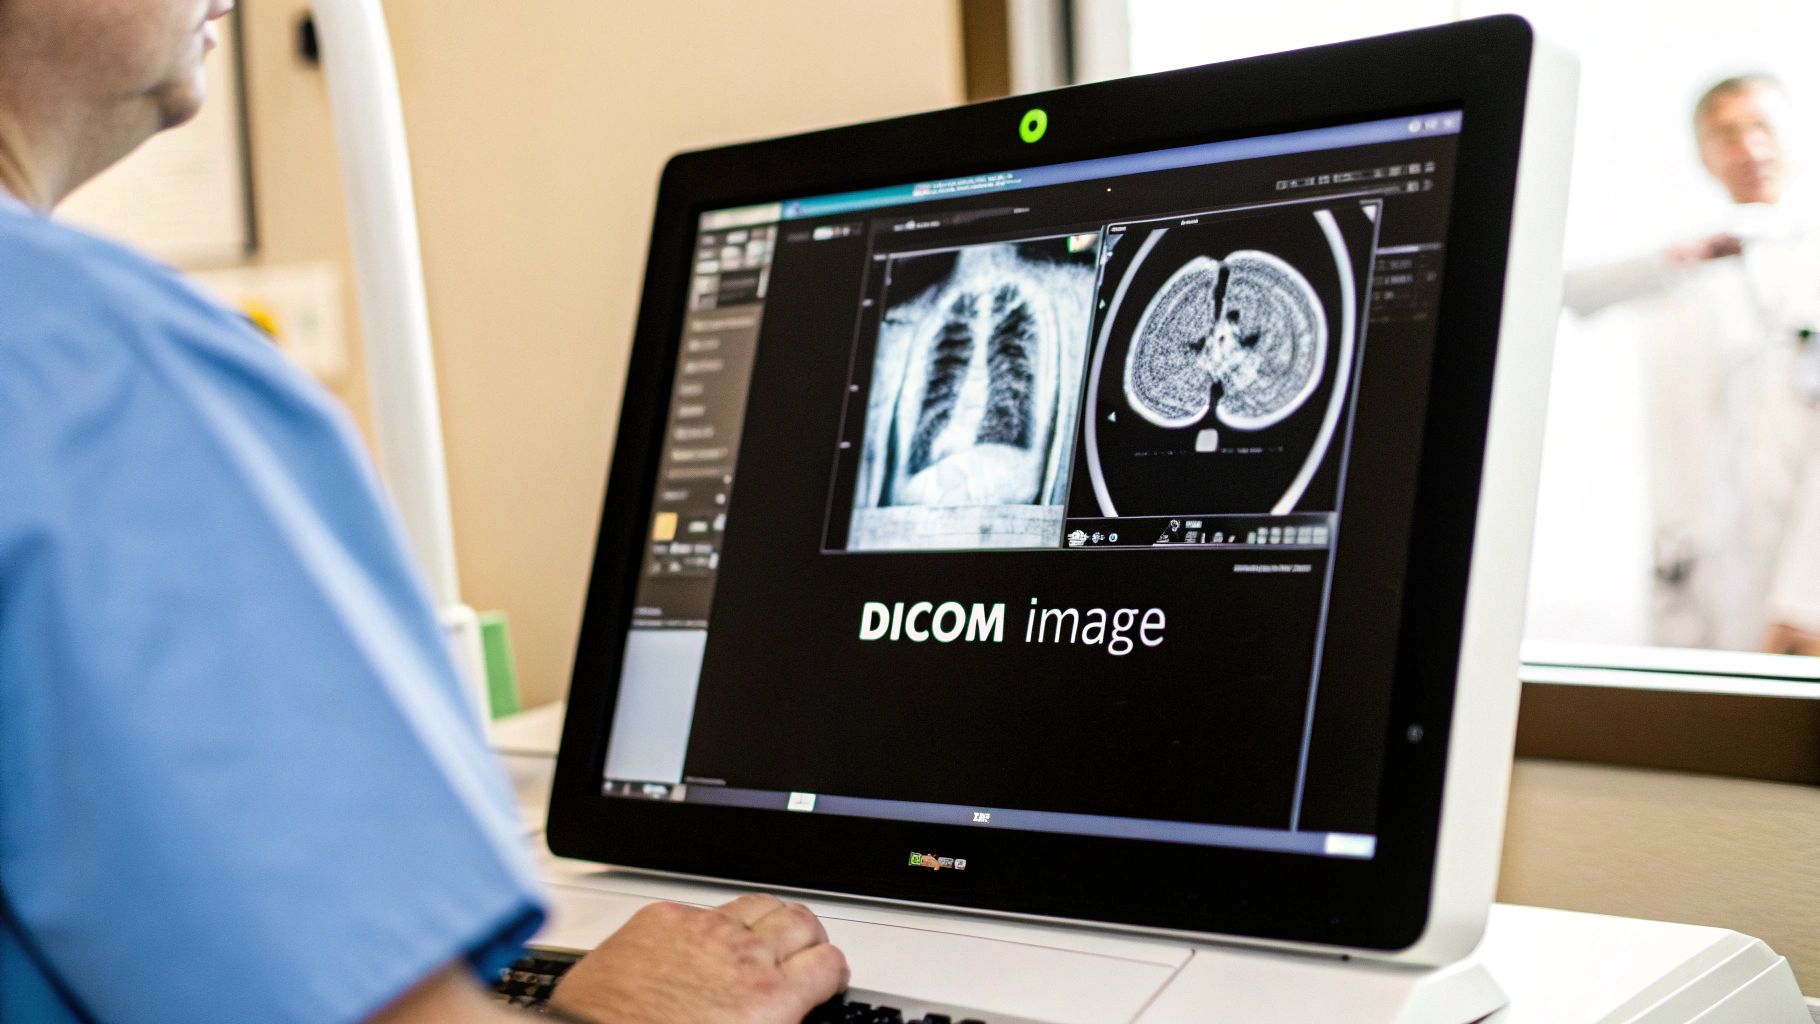
DICOM files are data-rich but large and require special software to view. This creates obstacles when sharing images between healthcare providers using different systems. Converting to JPEG allows quick and easy sharing. Patient portals also benefit from JPEG images, as patients can easily access and view their own medical images, leading to better engagement in their care journey.
Challenges in DICOM to JPEG Conversion
Managing DICOM data complexity is a major challenge in the conversion process. DICOM files contain both image data and crucial metadata about patients, equipment, and studies. Converting while keeping important metadata intact requires careful handling. Research shows varying success rates – one study achieved 80% success with DICOM files and 70% with NIfTI files when converting to JPEG format using tools like Pydicom and Pillow. Read the full research here.
Key Considerations for Successful Conversion
Several factors determine conversion success. Image quality must remain high enough for clinical use, requiring careful balance between compression and detail preservation. Essential metadata should be retained, either embedded in the JPEG or saved separately. The process must maintain data integrity from start to finish – the converted image should accurately reflect the original DICOM data without information loss or corruption. Using reliable conversion tools is critical for maintaining image quality and integrity throughout the process.
Choosing Your Conversion Arsenal
Picking the right tools makes all the difference when converting DICOM to JPEG images. Your choice impacts both image quality and workflow speed. Having professional-grade conversion tools is as essential as having proper medical equipment.
Software Solutions: Commercial vs. Open Source
Let's examine the main DICOM to JPEG conversion options available today. Here's a comparison of popular tools:
| Tool Name | Features | Ease of Use | Cost | Support |
|---|---|---|---|---|
| Commercial Software | Advanced batch processing, PACS integration, metadata handling | High – user-friendly interface | $500-5000+ | Professional support team |
| Open Source Tools | Basic conversion, customizable code | Medium – requires technical knowledge | Free | Community forums |
| Pydicom + Pillow | Programmable conversion, flexible options | Low – coding required | Free | GitHub community |
| DCMTK | Complete DICOM toolkit, command line | Low – technical setup needed | Free | Limited |
Commercial software provides an easy-to-use interface with advanced features and technical support. These tools integrate smoothly with healthcare systems. Open-source software offers flexibility and cost savings, with options to customize the conversion process. However, open-source tools need more technical expertise and may lack polish.
Key Features to Consider
When selecting a conversion tool, focus on these essential capabilities:
- Batch processing to efficiently handle multiple files at once
- Metadata handling to preserve patient and study information
- Lossless compression to reduce file size without losing quality
- PACS integration to streamline workflow and data management
Using Programming Libraries
Several key libraries help power the conversion process. Pydicom handles DICOM files, allowing reading and writing of image data. Pillow supports various image formats and processing functions. These tools work with NumPy for efficient data handling. Learn more about DICOM conversion methods here.
Implementation and Scalability
The right conversion solution depends on your specific needs, technical skills, and budget. Small clinics often do well with open-source tools, while hospitals need commercial software's advanced features. Consider scalability – your chosen tool must handle growing data volumes without performance issues. This may mean upgrading to enterprise software or expanding server infrastructure. Making an informed choice now prevents headaches later.
Mastering the Conversion Process
Converting medical images from DICOM to JPEG format requires careful attention to detail and proper techniques. This guide covers the key steps of the conversion process, from initial file preparation to final quality checks.
Preparing Your DICOM Files
Good organization is essential before starting any conversion. Take time to properly sort and label your DICOM files. Think of it like getting ingredients ready before cooking – having everything prepared and organized makes the whole process run smoothly.
Choosing the Right Conversion Tool
The tool you select will impact your results significantly. Options include commercial software with user-friendly interfaces, open-source tools, and programming libraries like Pydicom and Pillow. Consider your technical expertise and specific needs when choosing – commercial options offer ease of use but less flexibility, while open-source tools provide more control but require more technical knowledge.
The Conversion Process: A Step-by-Step Guide
Follow these key steps for successful conversion:
- Import Files: Load your prepared DICOM files into your chosen conversion tool
- Adjust Settings: Set compression levels to balance file size and image quality
- Convert Format: Run the conversion process – many tools support batch processing for multiple files
- Handle Metadata: Decide how to preserve important DICOM metadata, either embedded in the JPEG or saved separately
Quality Control and Troubleshooting
After conversion, carefully check the quality of your JPEG images. Compare them to the original DICOM files, looking for any loss of detail or visual artifacts. Verify that important metadata was preserved correctly. If you spot issues, try adjusting your conversion settings or switching to a different tool.
Automating the Workflow
For regular conversions, setting up automation can save significant time. This may involve writing scripts, connecting to existing systems, or using built-in automation features. An automated process reduces manual work and helps prevent errors, especially when handling large numbers of files.
Preserving Quality and Critical Data
When converting DICOM images to JPEG format, finding the right balance between image quality and file size is essential. Medical professionals need to ensure that crucial diagnostic details remain intact while creating files that are easy to store and share.
Balancing Compression and Diagnostic Clarity
JPEG compression helps reduce file sizes but can affect image quality. Much like wringing out a wet sponge, compression reduces the file size but some image data is lost in the process. Medical professionals must find the optimal compression ratio that maintains diagnostic accuracy while keeping files manageable.
For patient education materials, higher compression may be acceptable. However, images used for diagnosis require minimal compression to preserve the subtle details physicians rely on for accurate interpretation.
Preserving Essential Metadata
DICOM files contain vital metadata including patient details, study dates, and equipment information. This data is crucial for proper image identification and interpretation. When converting to JPEG, preserving this information is essential.
Healthcare facilities can maintain metadata by embedding it directly in the JPEG file or saving it separately in formats like CSV. Tools from providers like PYCAD offer specialized options for metadata management during conversion.
Optimizing File Size Without Compromising Quality
Getting the best results when converting DICOM to JPEG requires careful optimization. Here are key techniques to consider:
- Lossless compression: Use methods that reduce file size while keeping all image data intact
- Windowing: Adjust window level and width settings to highlight specific anatomical structures
- Region of Interest (ROI): Focus on converting only the diagnostically relevant portions
These approaches help create compact JPEG files while preserving the critical information needed for accurate diagnosis.
Quality Assurance and Data Validation
Thorough quality control after conversion is crucial. This includes visual comparison between the original DICOM and converted JPEG to check for any loss of detail or artifacts.
Teams must also verify that all metadata transfers correctly, ensuring images remain properly linked to patient records and study information. Leading medical facilities consider this validation step a required best practice.
Below is a comparison of how different quality settings affect converted images:
| Quality Level | File Size | Detail Retention | Recommended Use |
|---|---|---|---|
| High | Larger | Excellent | Primary diagnosis, detailed analysis |
| Medium | Moderate | Good | Consultations, teaching |
| Low | Smaller | Fair | Patient education, quick review |
By following these guidelines for quality preservation and data validation, healthcare providers can effectively convert DICOM images to JPEG format while maintaining diagnostic integrity. This enables better image sharing and workflow efficiency while ensuring optimal patient care.
Avoiding Common Conversion Pitfalls
When converting DICOM files to JPEG format, several key challenges can affect your medical images. Understanding these issues helps ensure high-quality results throughout the conversion process.
Metadata Management
Medical image files contain essential patient information, study details, and technical parameters beyond just the visual data. During DICOM to JPEG conversion, this vital metadata can be lost if not properly handled. Tools like PYCAD offer solutions to preserve this data, either by embedding it within the JPEG or storing it separately in a structured way.
Maintaining Diagnostic Quality
Image quality degradation is a significant concern since JPEG uses lossy compression that removes some data to reduce file size. While smaller files are easier to store and share, too much compression can hide important diagnostic details. Finding the optimal balance is crucial. Modern conversion tools provide granular control over compression settings to maintain clinical accuracy.
Handling Large-Scale Conversions
Converting numerous DICOM files manually is time-consuming and error-prone. An automated approach is essential for efficiency when dealing with high volumes. Batch processing capabilities allow you to convert multiple files simultaneously, making the process much more manageable.
Inconsistent Results Across Imaging Sources
Different imaging equipment and manufacturers format DICOM files in various ways. This can lead to inconsistencies in the converted JPEGs, making image analysis more difficult. Your conversion solution should handle these variations and produce standardized outputs regardless of the source format.
Validation and Quality Control
Thorough validation after conversion is essential. Compare the new JPEGs with original DICOM files to verify both visual accuracy and metadata preservation. Implement systematic quality checks and automated validation to catch any issues quickly. This final verification step ensures your converted images meet clinical requirements and maintain their diagnostic value.
Advanced Conversion Strategies

Understanding how to effectively convert DICOM files to JPEG is key in modern medical imaging. This section covers practical techniques to make these conversions more efficient and reliable while maintaining image quality and data integrity.
Automating DICOM to JPEG Conversion
Manual conversion becomes impractical when dealing with large volumes of medical images. Automation reduces processing time by up to 80% and minimizes human error. Common approaches include using Pydicom and Pillow libraries or integrating conversion tools into existing PACS workflows. Setting up scheduled tasks ensures new DICOM files are converted as they arrive.
Customizing Conversion Workflows
Medical specialties need different image specifications:
- Radiology requires high-resolution output for bone detail
- Dermatology focuses on surface-level clarity
- Cardiology needs precise temporal resolution
Adjust compression levels, windowing, and region selection based on each specialty's requirements.
Advanced Metadata Management
Proper handling of image metadata is crucial for medical records. Effective metadata management involves:
- Preserving all relevant patient information
- Maintaining compliance with healthcare standards
- Ensuring data can be accessed across different systems
PYCAD offers specialized tools for managing metadata during conversion while maintaining HIPAA compliance.
Optimizing Batch Processing for Large Datasets
When converting multiple files, efficiency is key. Best practices include:
- Using parallel processing across multiple cores
- Implementing robust error handling
- Setting up monitoring and logging systems
- Creating checkpoints for long-running conversions
Integrating With Existing Healthcare Systems
Smooth integration with PACS and EHR systems is essential. Over 90% of healthcare facilities rely on integrated imaging solutions. Focus on:
- Automated data transfer between systems
- Direct access to converted images
- Maintaining consistent file naming conventions
- Regular system synchronization
Scaling While Maintaining Quality
As imaging needs grow, maintaining quality becomes more challenging. Key considerations:
- Invest in reliable hardware infrastructure
- Implement systematic quality checks
- Validate conversions against original files
- Monitor system performance metrics
Want to improve your medical image conversion process? Visit PYCAD to explore our conversion tools designed specifically for healthcare facilities.