
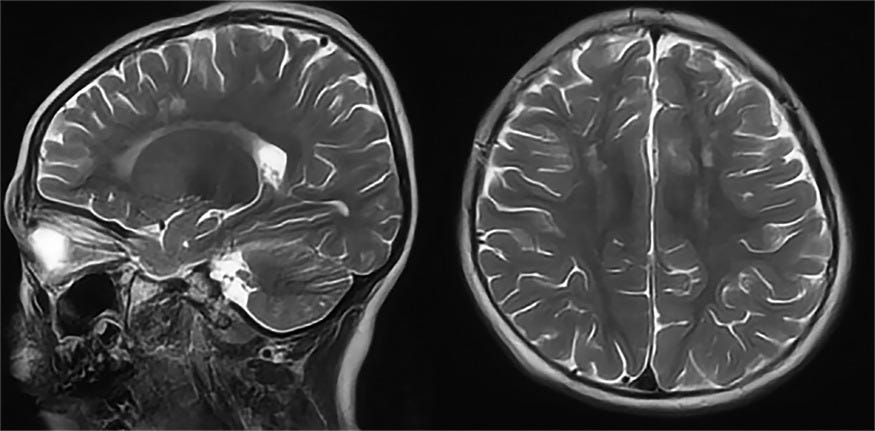
Converting a DICOM image into JPG or PNG is an 8-bit export: open the file with pydicom (dcmread), take .pixel_array, rescale to 0–255, then Image.fromarray and .save. This page is that how-to. It is not “how to read a DICOM in Python” and it is not JPEG/PNG → DICOM.
If you meant wrap a JPEG or PNG into a DICOM → JPEG to DICOM conversion with Python. If you meant read a DICOM (header, window, volume) → how to read DICOM files. If you meant DICOM↔NIfTI → DICOM to NIfTI. If you meant DICOM→STL → convert DICOM to STL. If you meant open the file in a viewer → how to open a DCM file / DICOM viewer software.
What this export does
| Step | Call | Why |
|---|---|---|
| Open | pydicom.dcmread |
Parse the header so .pixel_array exists |
| Pixels | ds.pixel_array.astype(float) |
Float before rescale, or integer overflow clips the slice |
| 8-bit | min-clip, divide by max, × 255, np.uint8 |
JPG/PNG are 8-bit. This is a display export, not the stored HU |
| Write | Image.fromarray(...).save("image.jpg"|"image.png") |
A file any image app can open |
Windowing, VOI LUT, photometric interpretation, and multi-frame are real. This page covers the 8-bit export path. The read-and-window how-to is how to read DICOM files, not a second copy of it here.
Environment
python -m venv dicom_jpg
source dicom_jpg/bin/activate   # Windows: dicom_jpgScriptsactivate
pip install pydicom pillow numpy
Sanity check: import pydicom, numpy, PIL with no ImportError. Docs: pydicom, Pillow, NumPy.
One file: dcmread, rescale, save
import numpy as np
import pydicom
from PIL import Image

ds = pydicom.dcmread("path/to/image.dcm")
new_image = ds.pixel_array.astype(float)
scaled_image = (np.maximum(new_image, 0) / new_image.max()) * 255.0
scaled_image = np.uint8(scaled_image)
final_image = Image.fromarray(scaled_image)

final_image.show()
final_image.save("image.jpg")
final_image.save("image.png")
dcmread opens the object. .pixel_array is the stored pixels (often 12- or 16-bit CT/MR). Cast to float first: rescale on integers overflows or underflows and you lose the slice. np.maximum(..., 0) drops negatives, divide by the array max, multiply by 255, then np.uint8 so Pillow can write JPEG or PNG.
That stretch-to-0–255 is the 8-bit export. It is not a diagnostic window. A CT with WindowCenter / WindowWidth still looks washed or crushed if you only min/max-scale. Apply the window (and RescaleSlope / RescaleIntercept on CT) on the read page if you need the clinical contrast; then you can fromarray the windowed 8-bit array the same way.
Photometric interpretation (MONOCHROME1 vs MONOCHROME2, RGB) and a VOI LUT change what “bright” means. Multi-frame files give a 3D pixel_array — export one frame, or loop frames, do not pass the volume to Image.fromarray. None of that is a second tutorial. If pixel_array raises, the transfer syntax needs a handler (pylibjpeg / gdcm); that is a decode problem, not a save problem.
A folder of .dcm files
import os
import numpy as np
import pydicom
from PIL import Image

def get_names(path):
    names = []
    for root, dirnames, filenames in os.walk(path):
        for filename in filenames:
            _, ext = os.path.splitext(filename)
            if ext.lower() == ".dcm":
                names.append(os.path.join(root, filename))
    return names

def convert_dcm_jpg(path):
    ds = pydicom.dcmread(path)
    im = ds.pixel_array.astype(float)
    if im.max() == 0:
        rescaled = np.zeros(im.shape, dtype=np.uint8)
    else:
        rescaled = np.uint8((np.maximum(im, 0) / im.max()) * 255)
    return Image.fromarray(rescaled)

names = get_names("Database")
for path in names:
    image = convert_dcm_jpg(path)
    stem = os.path.splitext(os.path.basename(path))[0]
    image.save(stem + ".png")
os.walk collects every .dcm under the folder. The convert function is the same one-file path. Save as .png or .jpg — PNG is the safer default (no extra JPEG quantize on an already-stretched 8-bit slice). Walk returns full paths so nested series folders work; the original 2021 gist assumed a flat Database/ directory.
Same-folder scripts: one file, batch. Walk-through: batch convert on YouTube.
PYCAD builds the imaging side of products that have to export these files for real. Case studies.