In computer vision, we work often with medical images, and almost all the databases that we have contain DICOM images. The Dicom image is more than an image, it contains the pixels information, the patient information, and so on.
In this case, we need only to visualize the image or to save it as a JPG or PNG so that we could open it with any software we want.
To do that we need additional libraries to use with Python. The first one is Pydicom which is a library special for the Dicom images and the second one is Pillow which I prefer to use for displaying and saving the JPG image. And finally, the third one is Numpy to manipulates the arrays.
I will do with you step by step all the process, so don’t worry about that. Here are the steps that we will follow together:
- Installing the libraries
- Extracting the pixel array
- Rescaling the image
- Displaying and saving the new image
Installing The Packages
As we said, we need two libraries to make this process done, to install them it is very is. You can use your terminal by putting this command:
pip install pydicomThat’s all what you need to install it. And to install Pillow we will do the same thing:
pip install pillowAnd finally Numpy:
pip install numpyExtracting The Pixel Array
You know that a Dicom image contains a lot of information about the patient… So the image that we want to display or extract is one of the information that exists in the Dicom image. This image called “pixel array”. For that, all we need to do is to call this component from the image.
  ds = pydicom.dcmread('the path to the image')

  new_image = ds.pixel_array.astype(float)
As you can see, we do this in two lines of code. The first line with open the Dicom image and the second one will extract the pixel array from it and that’s it for this part. You can see that I added the function “astype” then float. I did that because in the next step we will scale the pixels so if we leave them integers so after the scaling we will have the overflow or the underflow losses. For that, we need to work with float pixels so that we won’t lose the information.
Rescaling the image
Now to use the image we should rescale its pixels and put their values between 0 and 255. So here is the line of code that you need to do that.
scaled_image = (np.maximum(new_image, 0) / new_image.max()) * 255.0Displaying And Saving The Image
Now the final part which using the image for our needs. The image that we had in the last part was an array so we will use this array to create the image using the Pillow library. But before that, we need to convert it into 8 bits unsigned integer. Here are the commands that you need to create the image from an array:
  scaled_image = np.uint8(scaled_image)
  final_image = Image.fromarray(scaled_image)
Now the image is ready for use, you can display it or save it or do anything you want with it because it is a normal image now.
To display it you can use this line of code:
final_image.show()
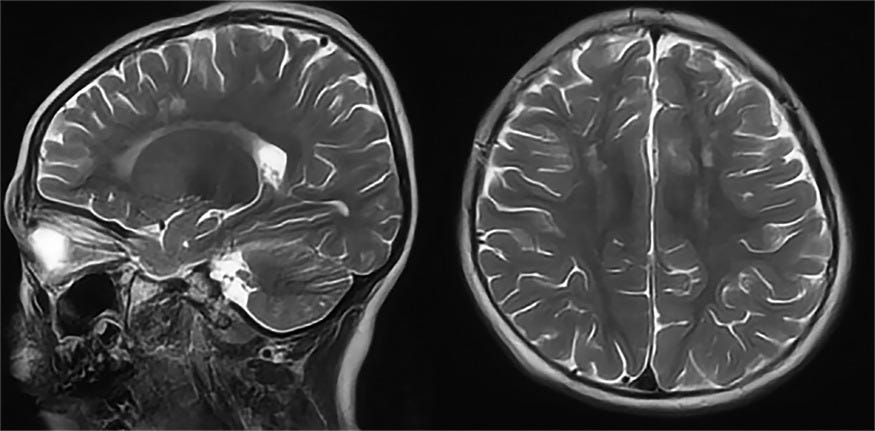
The function show is one of Pillow’s functions so you have just to call it and here is an example of displaying an image.

Now if you want to save it as a jpg or png image. You can use the function save from Pillow, here are the lines of code that you need.
  final_image.save('image.jpg')
  final_image.save('image.png')
You can download the whole program already from this link.Good luck !
How to Convert a Group of Dicom images into JPGs
Now after that you saw how to convert one Dicom image into JPG or PNG. You can apply the same program to convert a group of Dicom images. All what you need to do is to create to functions. The first one will return the names of the images from the folder and the second one will the conversion as we did before.
If you want more explanation you can see my second video about it in this link.
The two functions that you need are these:
  def get_names(path):
    names = []
    for root, dirnames, filenames in os.walk(path):
      for filename in filenames:
        _, ext = os.path.splitext(filename)
        if ext in ['.dcm']:
          names.append(filename)

      return names

  def convert_dcm_jpg(name):

      im = pydicom.dcmread('Database/'+name)

      im = im.pixel_array.astype(float)

      rescaled_image = (np.maximum(im,0)/im.max())*255 # float pixels
      final_image = np.uint8(rescaled_image) # integers pixels

      final_image = Image.fromarray(final_image)

      return final_image
And to call the two functions to do the conversion, you can use this lines:
  names = get_names('Database')
  for name in names:
      image = convert_dcm_jpg(name)
      image.save(name+'.png')
You can download the code from this link.Happy learning